SKELETON CREW
The University of North Carolina at Greensboro: School of Theatre
Directed by Mya Brown
Sound Design:
Kiahana Toomer
Costume Design:
David Garrett
Lighting Design:
David Garrett
Scenic Design:
Andrew Crews
Fall 2020, Technical Director
Assistant Technical Director:
Dex Johnson
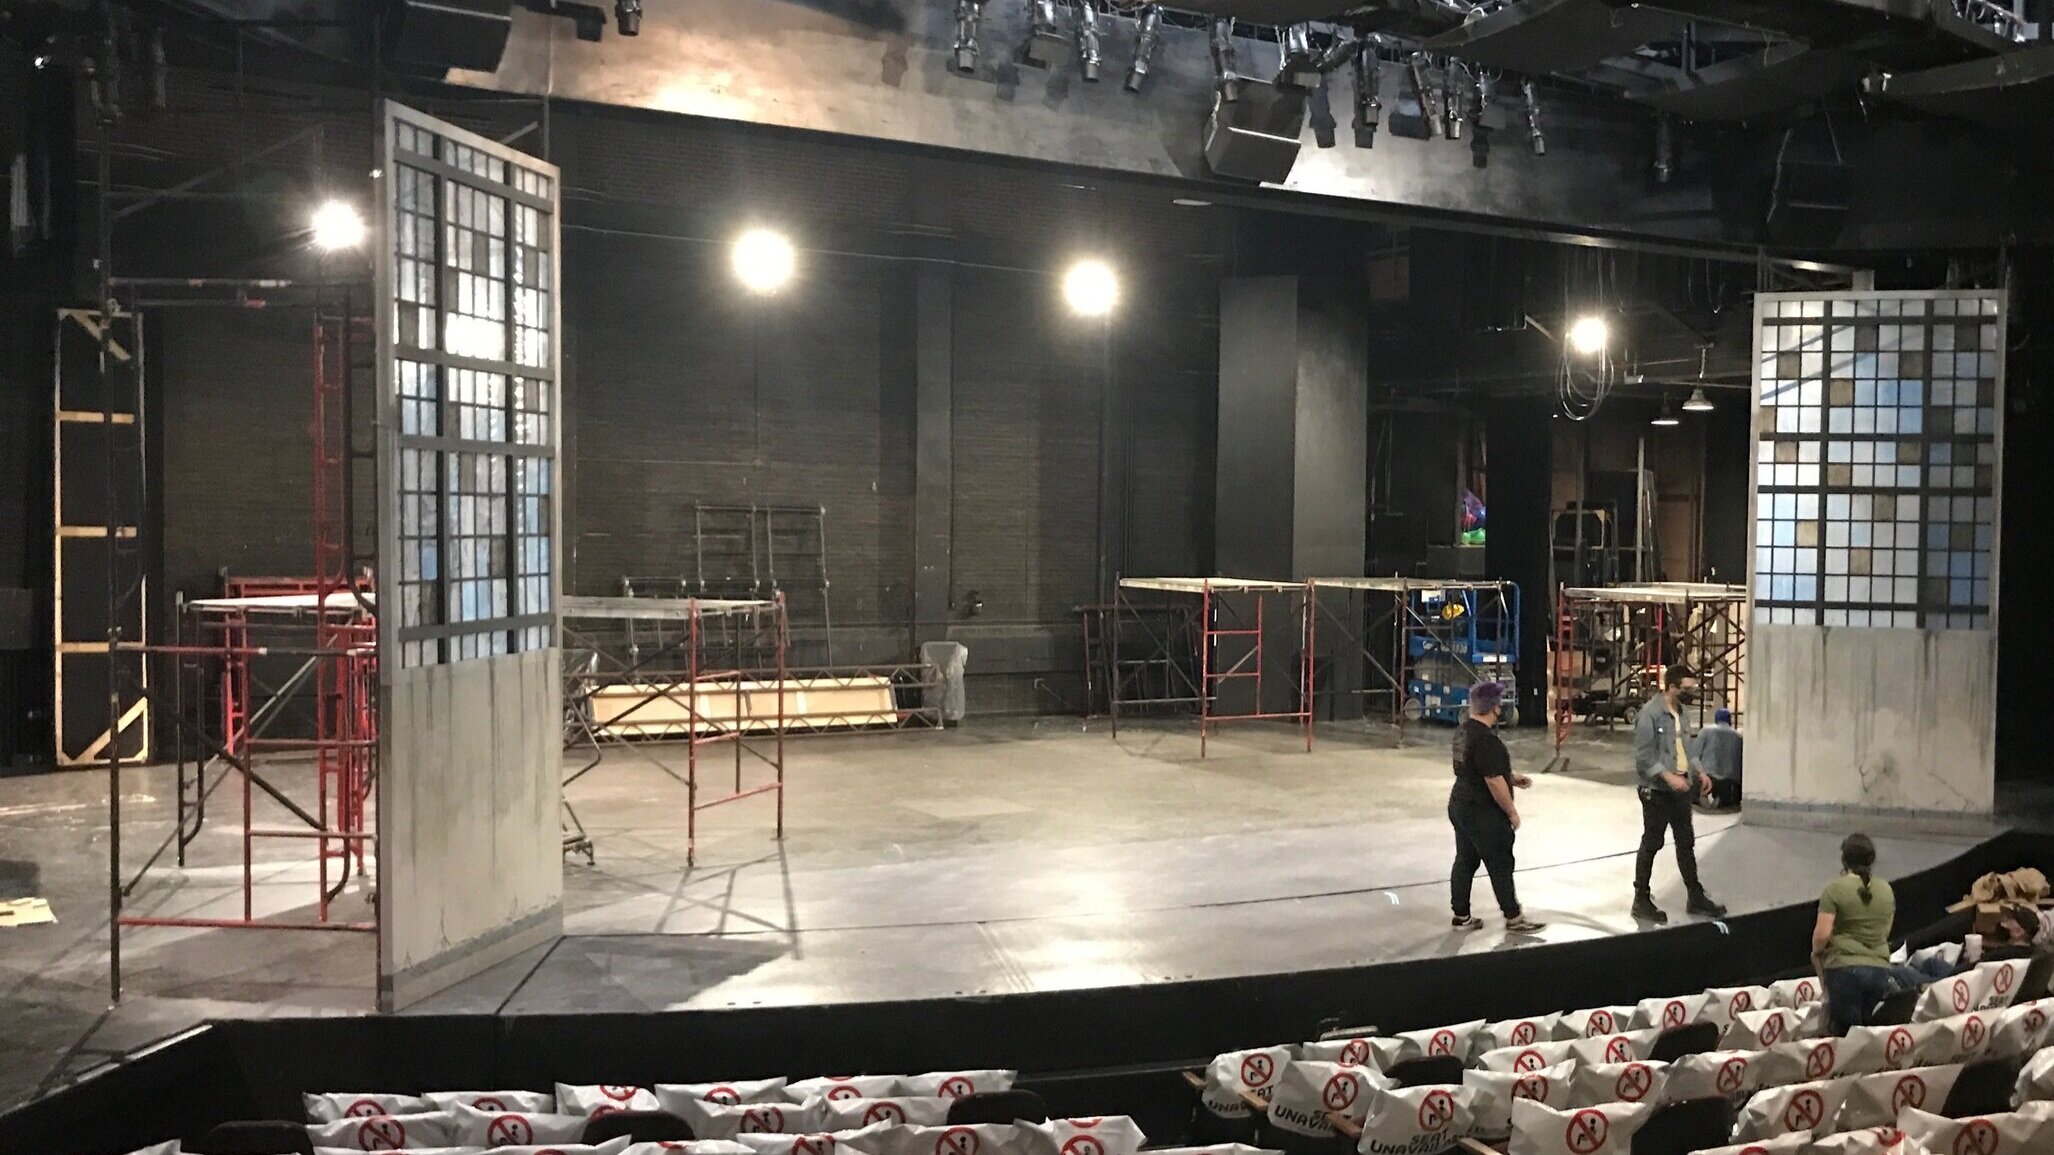
Skeleton Crew is a slice-of-life show, centering on the happenings of an auto stamping plant in 2008 Detroit. One of the challenges of this show came in its staging, with every scene taking place in a breakroom. Pre Covid-19, this play was set to take place in our blackbox space, which was deemed unsafe for social distancing. As such, we moved to the mainstage. Our director wanted the downstage breakroom area to be rooted in realism and well lived in. This is in contrast to the upstage area representing the factory, having a skeletal, empty feeling. The breakroom structure had to be open to allow for all the necessary set dressing and characters to fully live in the space. The factory space was meant to be chaotic and industrial, which for our purposes translated to shadow screens and scaffolding. This was my first experience with hyper-realism in theatre and the challenges it presents, and it is certainly one I will never forget.
The first project was the sets of shadow screens that wrapped the scaffolding. I opted for construction grade plastic sheeting to allow the open skeletal framing my designer was after because muslin would need much more than a set of rails, stiles, and some corner blocks. It also added to the industrial look of the show and saved money. Getting the plastic taut across the frame without stretching or puncturing it was challenging, but a welcome challenge nonetheless. We attached screens to the scaffolding using plumbers strap. Below are my draftings for the screens, including a key I made for the production team to help keep the various scaffolding units straight. Click to enlarge.
The largest units in the show were the windows that framed the breakroom and almost served as a false proscenium. The units consisted of two flats: a solid one on the bottom and a lattice-esque one on the top. To get the individual window panes, we first built the larger hatch out of 2x pocket-holed together, assembled the rest of the frame around it, and added sheets of MDF that had the smaller rectangles cut into them on our CNC table. The frames then got a layer of plastic on the back, and the flats were stacked and once again attached with plumbers strap. These windows were one of my favorite elements from the production. They were visually fun and a great build. Below are my draftings for the windows. Click to enlarge.
The breakroom was framed with half walls that gave almost a box-set feeling. The wall was three parts: the large back portion, and two angled pieces that come in line with the windows. The design of the walls was inspired by prefab, modular breakrooms that are retro-fitted into old factories. Often these walls would have hexagons imprinted into them, and the tops of the flats sought to reflect this. There were many small angles to cut, but I was glad my team got the experience. Below are the many draftings for all of the half walls. Click to enlarge.
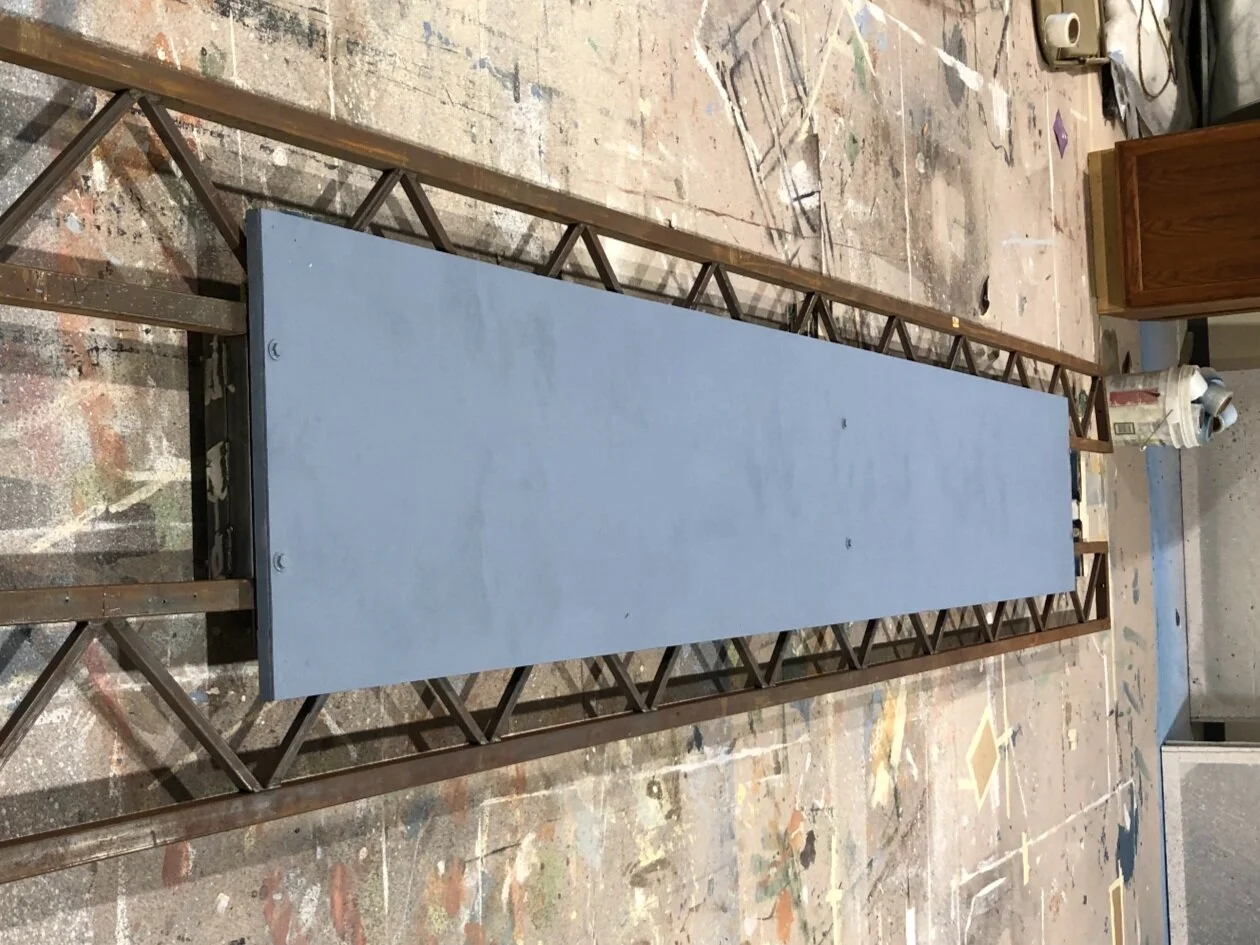
One of the last elements we had to build was a flat for the Packard sign. We mounted the sign to two old rusty box tube truss pieces that we found in our warehouse. We welded together support pieces that attached from behind to give extra support. We also had to alter and hang a door from our warehouse for the entrance to the breakroom. This door was challenging because of its location and relation to the rest of the scenery around it. With the half walls being so short and the lack of room for bracing, it was difficult to keep the door square and plumb during installation. I am pleased to have gained more experience with doors. The draftings below can be enlarged by clicking on them.
One of the more satisfying parts of this process for me was managing of the scaffolding. I had never worked with scaffolding before, and I was struck by its stage presence as well as its ease of install. I worked with my designer to generate the drawing below, which was the best layout for me to keep the units and specific layouts straight. The scaffolding was a great use of space and really aded to the skeletal feel of the scenery, without adding to the budget as we had it all in stock already.
Above is a rendering by the set designer Andrew Crews; below is the set in its primary position.
Below is a selection of publicity photos.


