
STATE FAIR
The Rev Theatre Company
Directed by Brett Smock
Scenic Design:
Jeffrey D. Kmiec
Lighting Design:
Jamie Roderick
Sound Design:
Daniel Lundberg
Costume Design:
Tiffany Howard
Wig Design:
Alfonso Annotto
Summer 2022, Assistant Technical Director
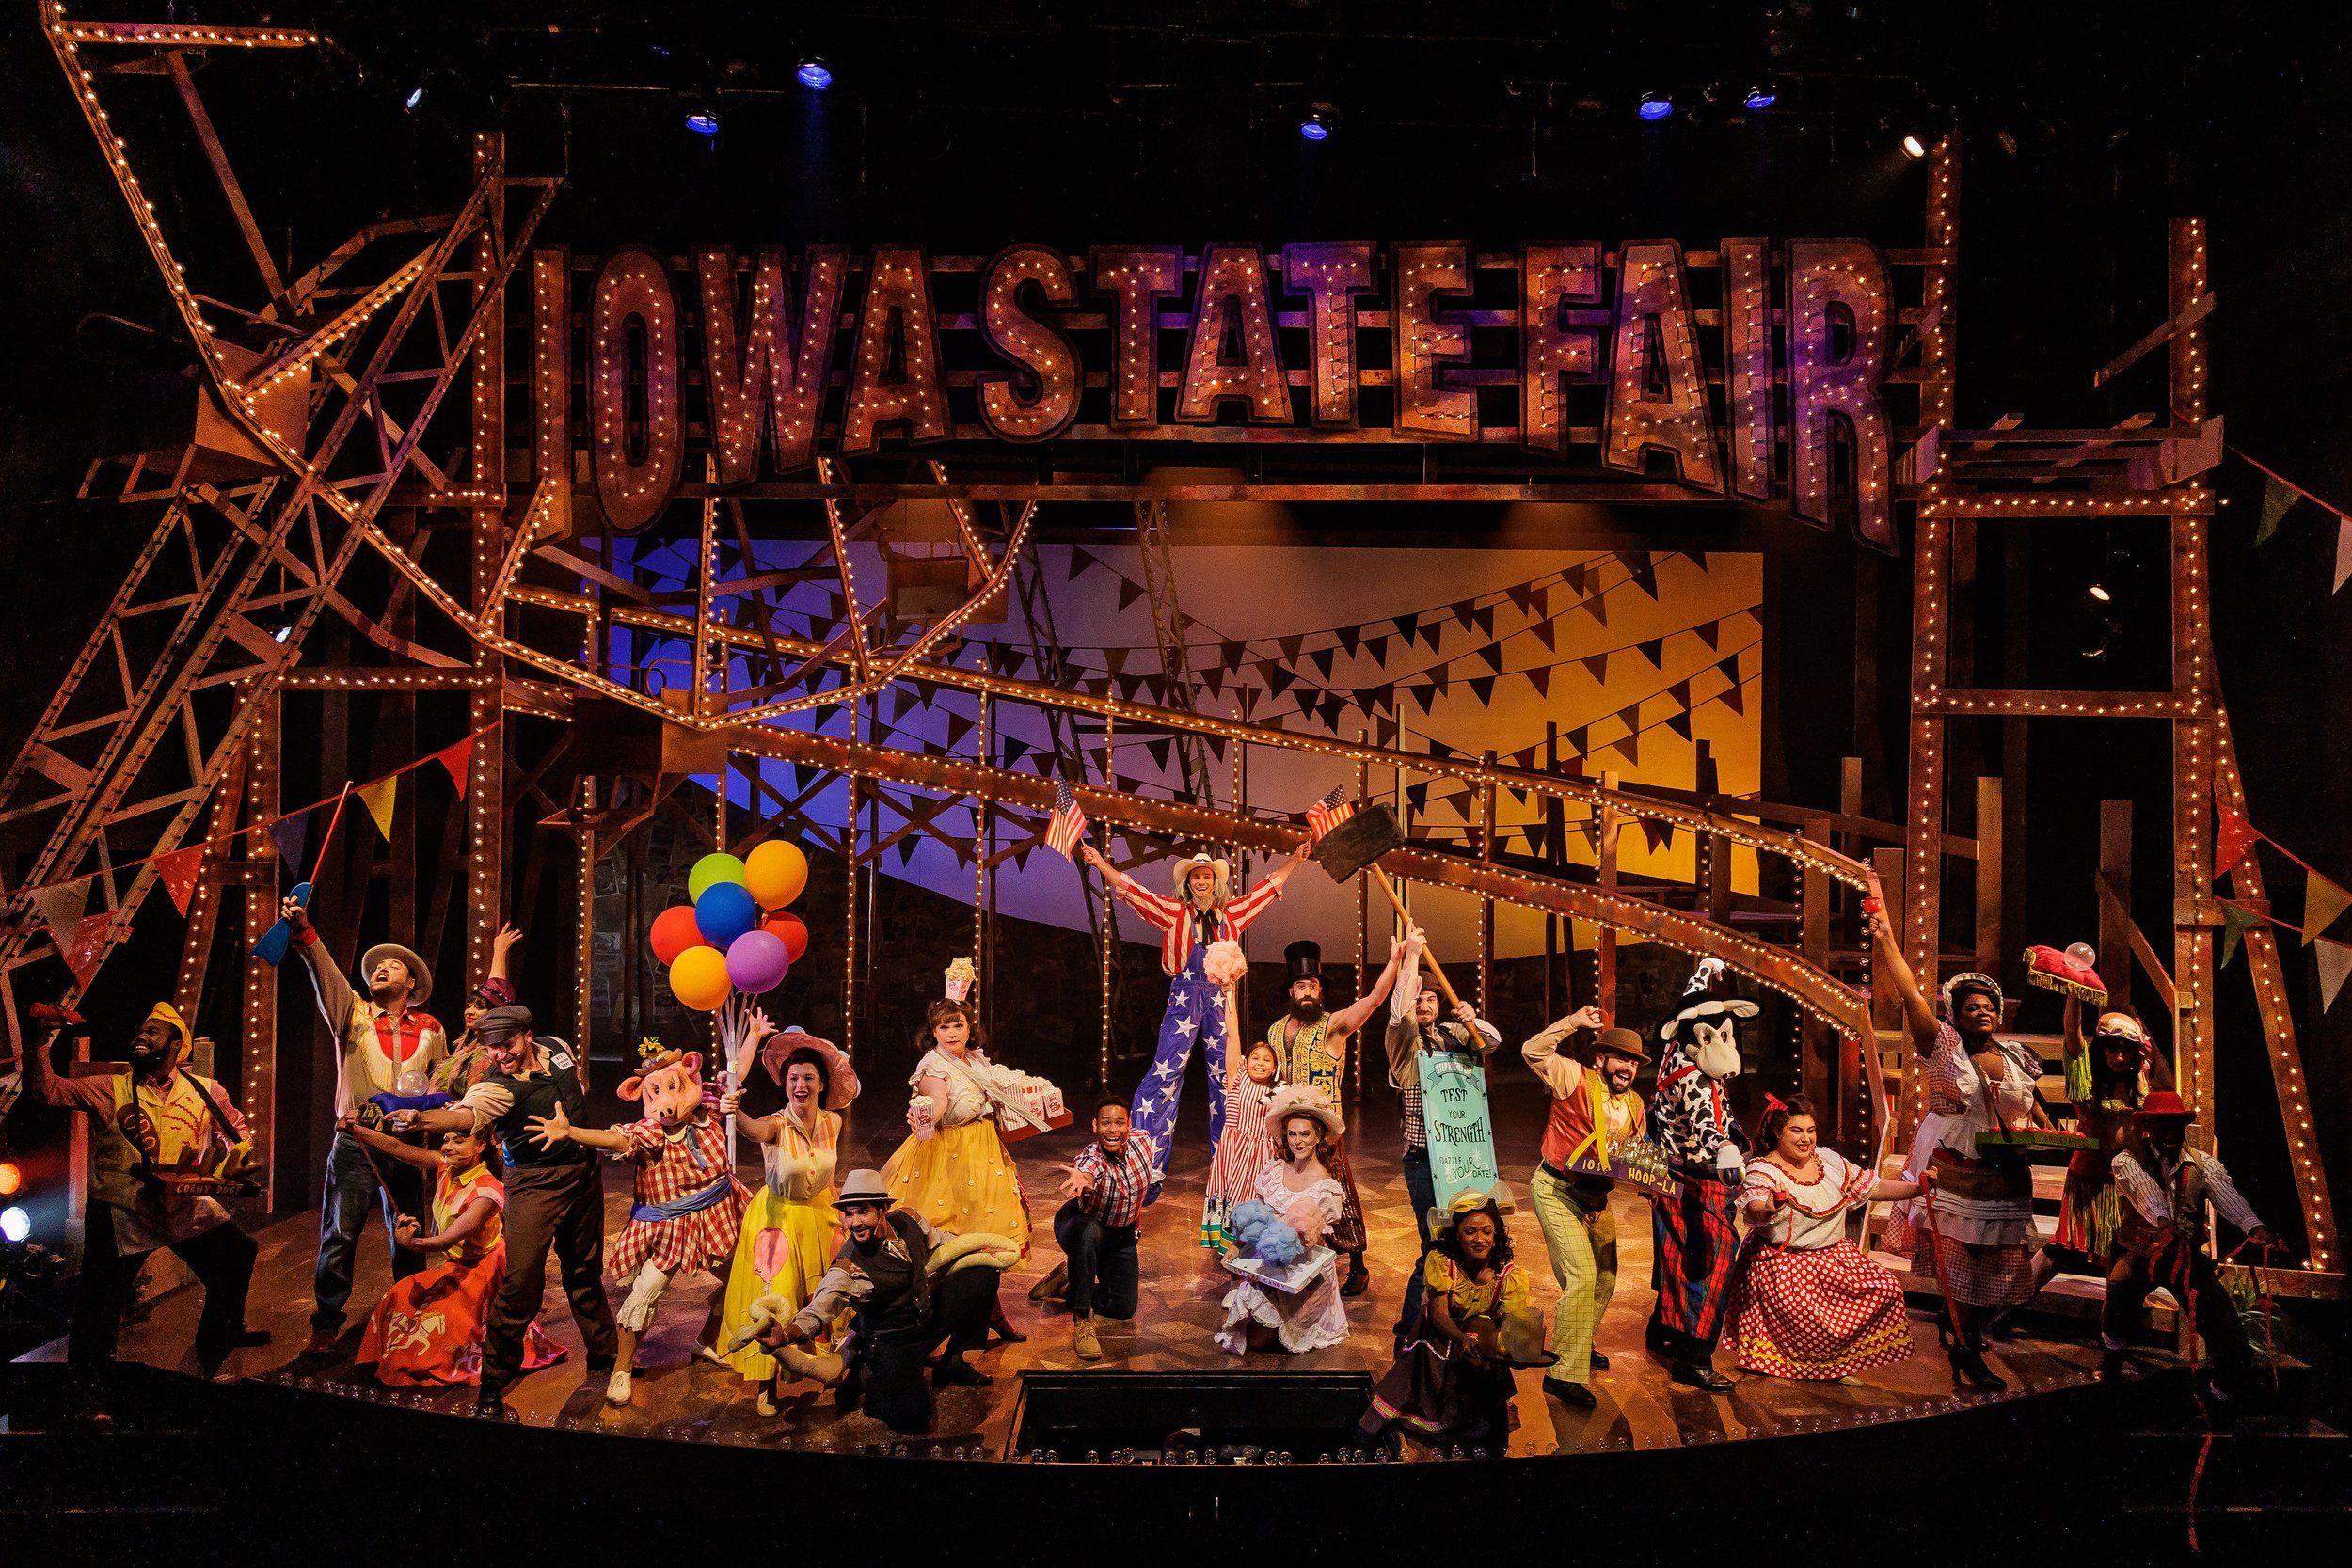
The last show I worked on that season at The REV was State Fair, a slice of life musical about a farm family going to the Iowa state fair. This show had a lot going on, both in workload and scale. I really wanted to push myself on this production, so I asked to draft as much of the show as possible. This meant that I claimed all of the Scenic units except the ferris-wheel and the false proscenium. I am most proud of my work on State Fair, and it was a great way to end a great experience.
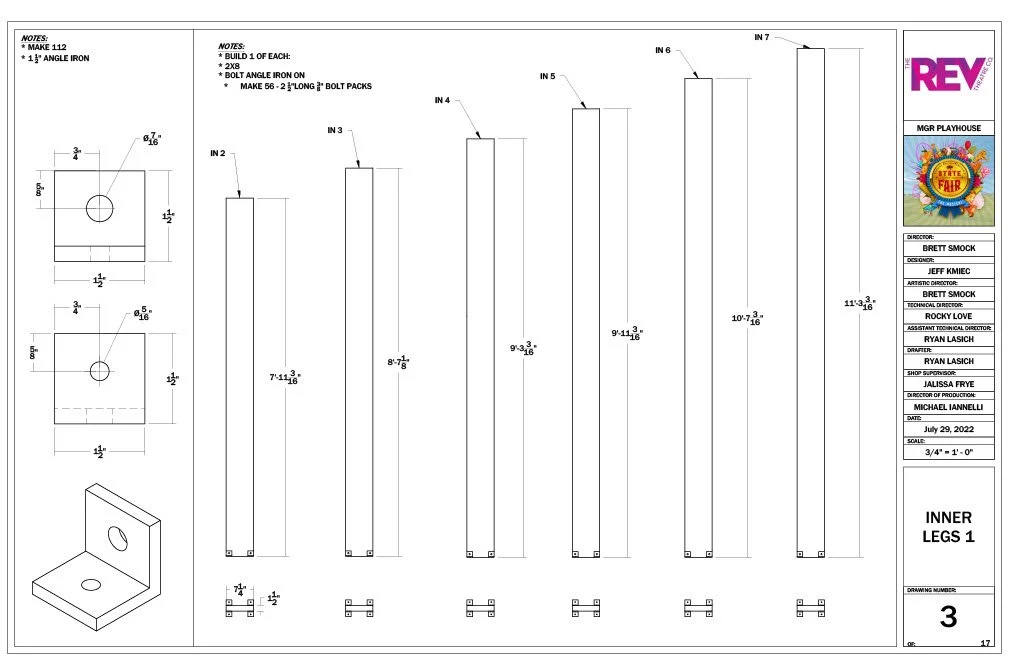
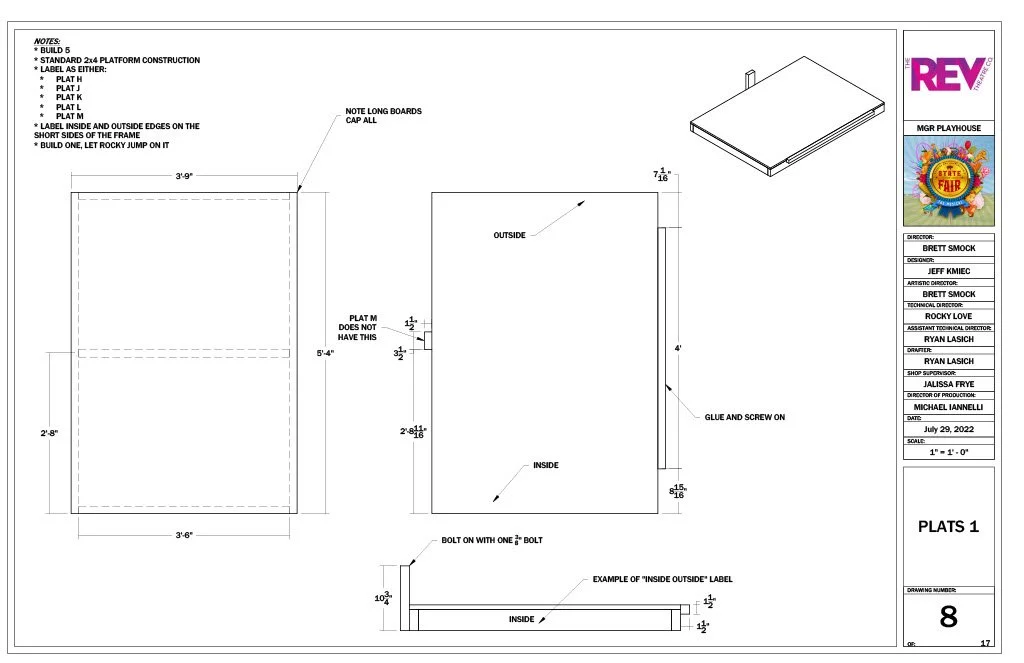
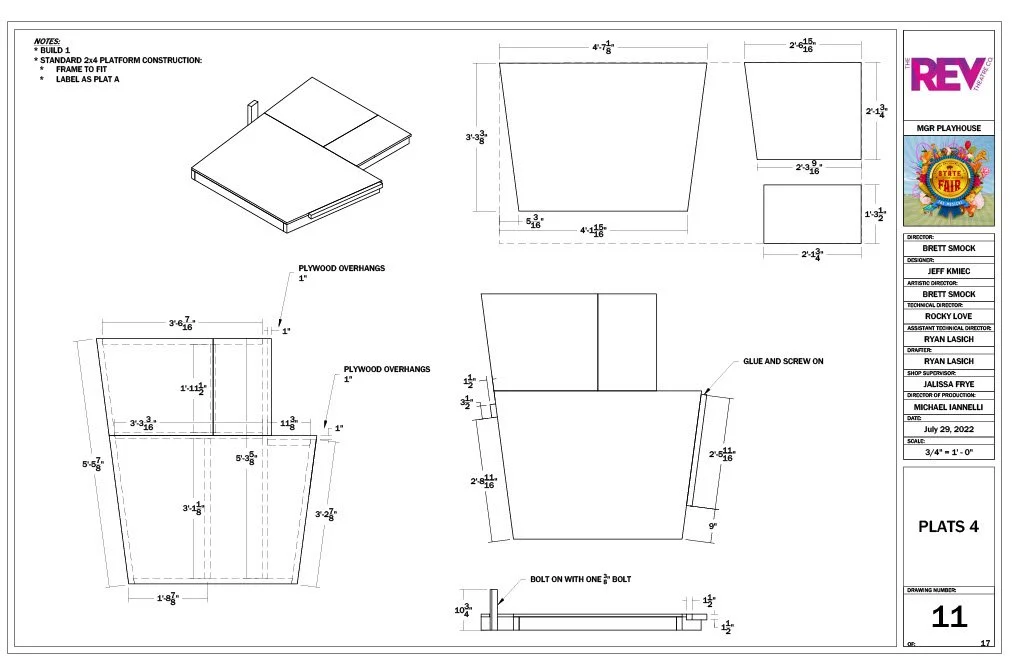
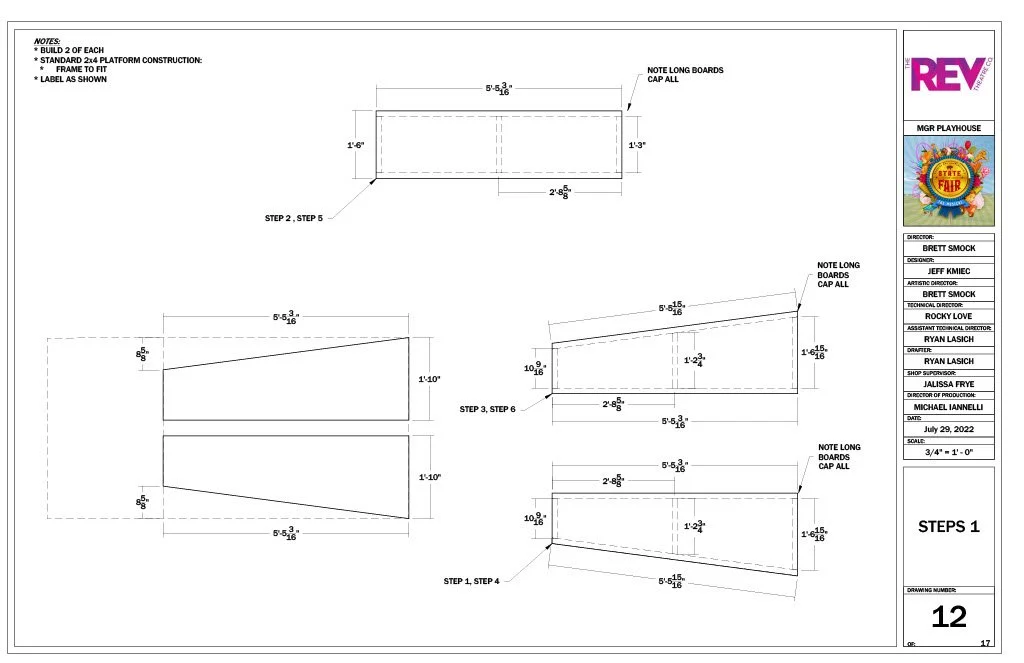
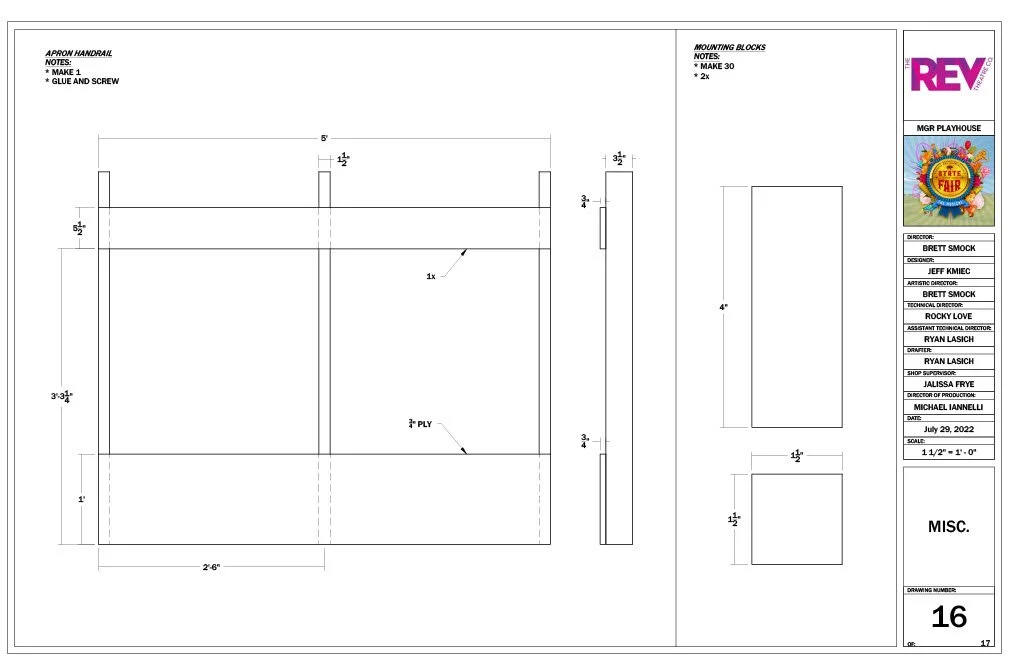
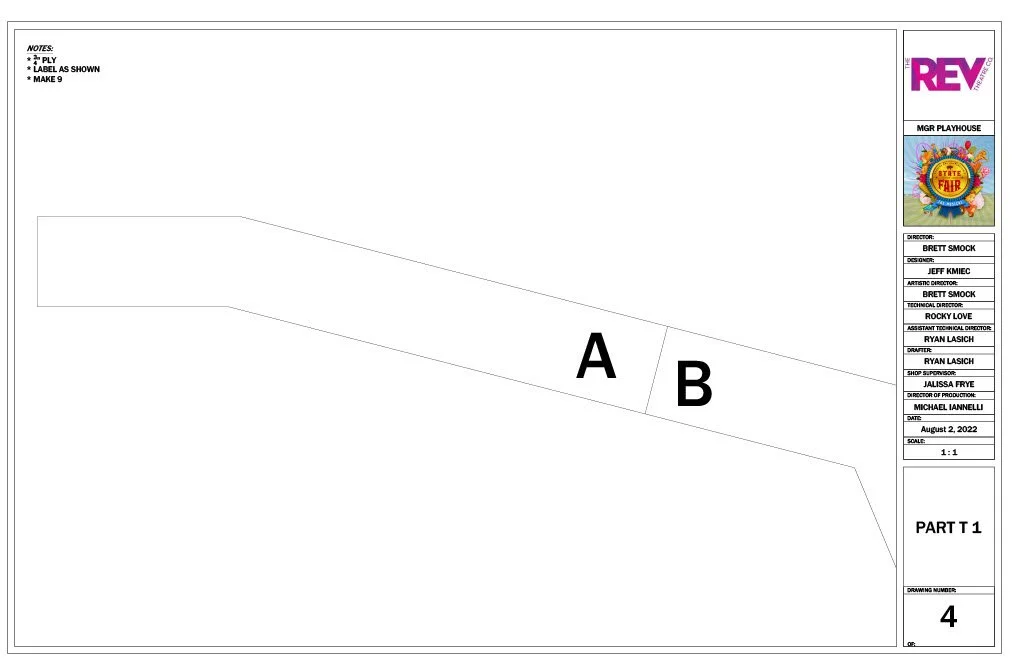
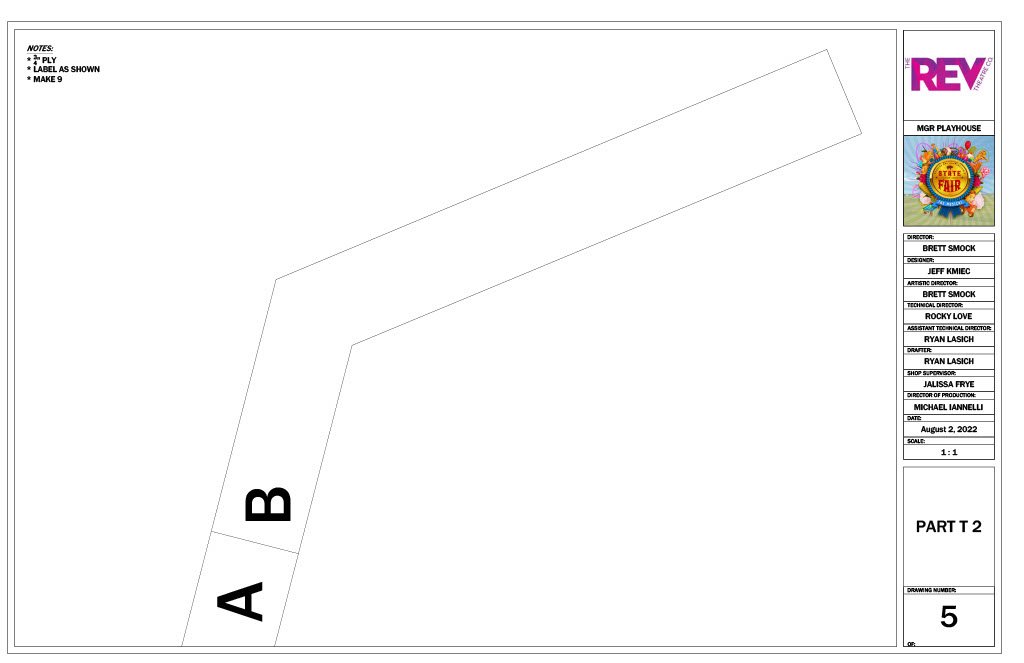
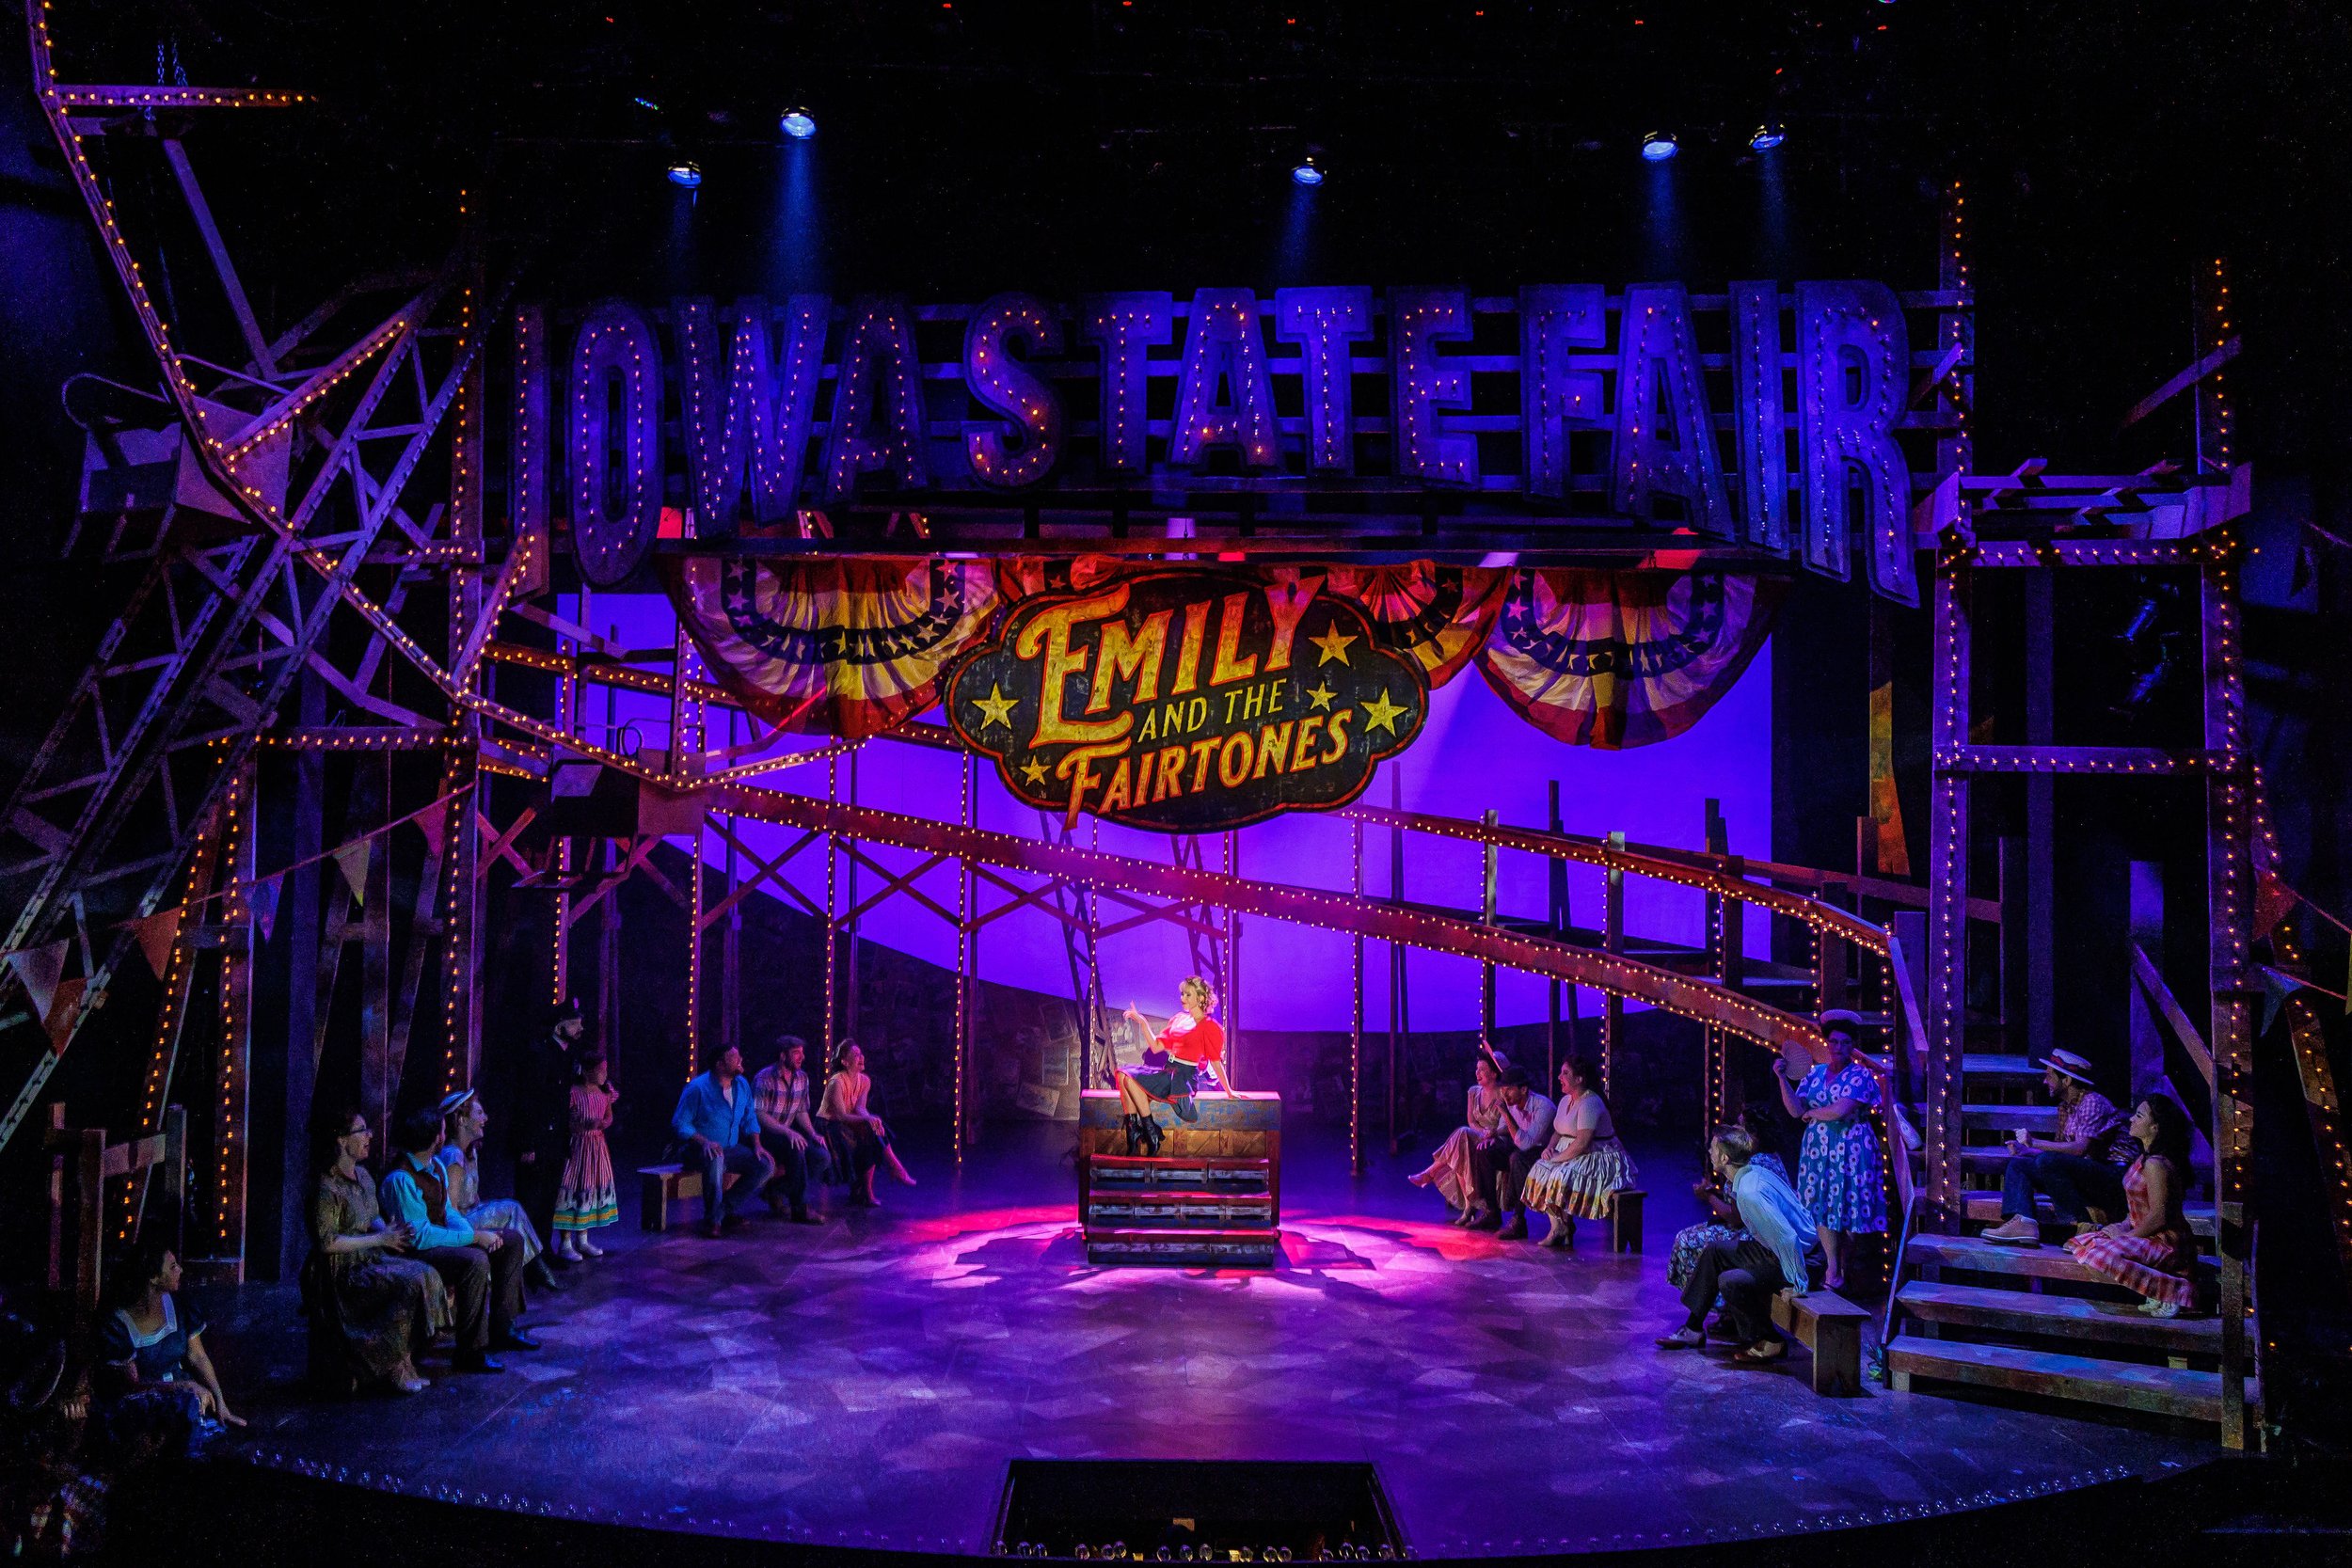
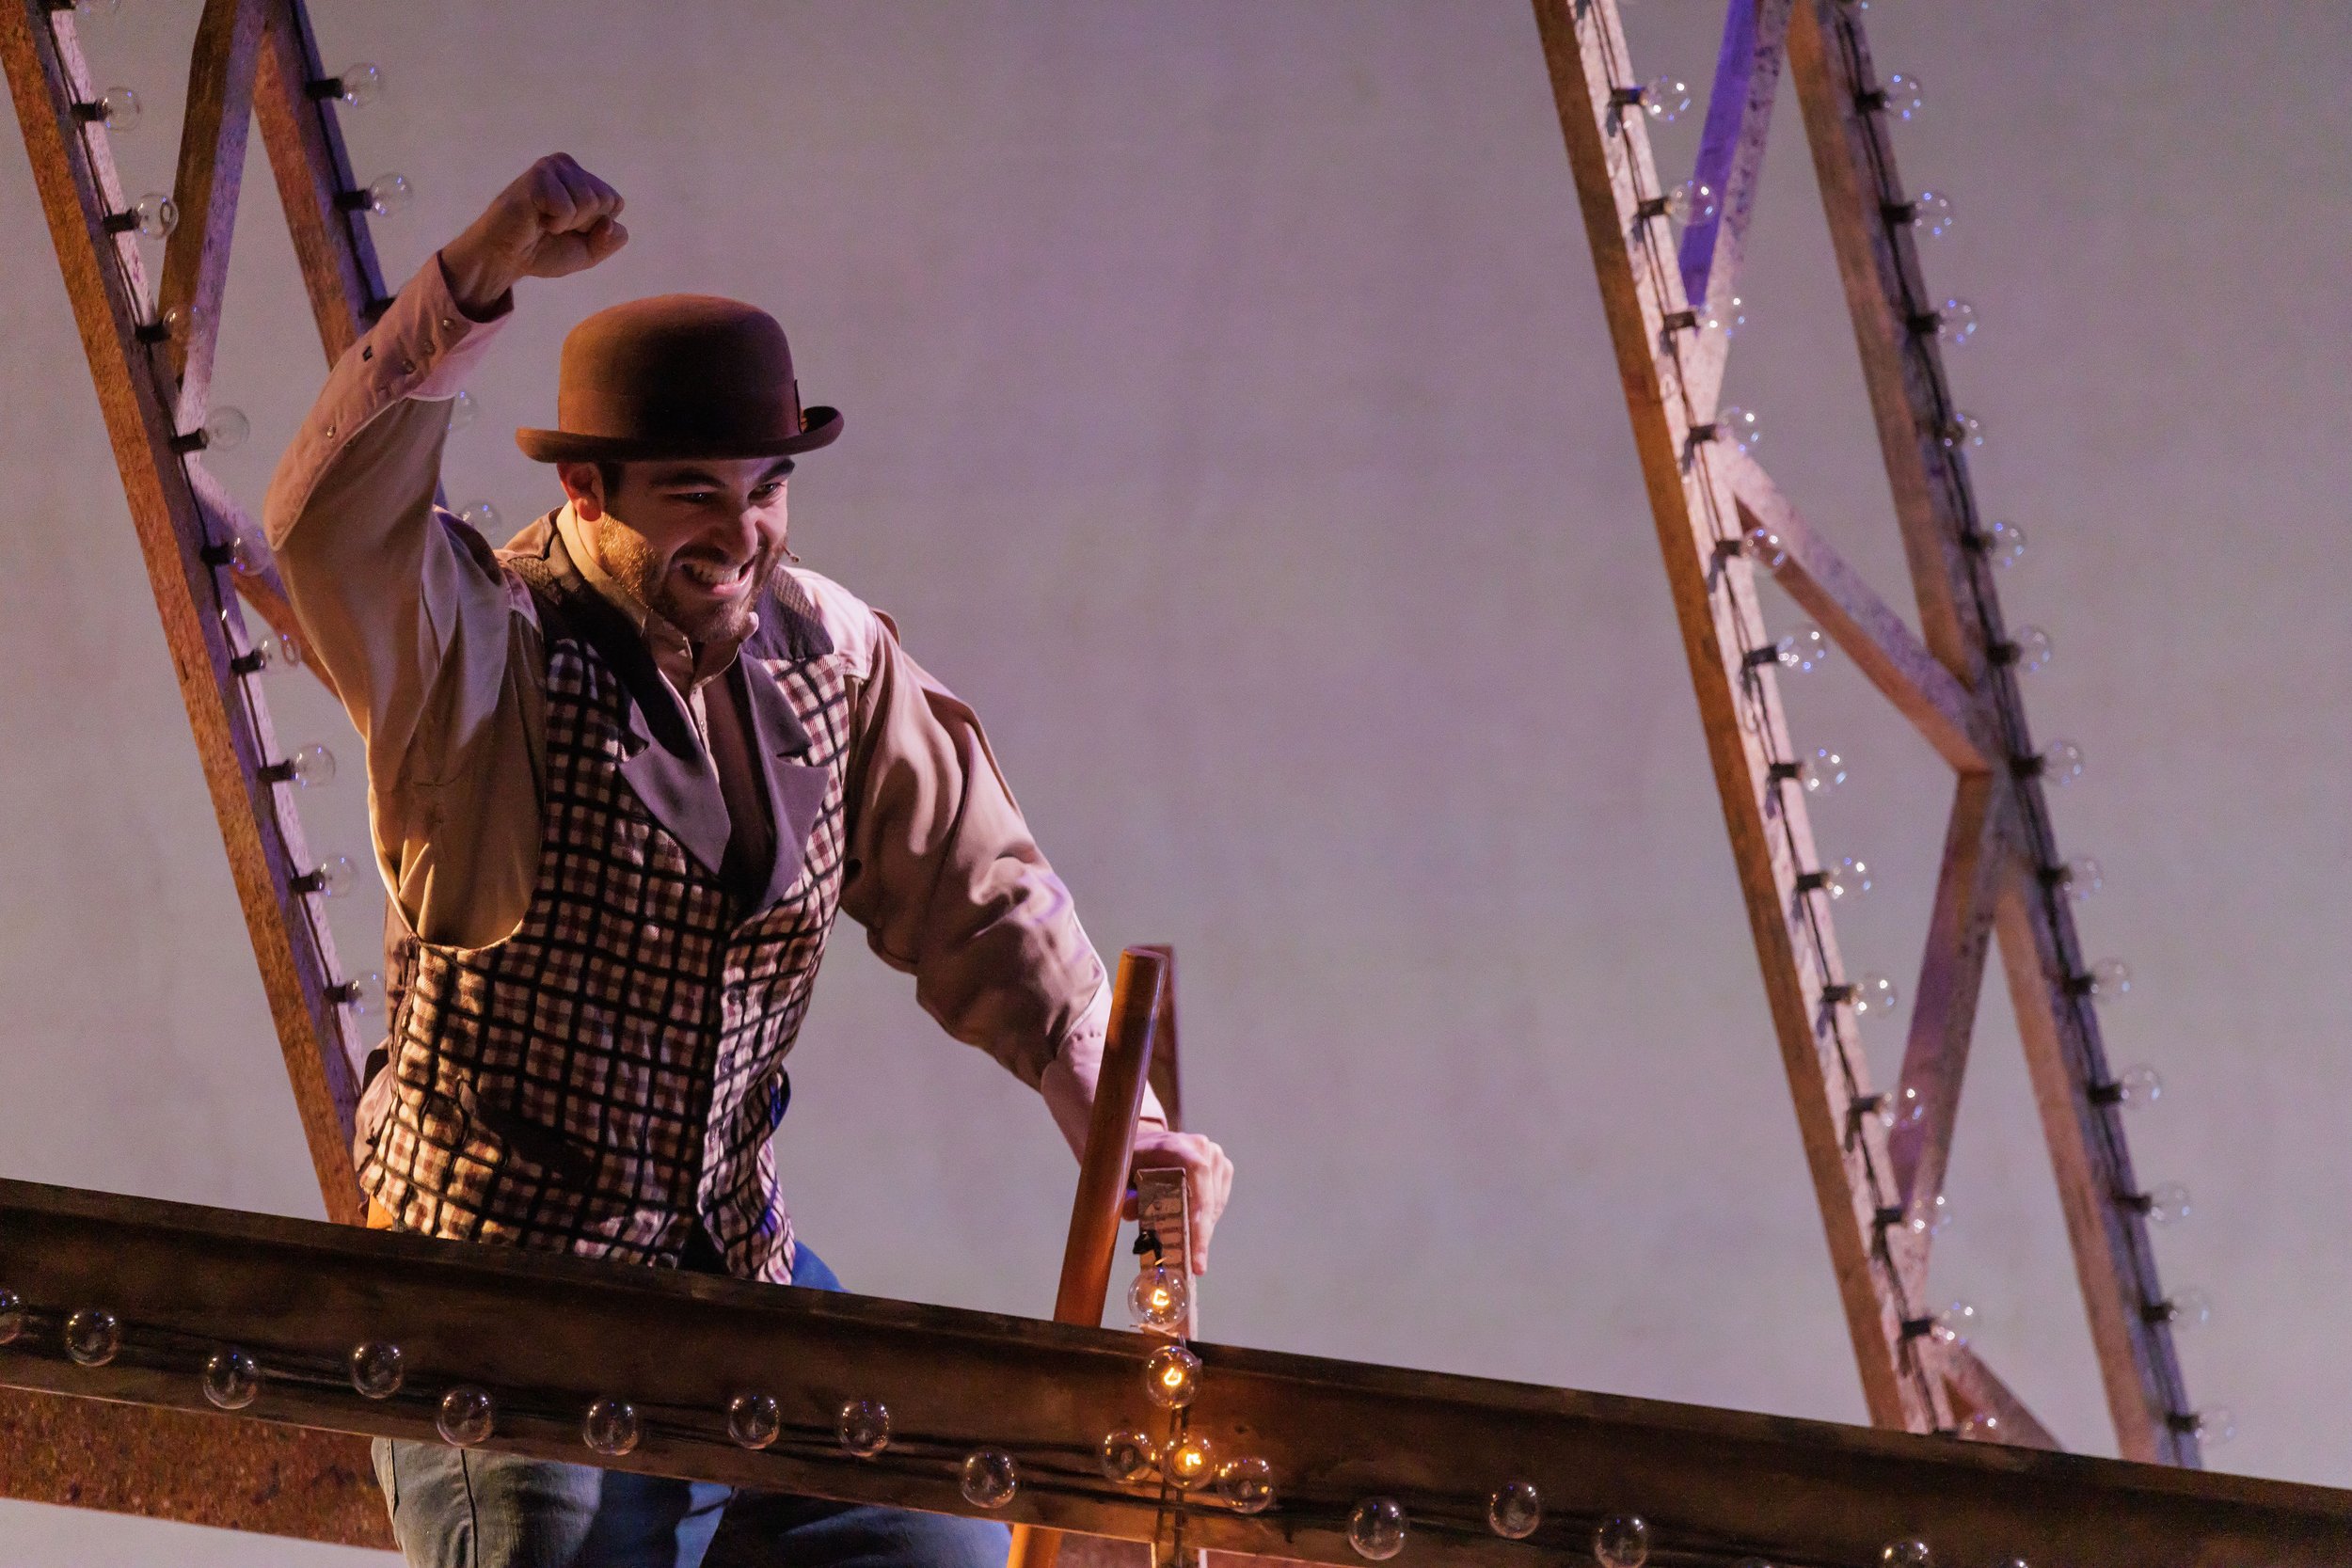
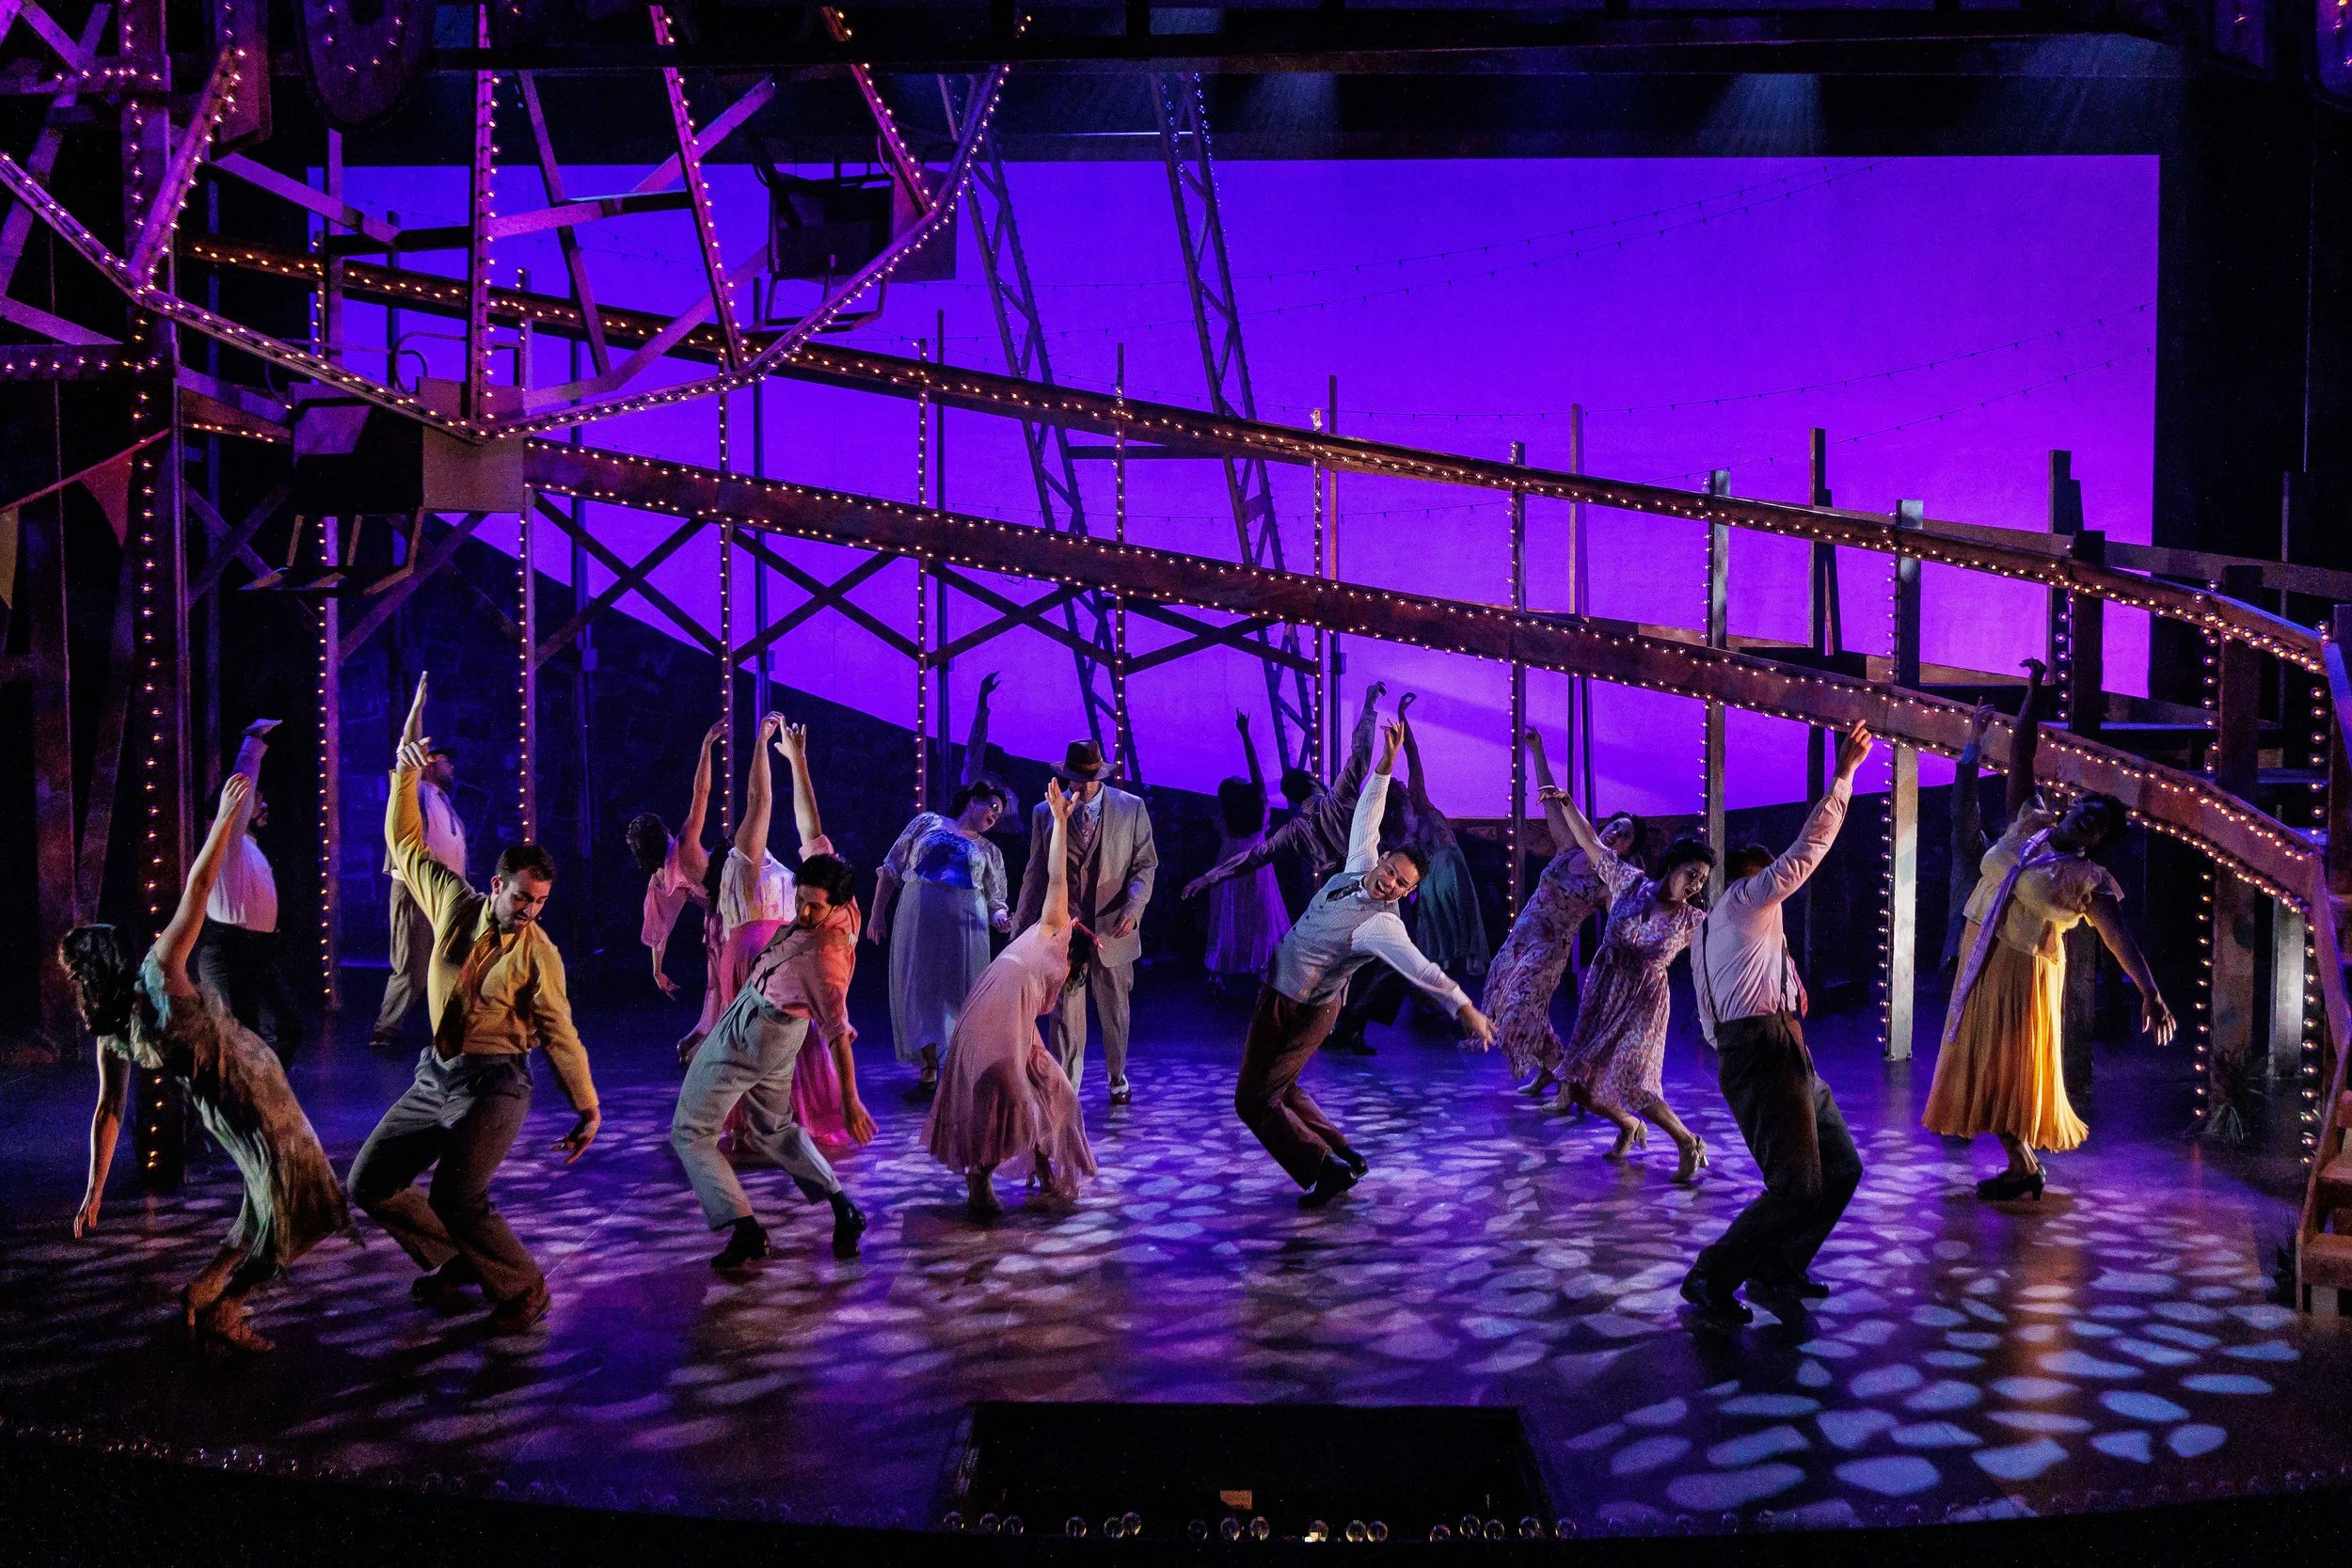
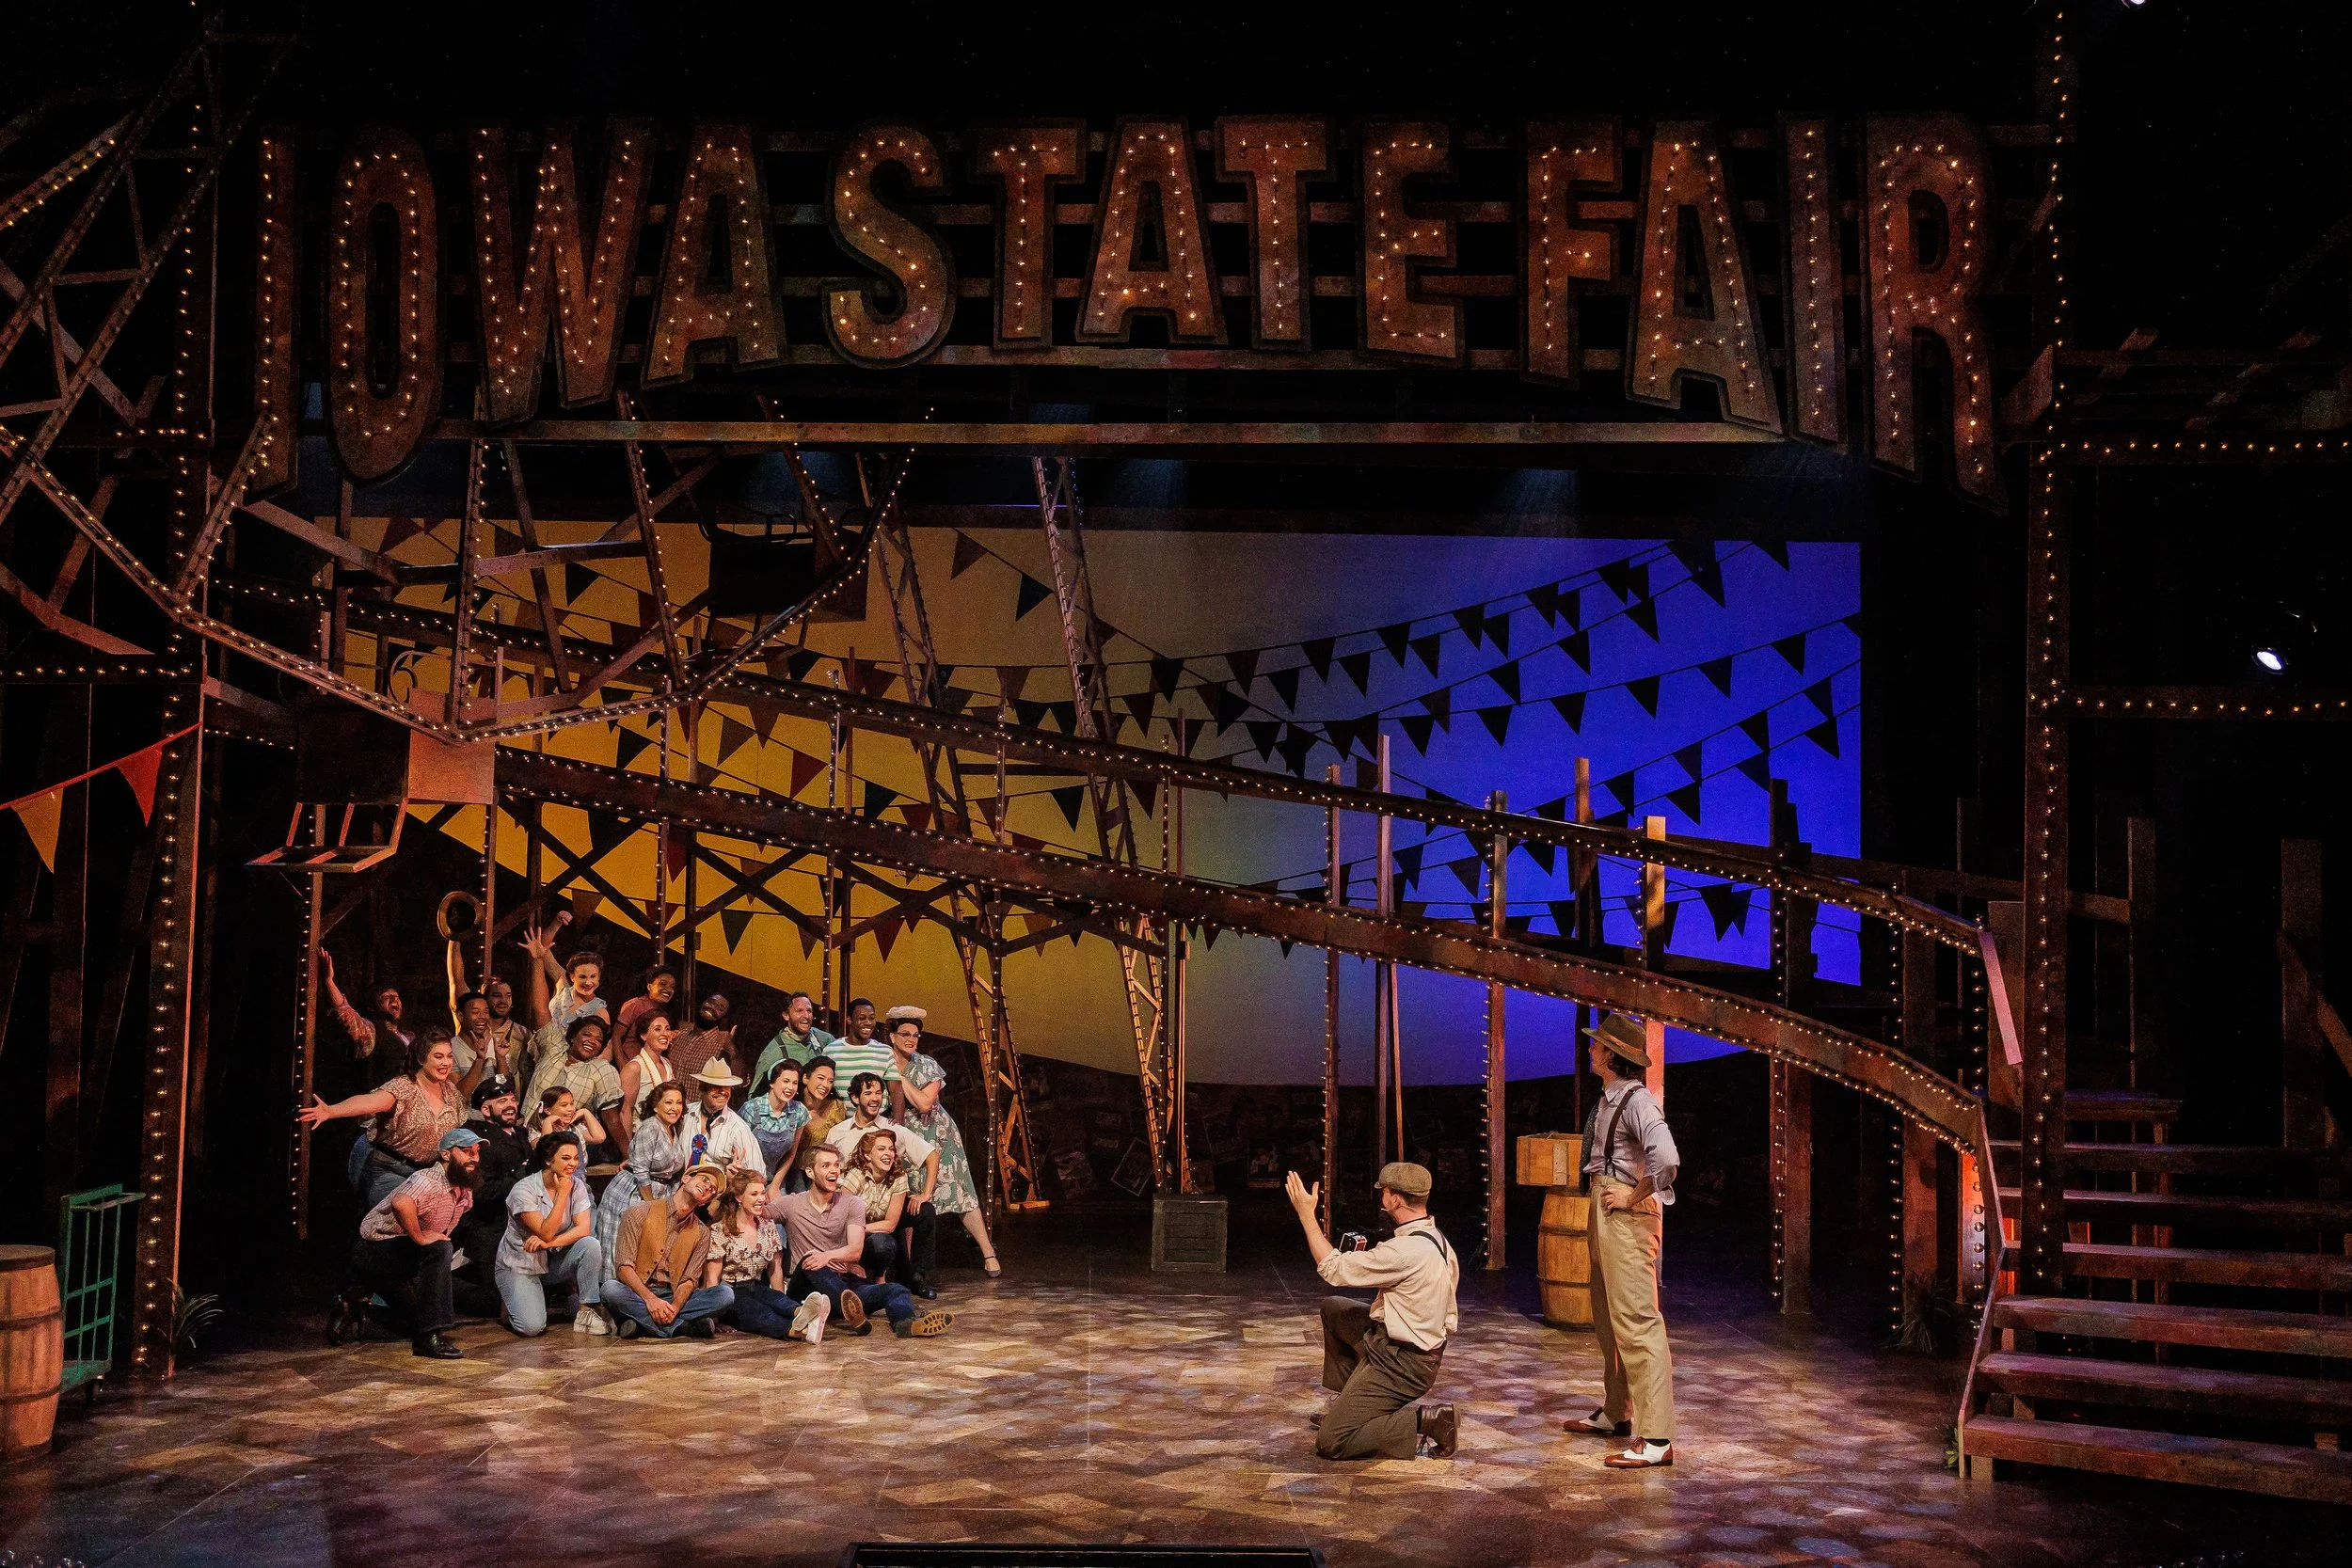
The first and largest project I worked on for State Fair was the roller coaster staircase that wrapped the main playing space. Fashioned after an old wooden coaster, this staircase was 2x4 platforms held up by 2x8 legs and jacks. the facing and handrails help hide the steps and give the illusion of a slope. This process was all about saving time, so I tried to keep things as simple as possible. Once all the pieces were made we pre-bolted all the pieces in the shop. This made load in really simple, as all we had to do was set the first platform and build off of it. I was very happy with how this came out.



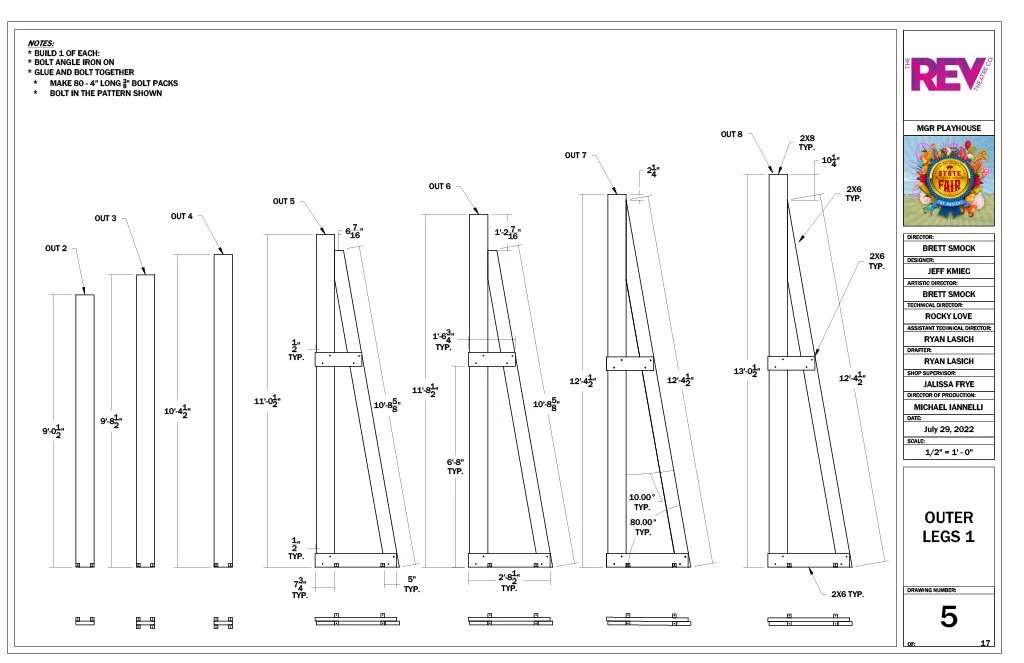
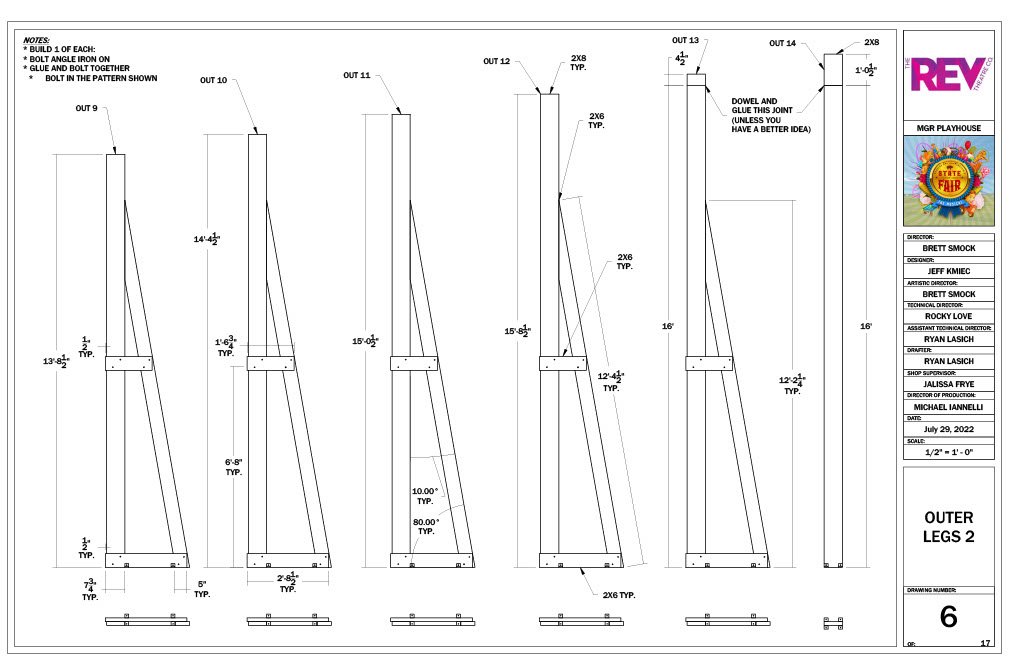





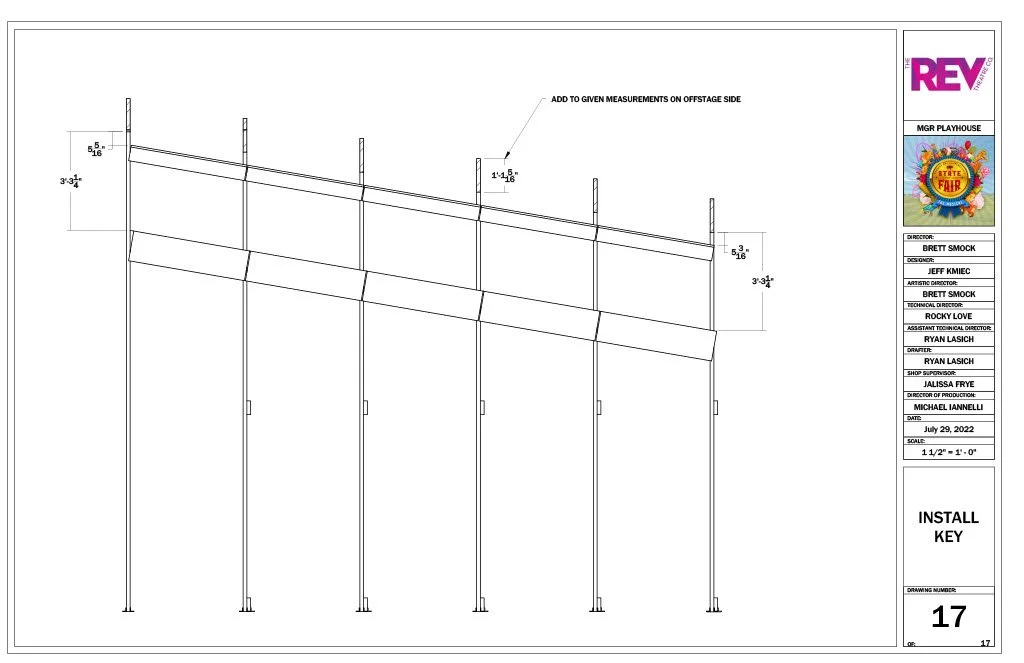
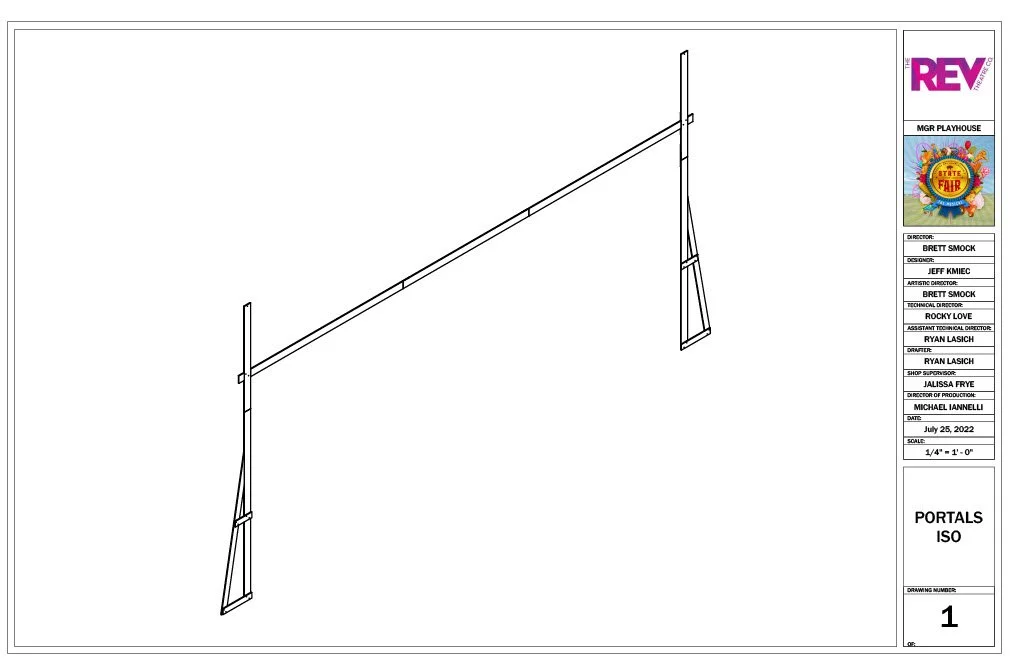
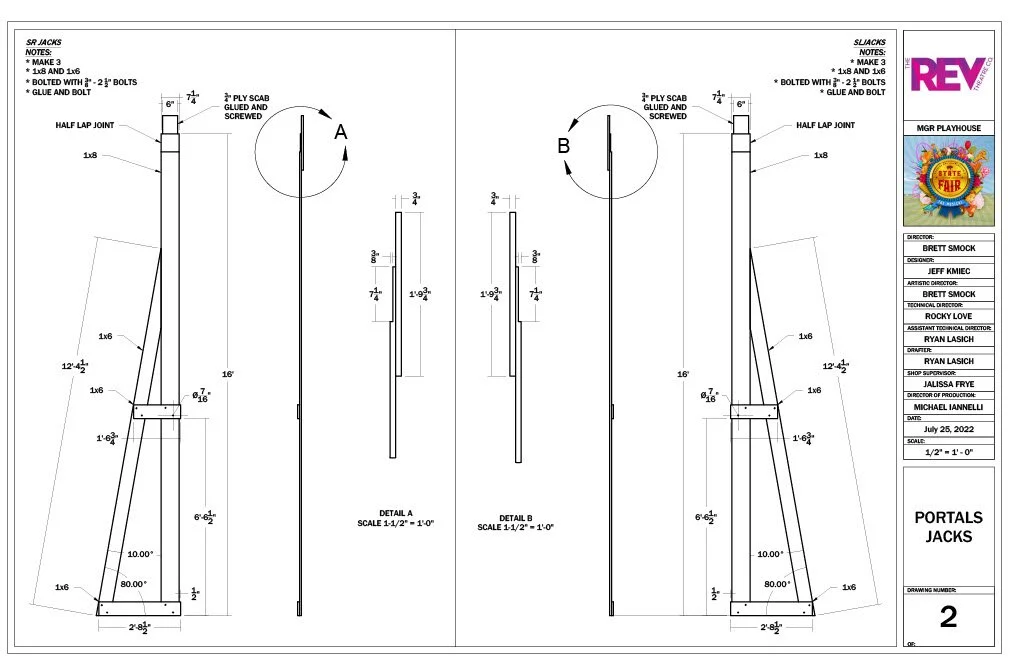
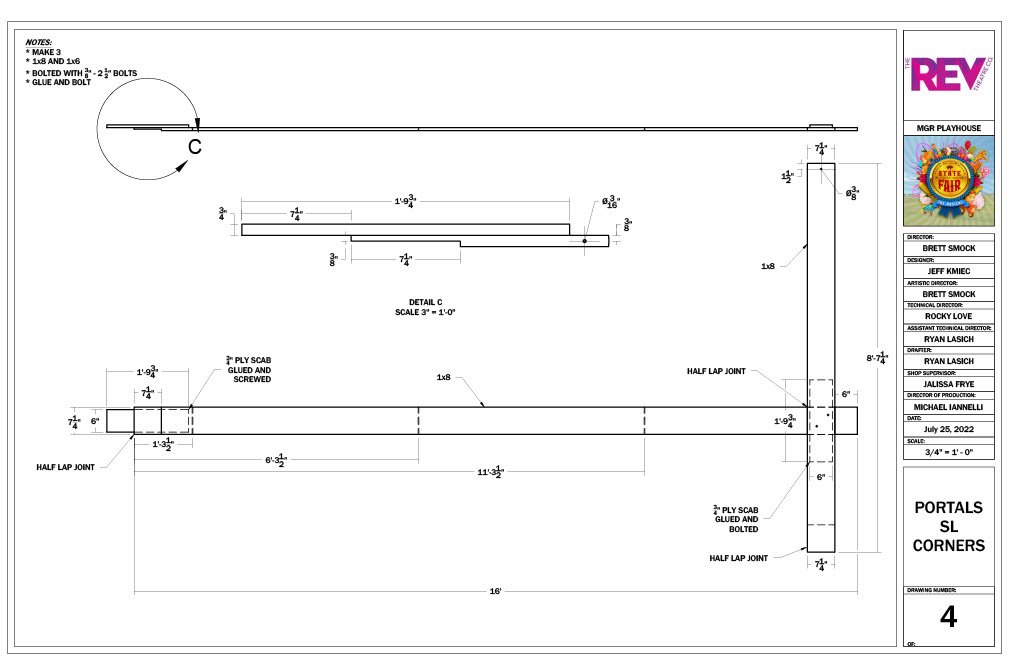
Next was the stage portals. The idea for these was to hang a border and set of legs from the same lineset, and frame the onstage edges with these portals that matched the roller coaster. Each portal was five separate pieces, two mirrored jacks, and three header pieces that would be rigged to the baton. In an effort to keep things simple and clean, I opted for scabbed half-lap joinery. To help things hang straight, we drilled holes through the center of the headers, and hung them with 1/8” AC cable and O sleeve swages.


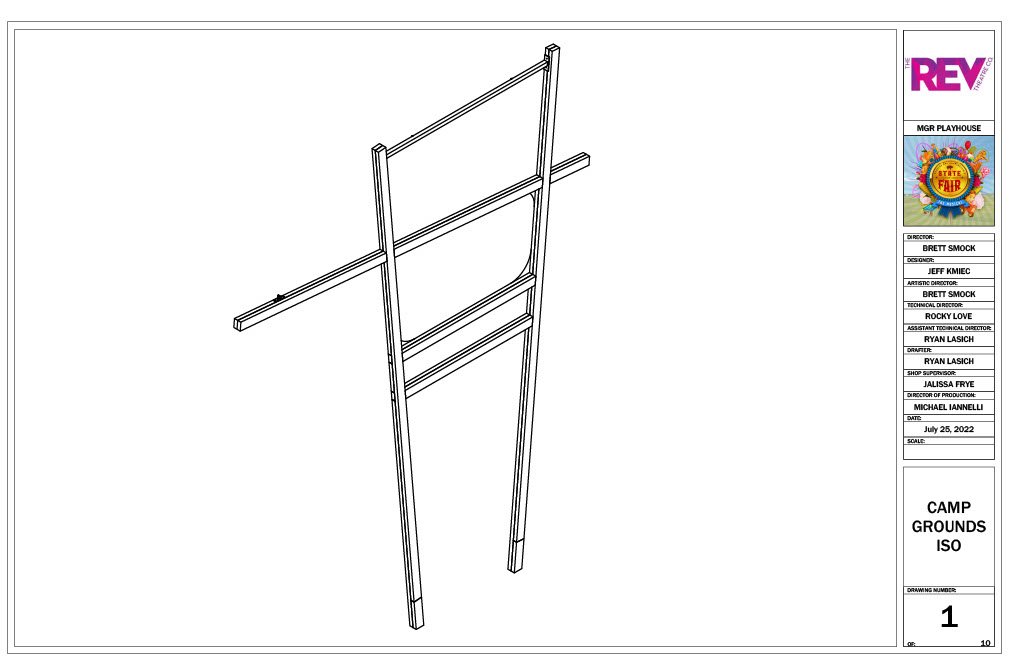
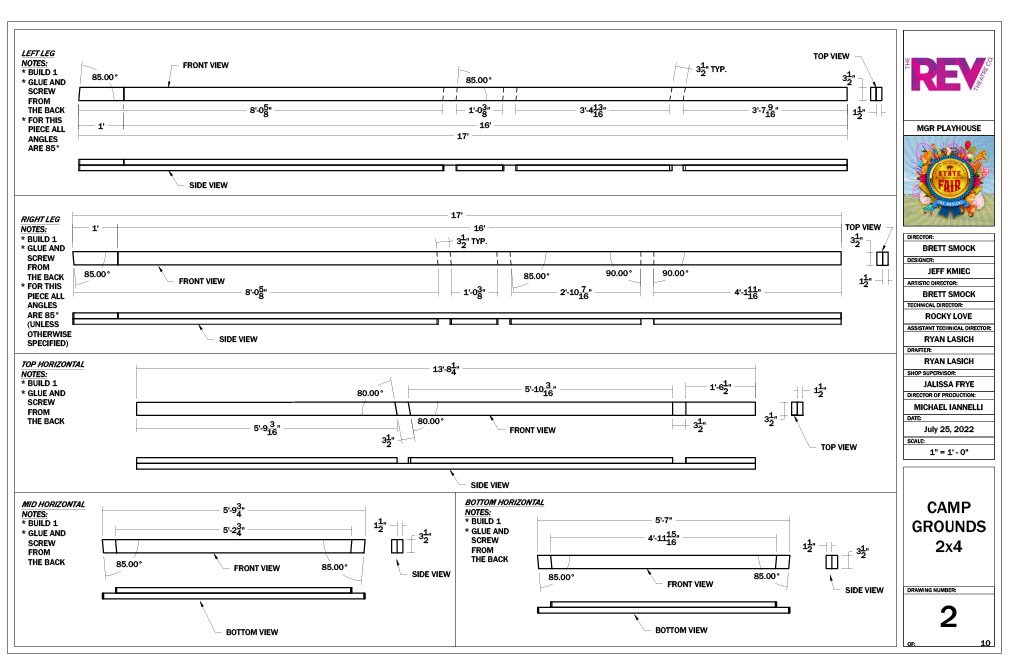
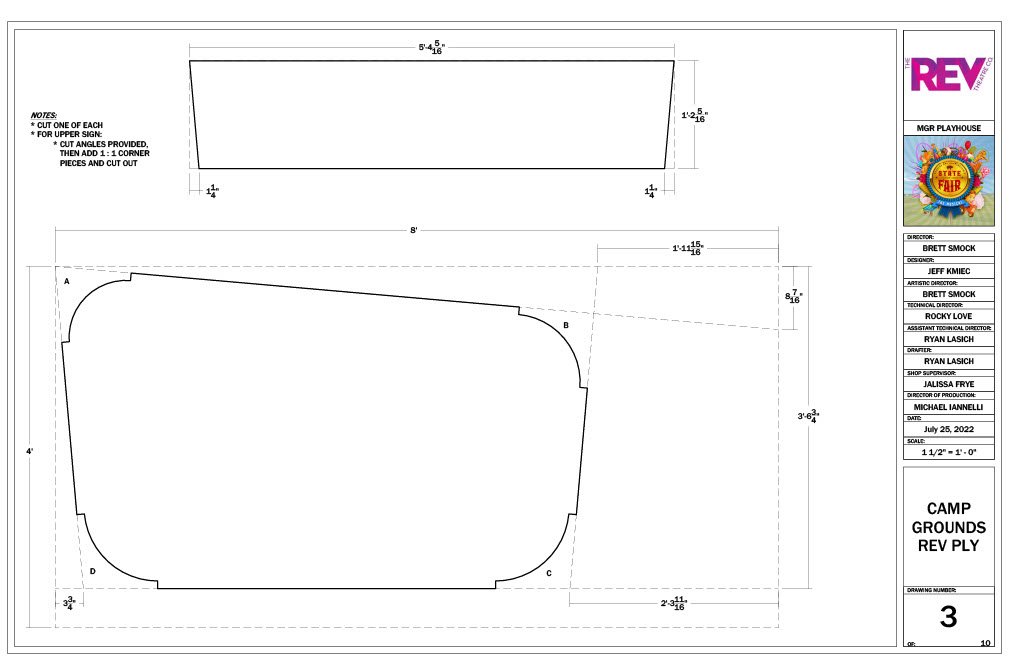
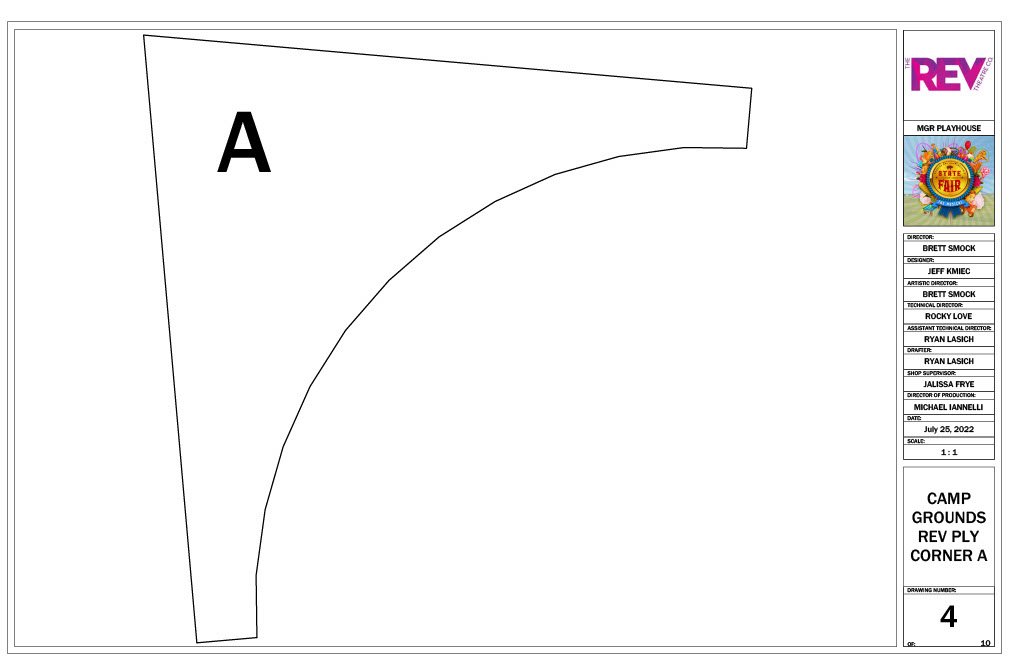
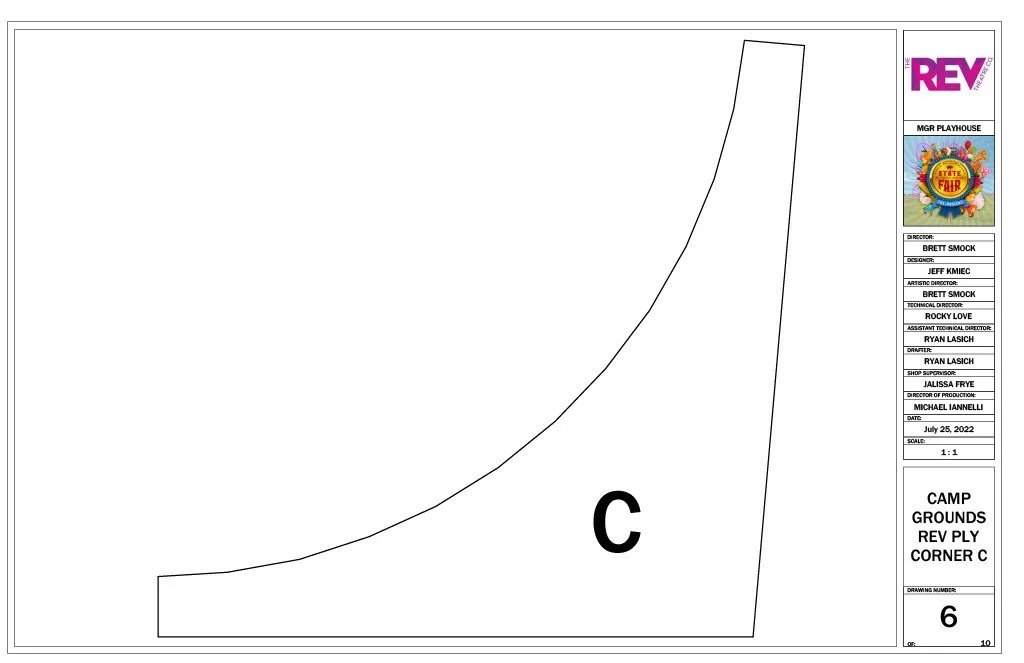
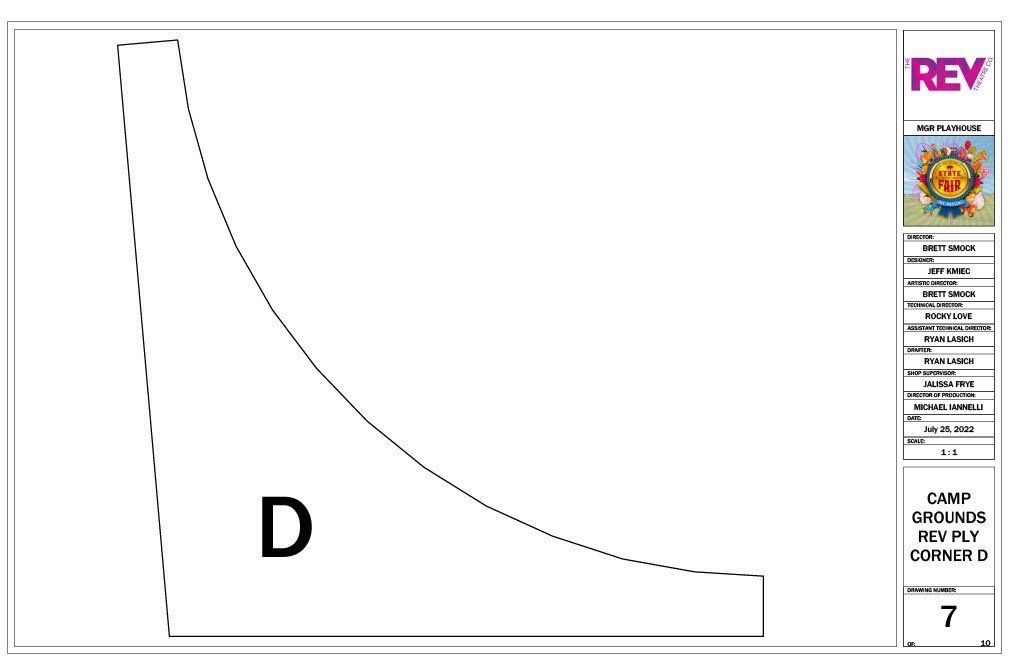
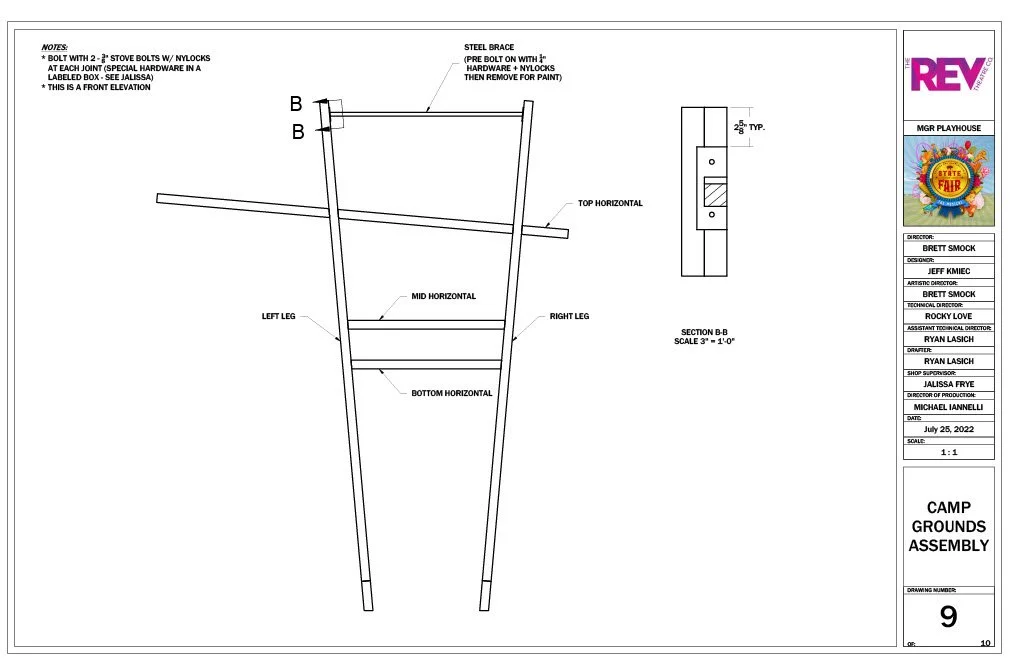
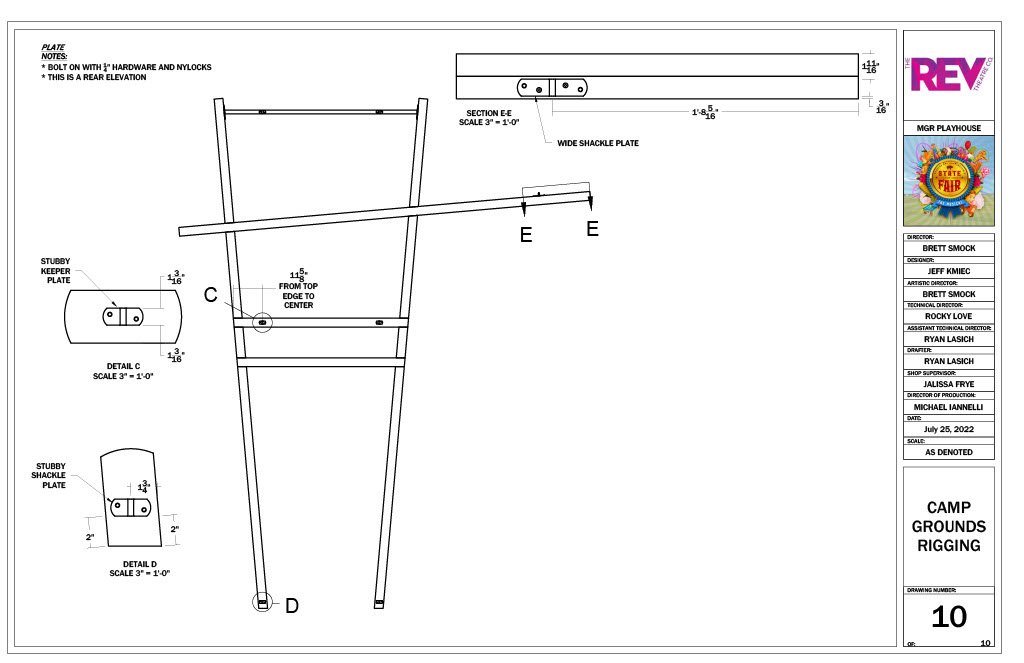
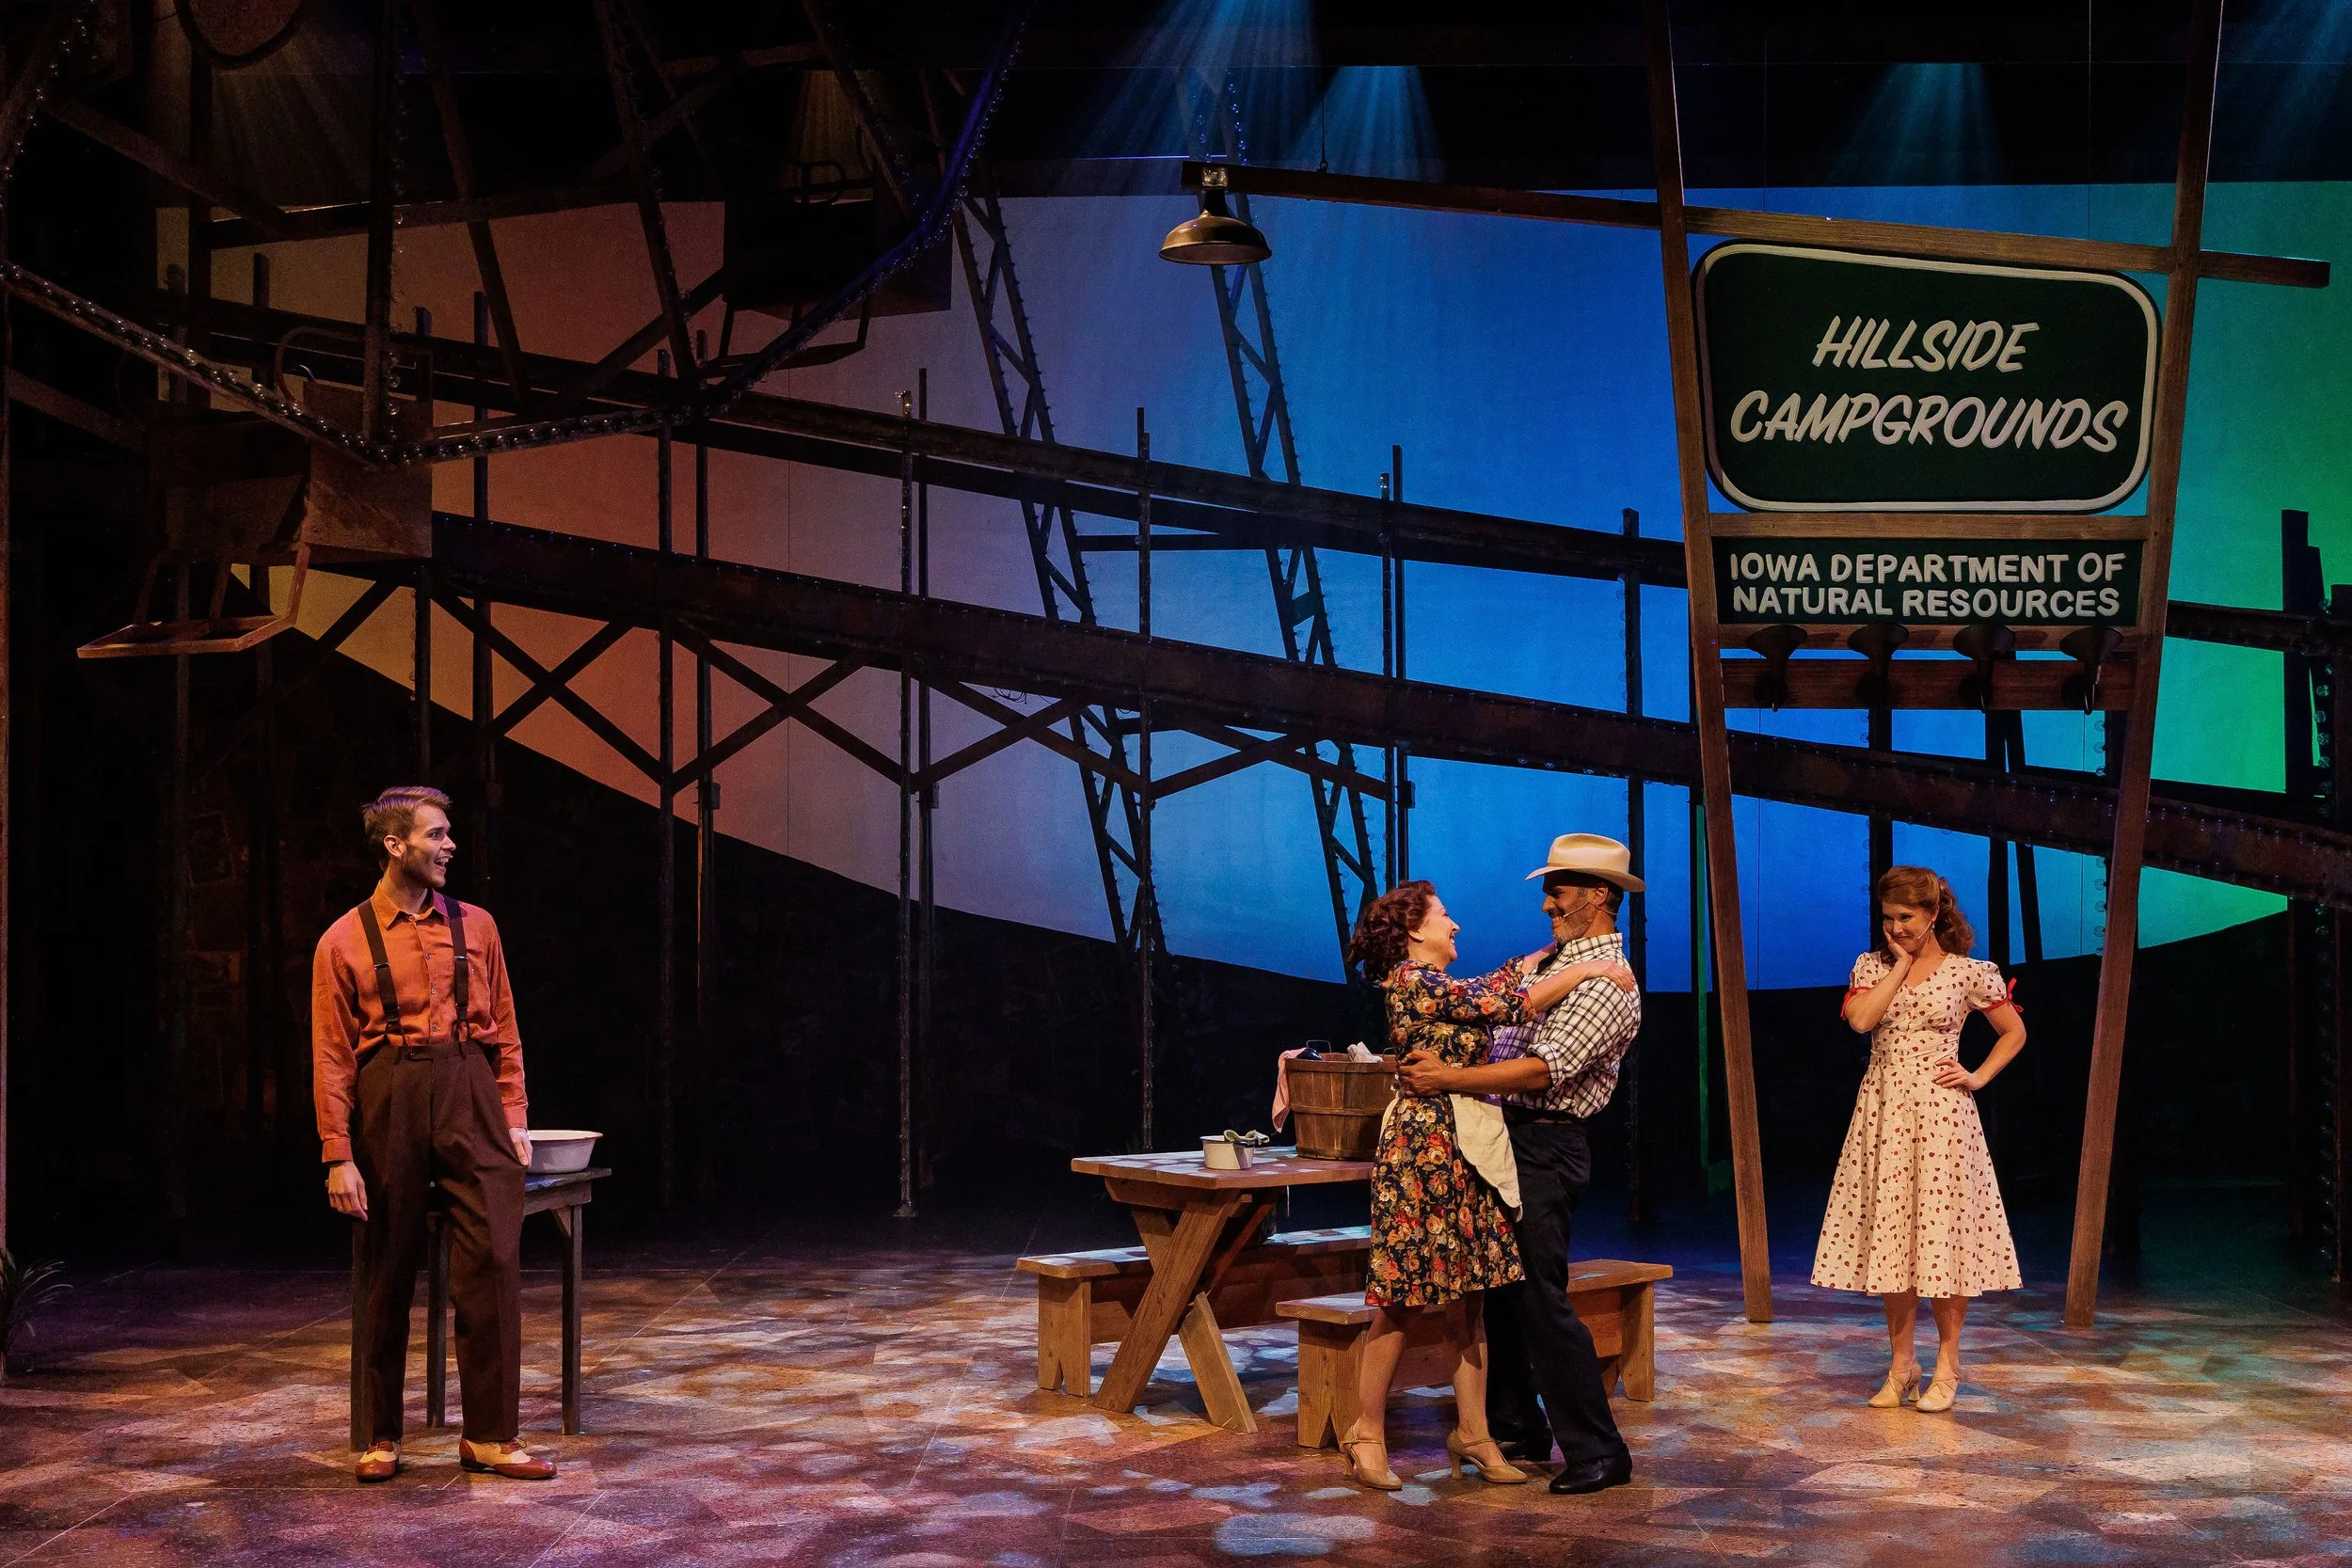
Then I moved on to the campgrounds sign. This was a flying unit with mounted set electrics. Again, simple half lap joinery, this time bolted together so that it could be taken apart for transport. We also had to cut a curved sign insert, and to do this I made printable corner templates that the carpenters could spray adhesive on and cut out. I found this project to be very simple yet effective.


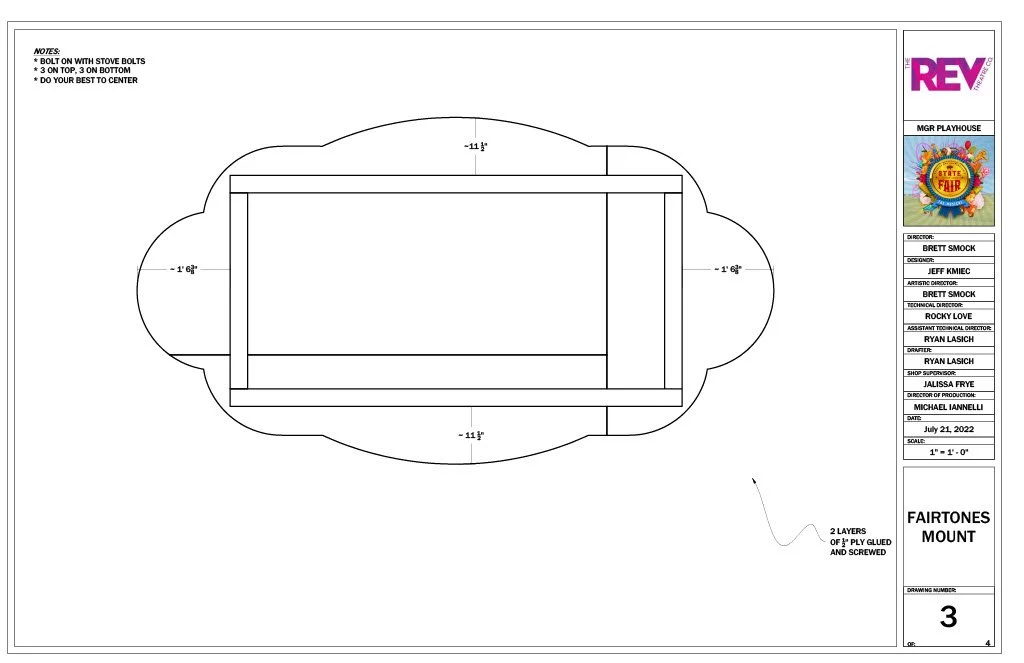
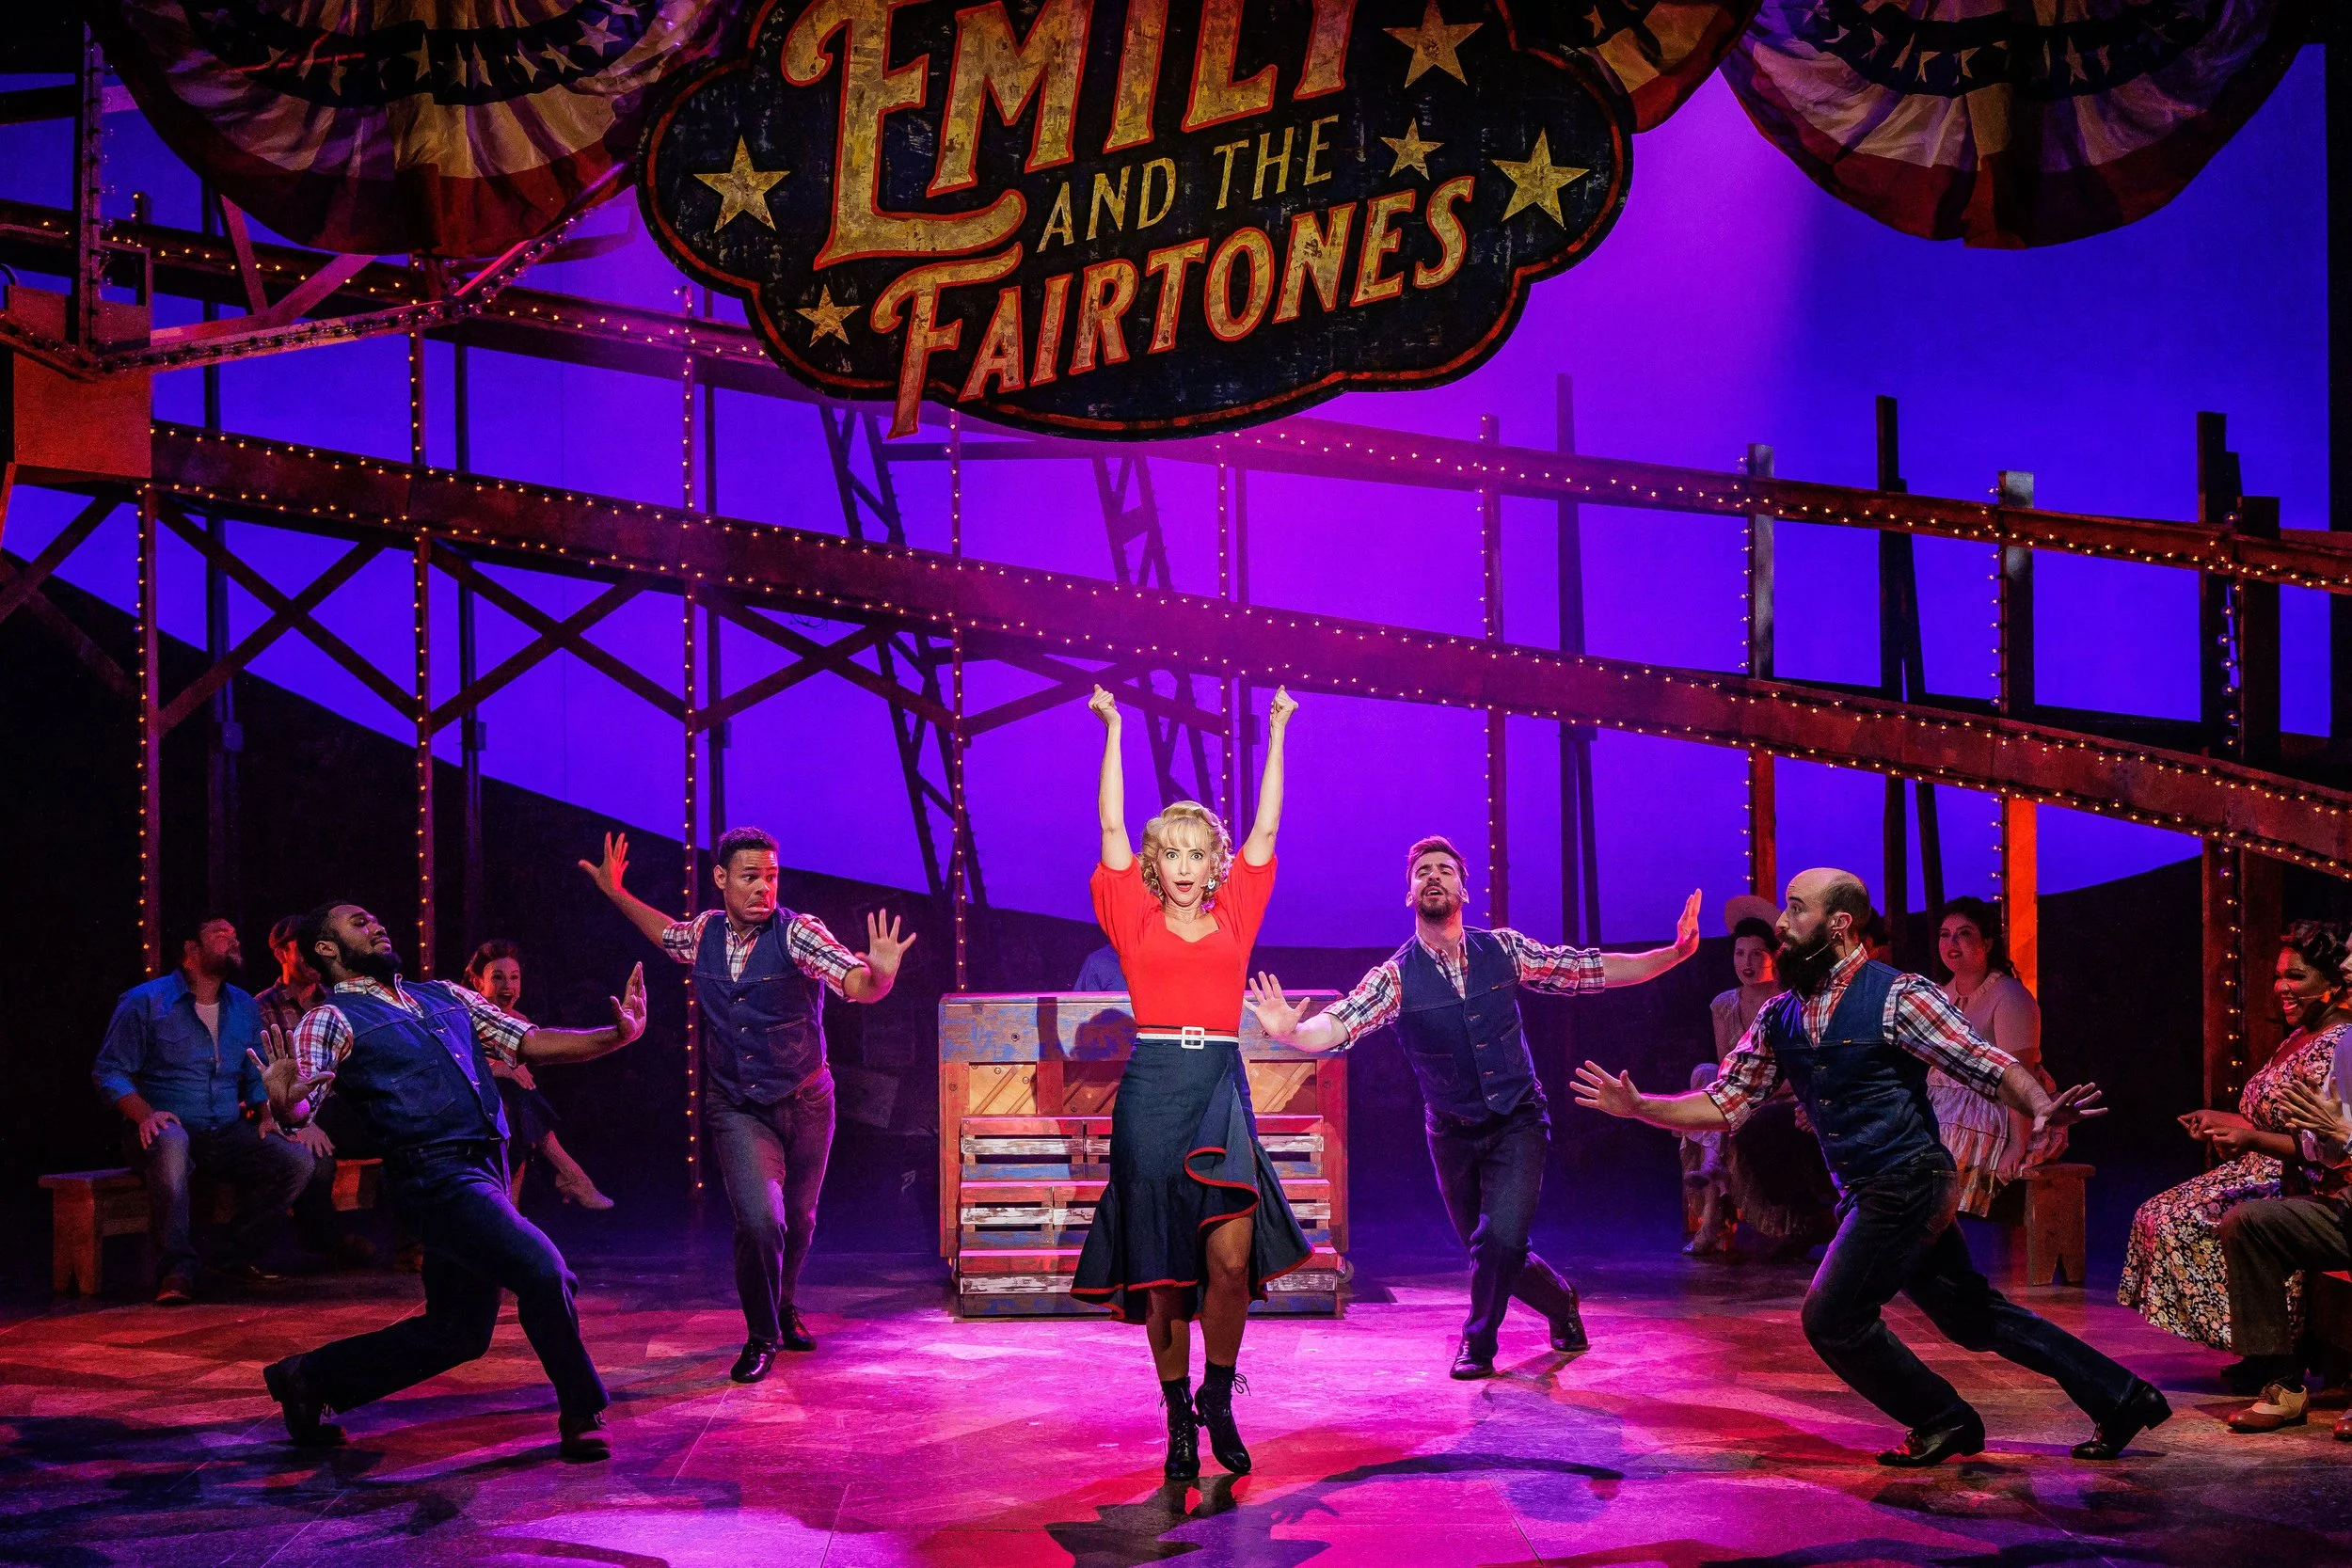
Next, the Fairtones sign. This was two layers of laminated 1/2” ply, a 2x4 hanging frame on the back, and some 1/4” ply letters on the front. The cutting template for the 1/2” ply base and the letters was printed 1:1 on the plotter, so my drafts just served as the intermediate steps for assembly. Much like the portals, we hung the Fairtones sign by drilling through the center of the hanging frame, and using 1/8” AC cable and O sleeve swages. The paint team helped place the letters on the front.



The arch flying unit was next. This served as the entrance to the front porch of the family home. This was a very open frame, and it needed to look architecturally appropriate. I started with a steel frame that we would rig to, and then build layers on top of. I felt like I made something deceptively complicated, so when it came to plating I went by “Phase”. Showing the individual steps it took helped everyone to understand better what the idea was. I ultimately helped assemble this unit just to make things easy.


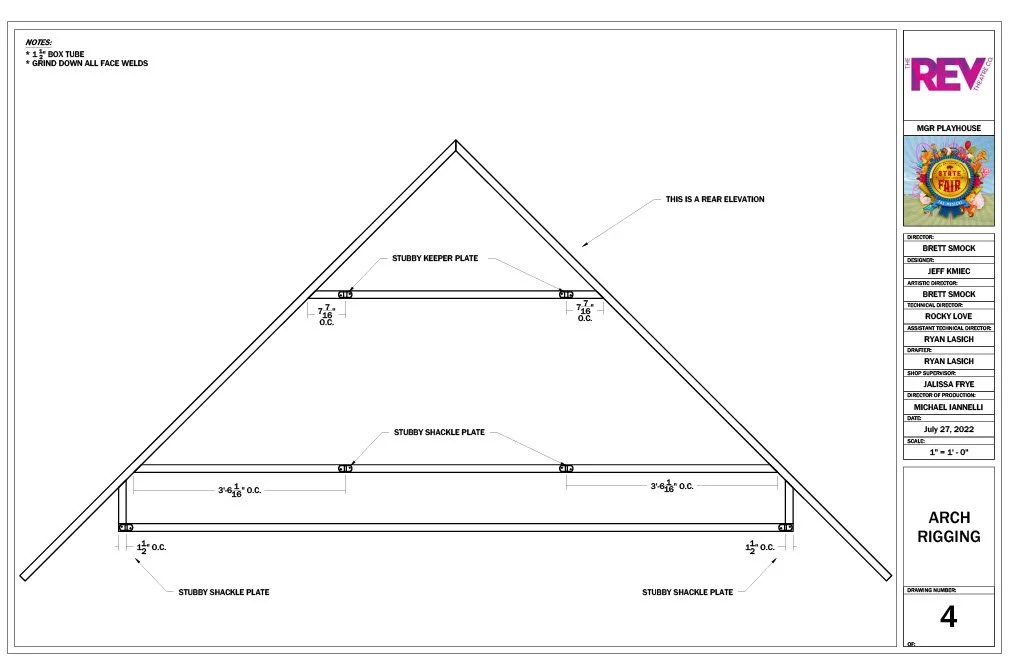
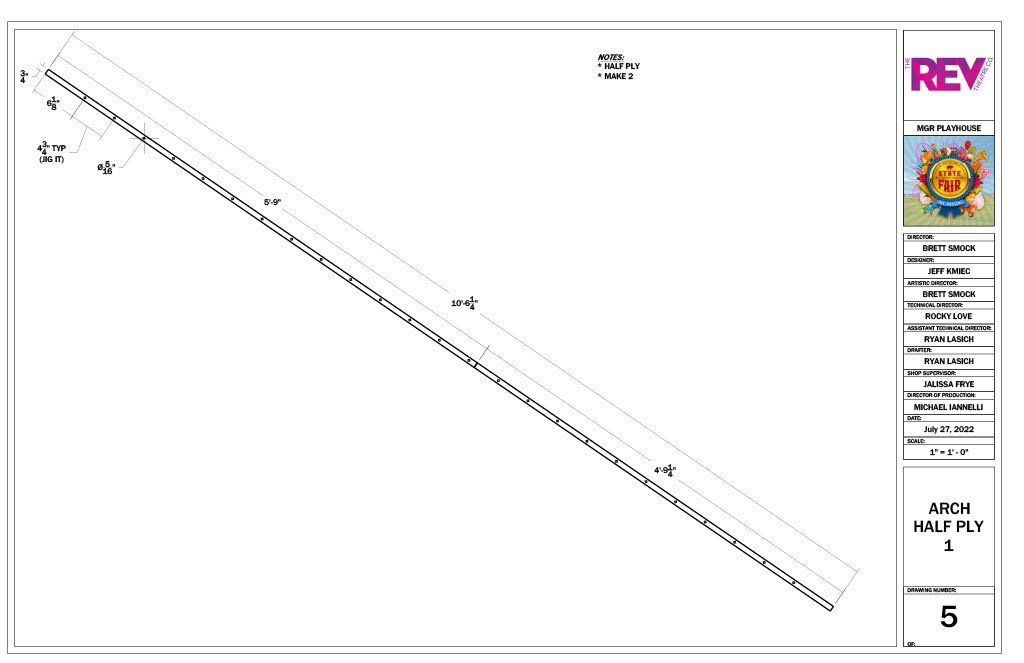
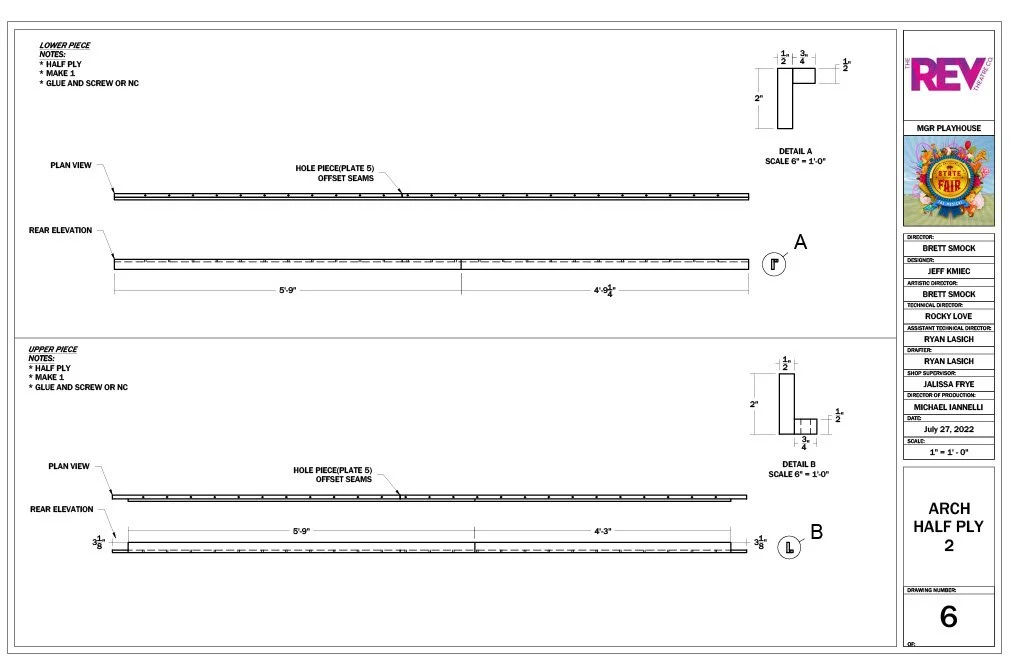
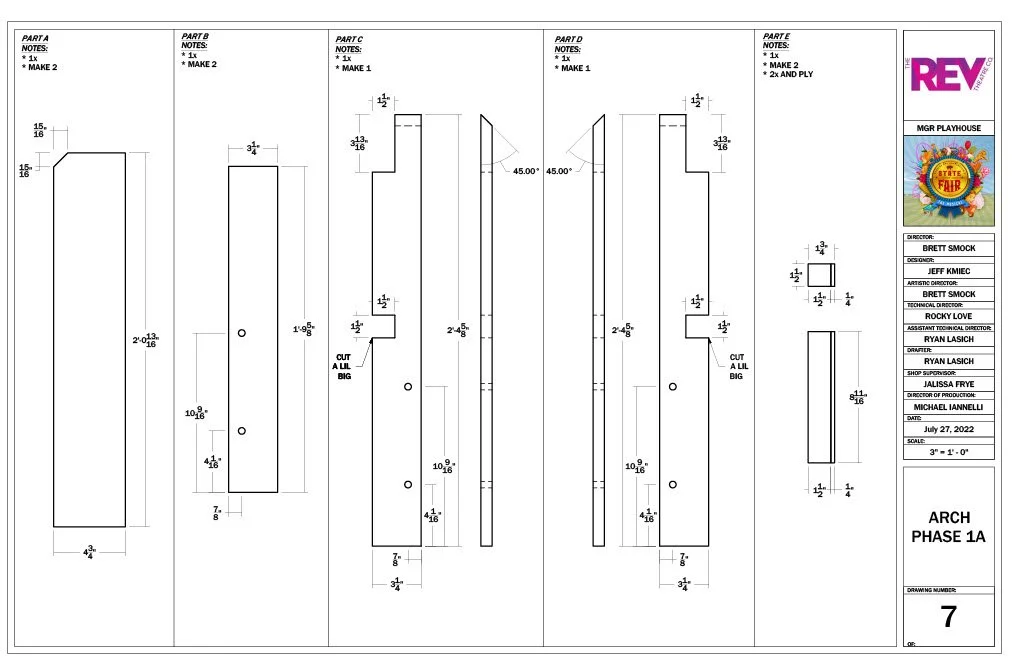
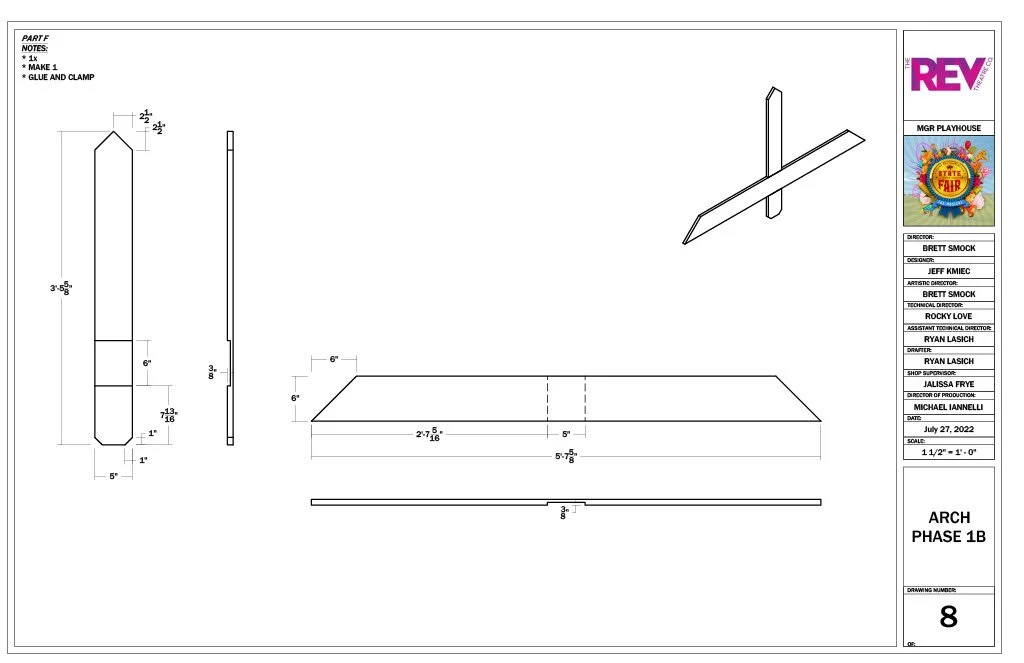
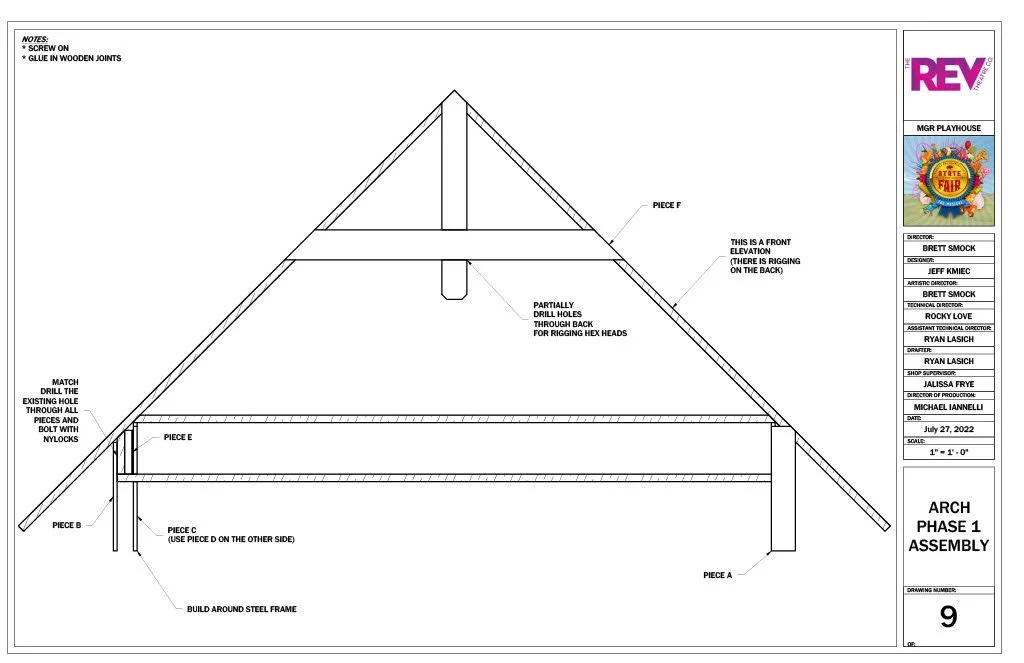
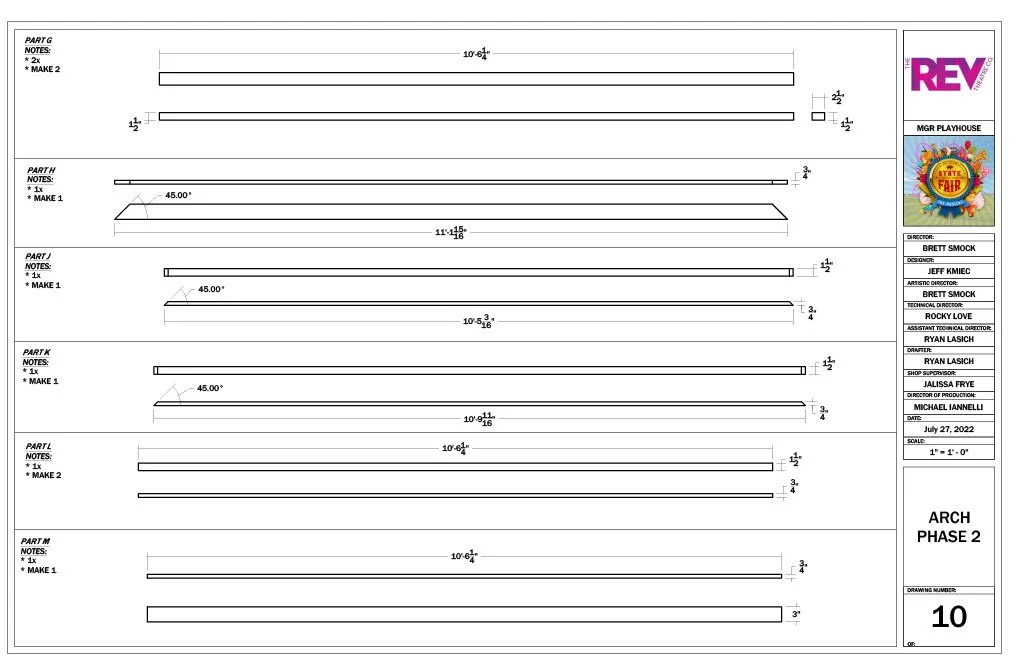


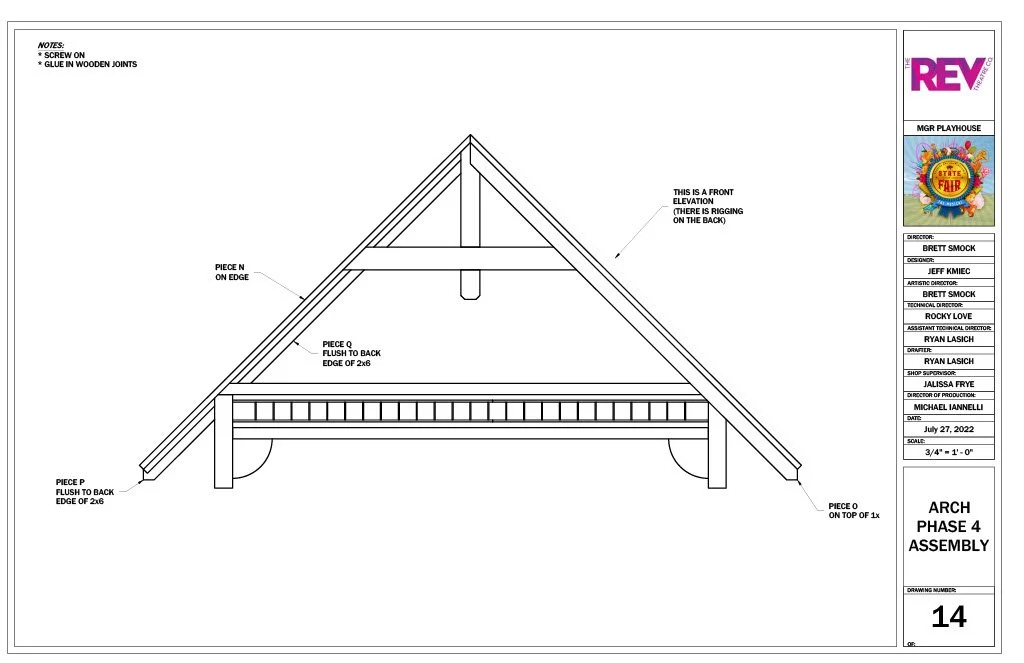

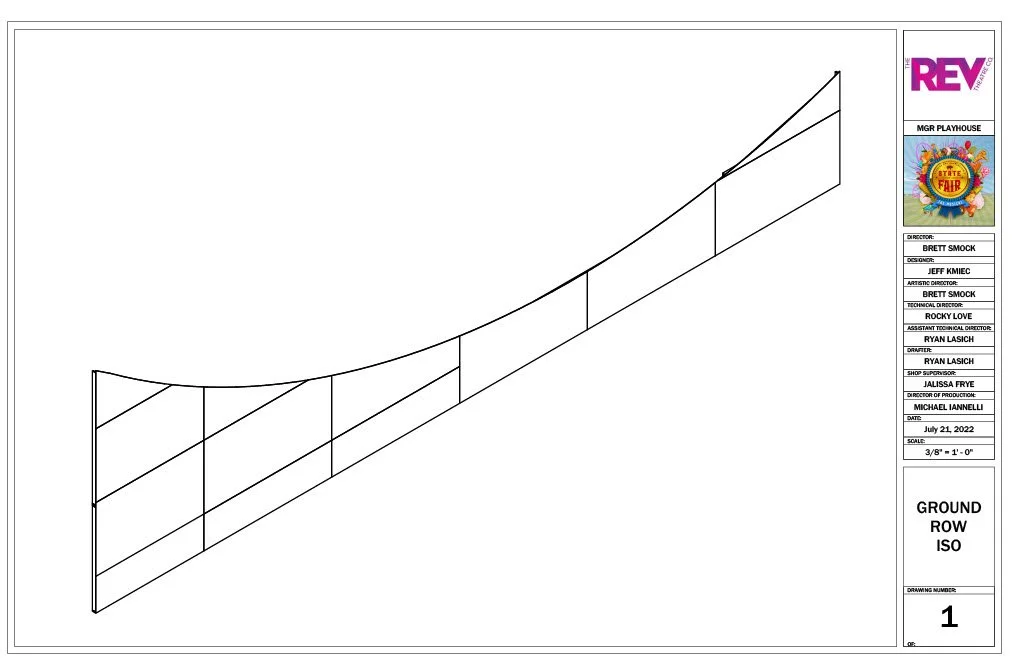
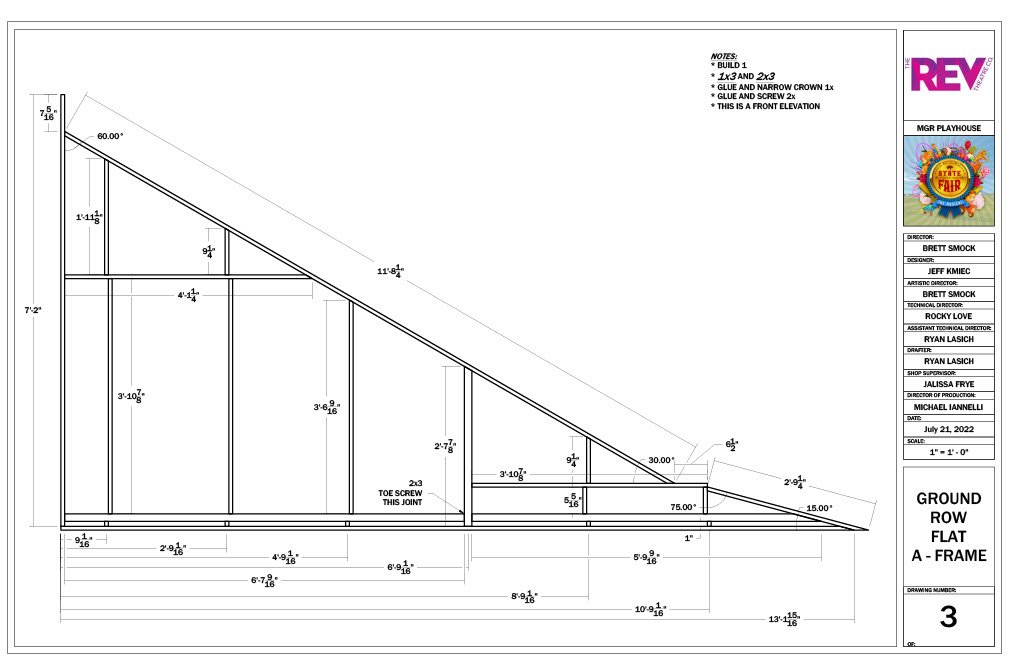
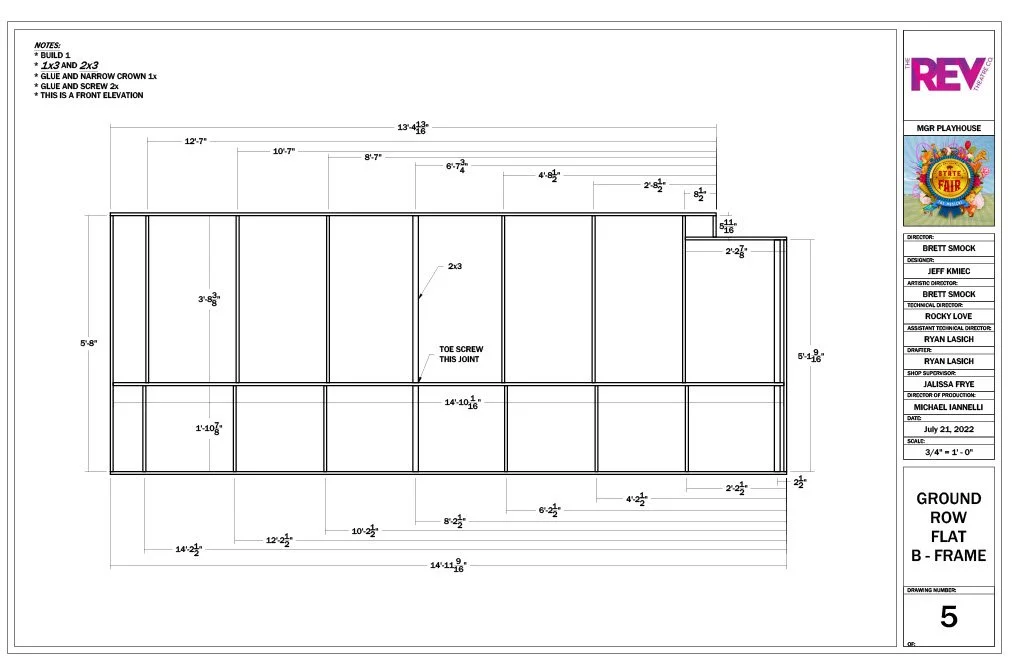
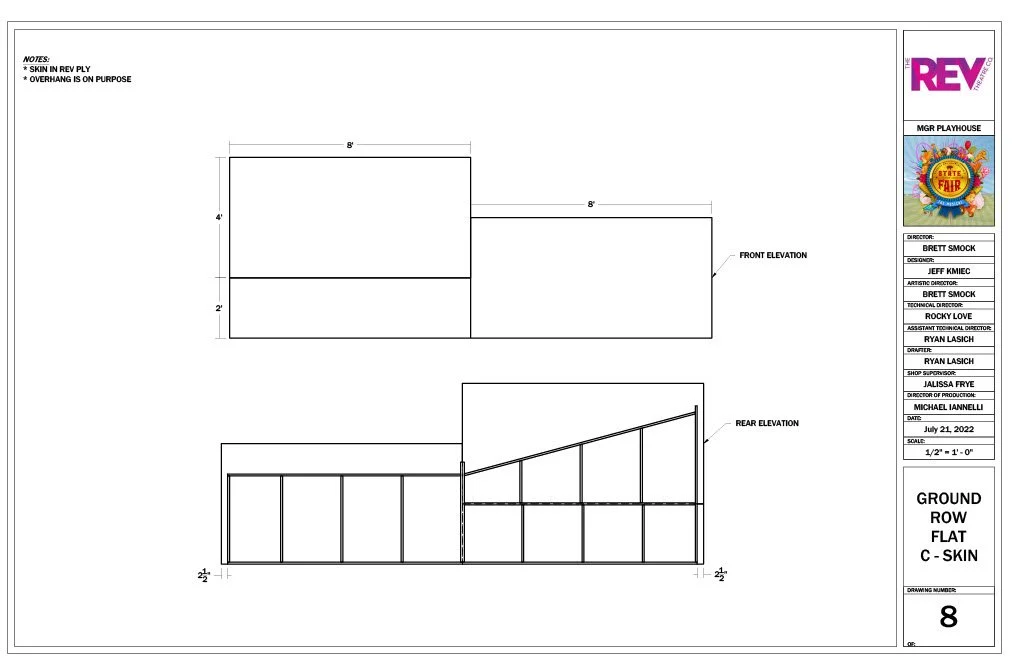
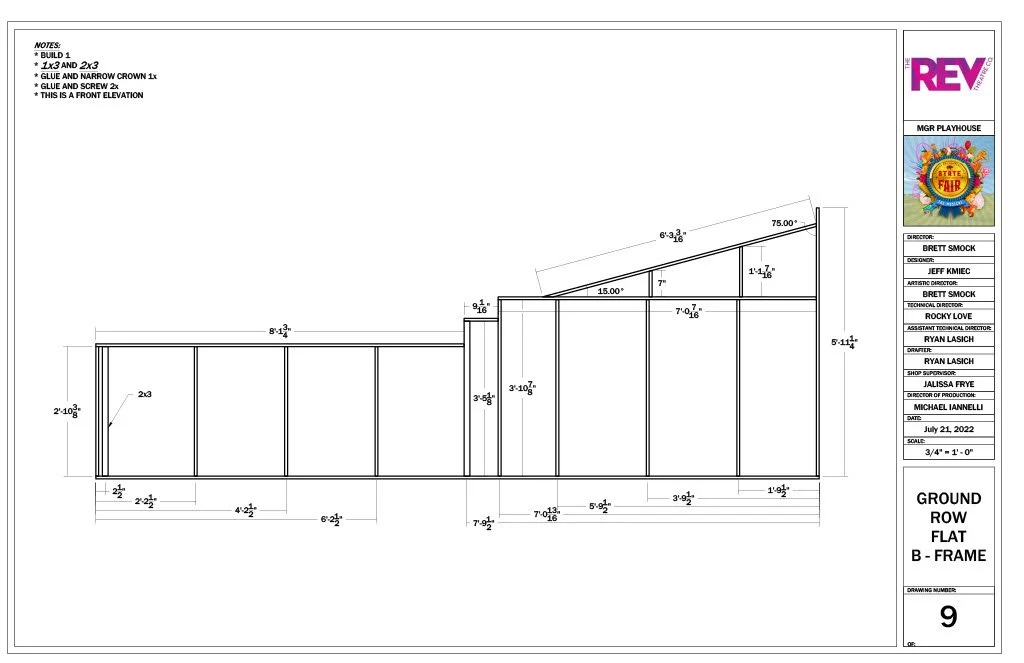
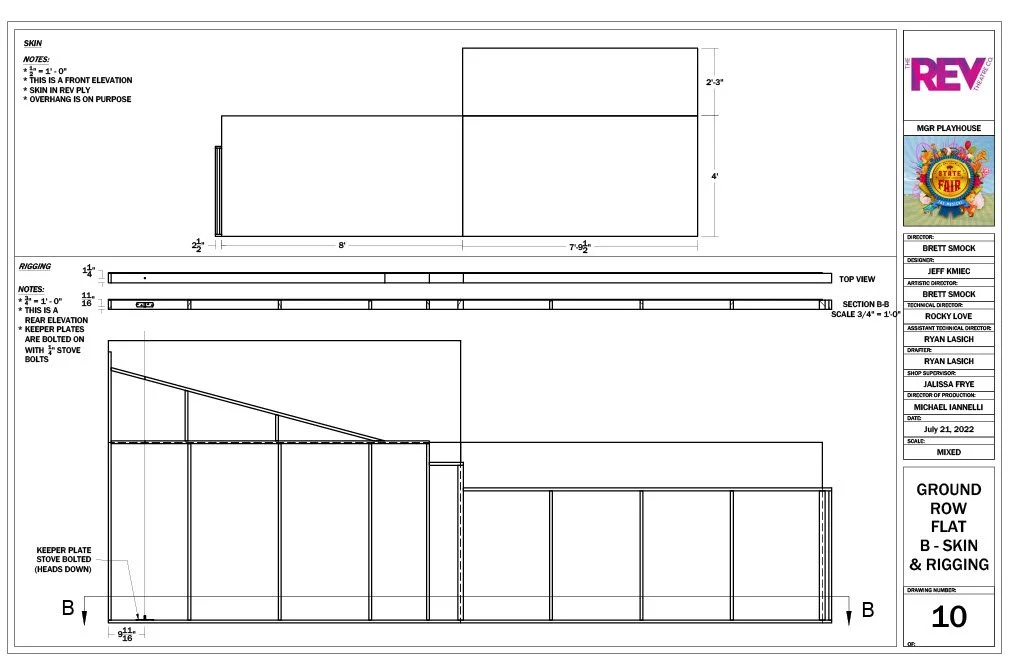
There was a large groundrow upstage, that was supported by a lineset since we could not fit in a stage jack for support. These were Hollywood style flats with facing that would overhang. once they were built and rough fit, the paint team scribed the arc for the carpenters to cut.





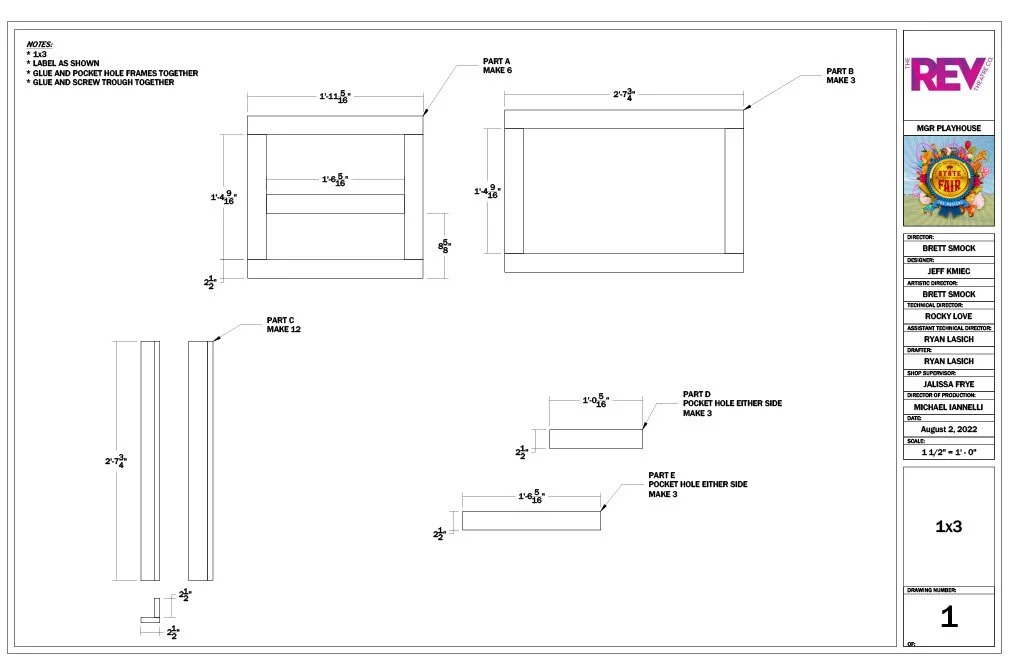
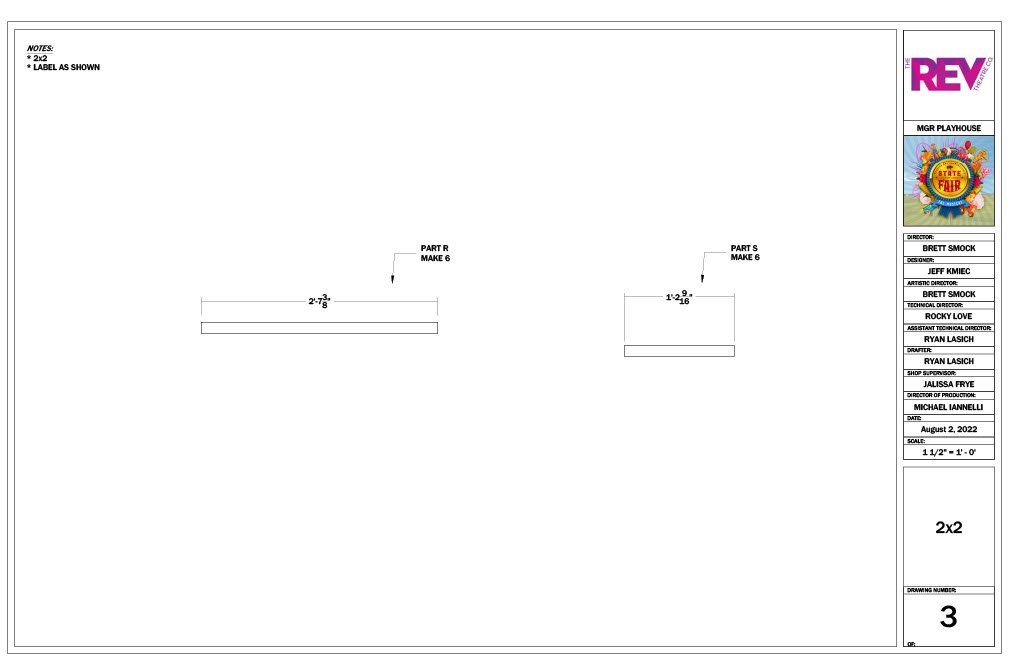
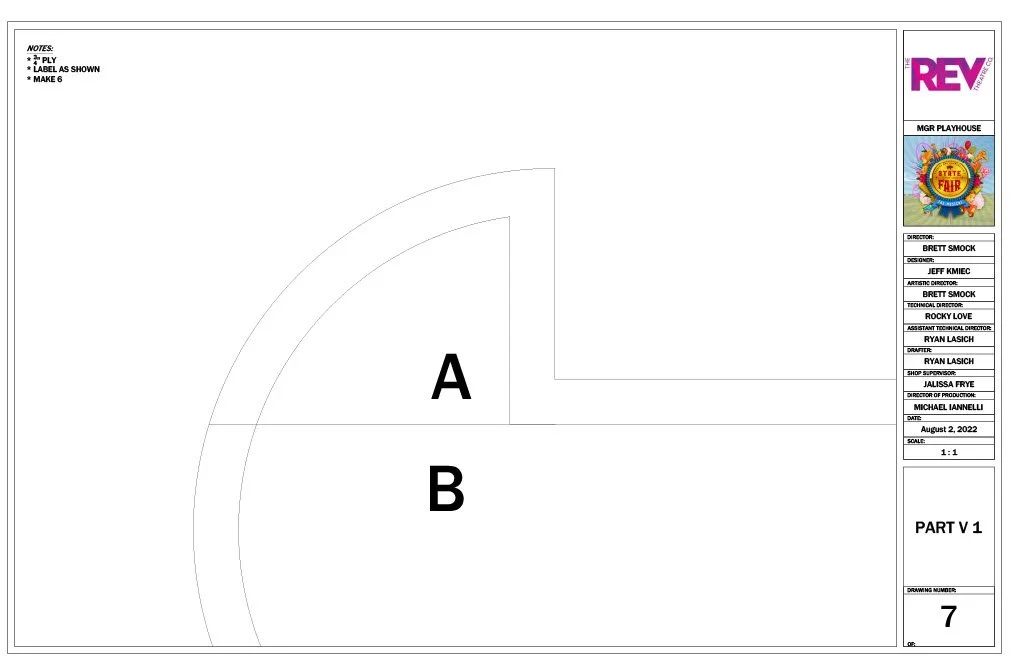
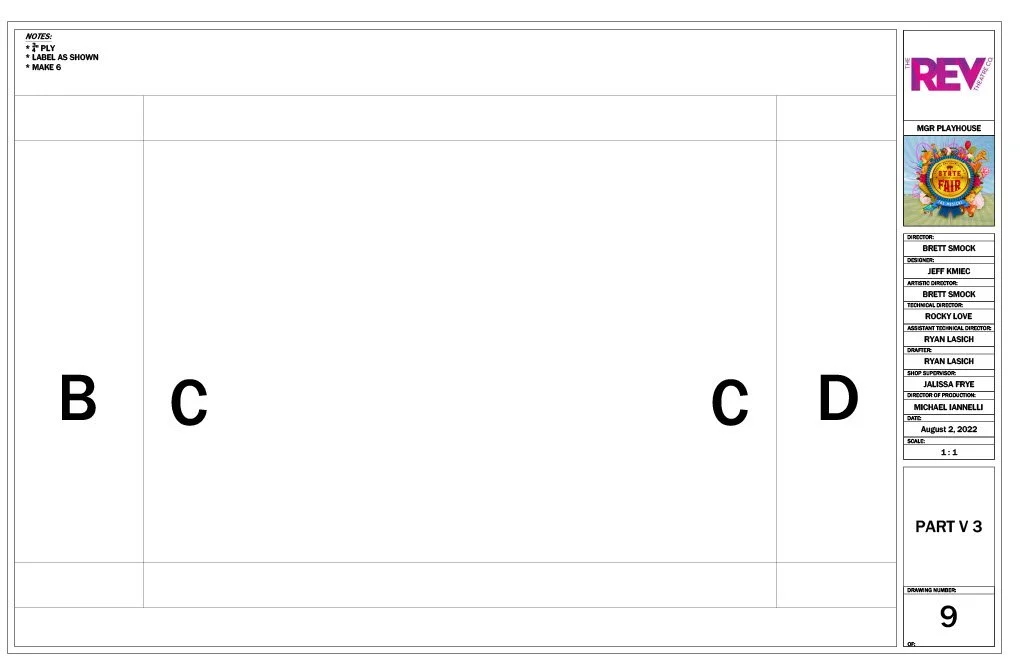
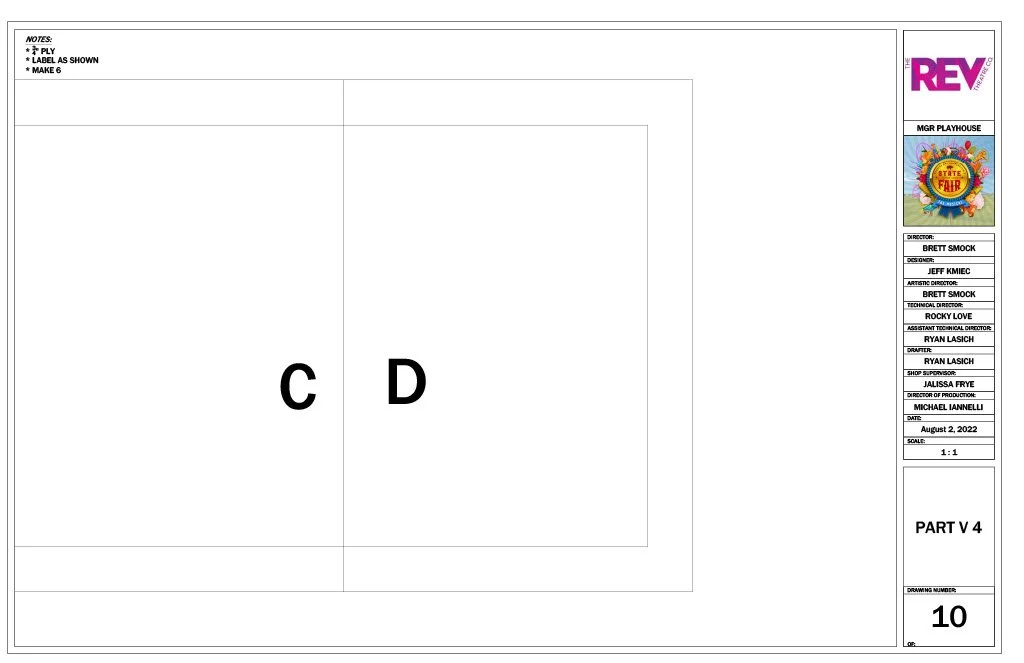
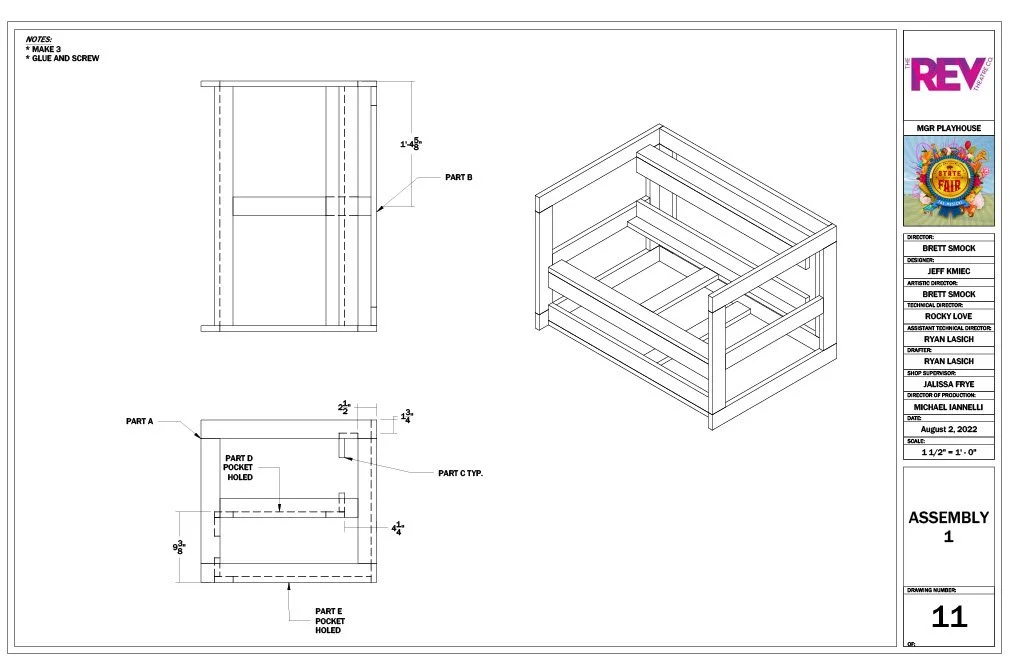
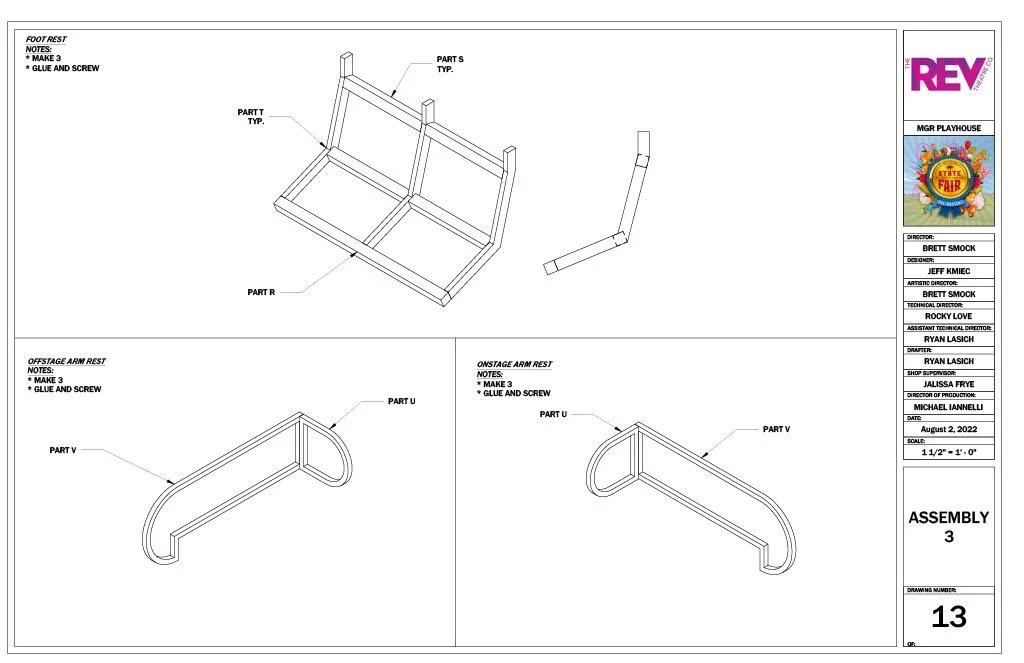
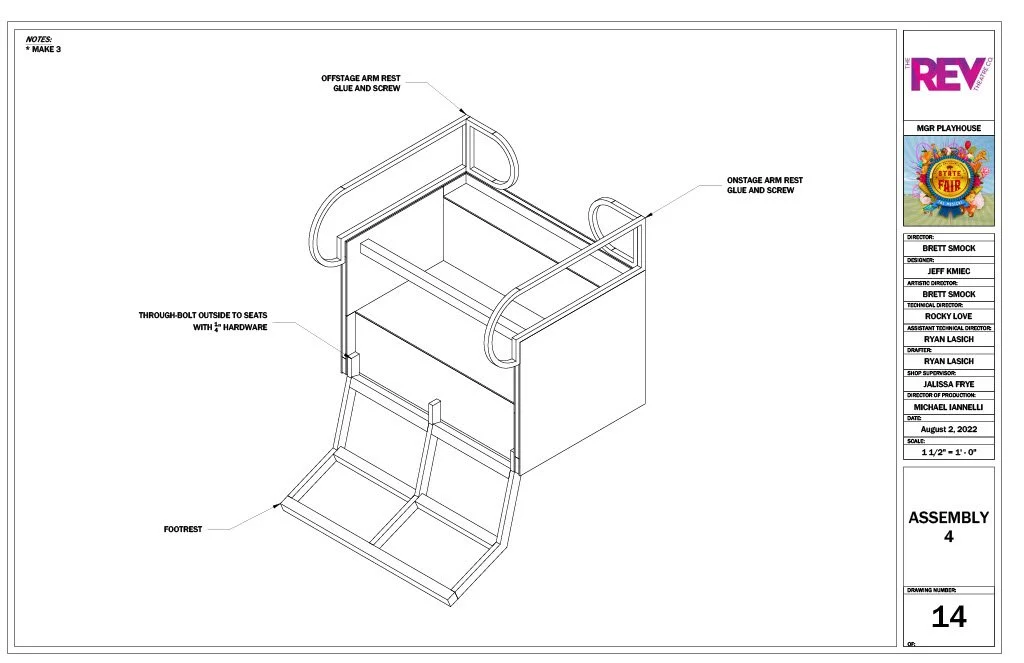
The last project I worked on was the seats for the ferris-wheel. I finished all of my projects early so I hopped on this to help elevate the workload on our TD. This was a fun project, since I do not often get the chance to design furniture. These needed to be light enough to hang from the ferris-wheel so I went with 1x frames and 1/4” ply. The armrest and footrest details were small enough that I could fit them on our 11x17 printer in the shop. Plates 4-10 show the process of separating the templates and adding a key to help tape them back together. I loved working on this, it was nice and fun change of pace.




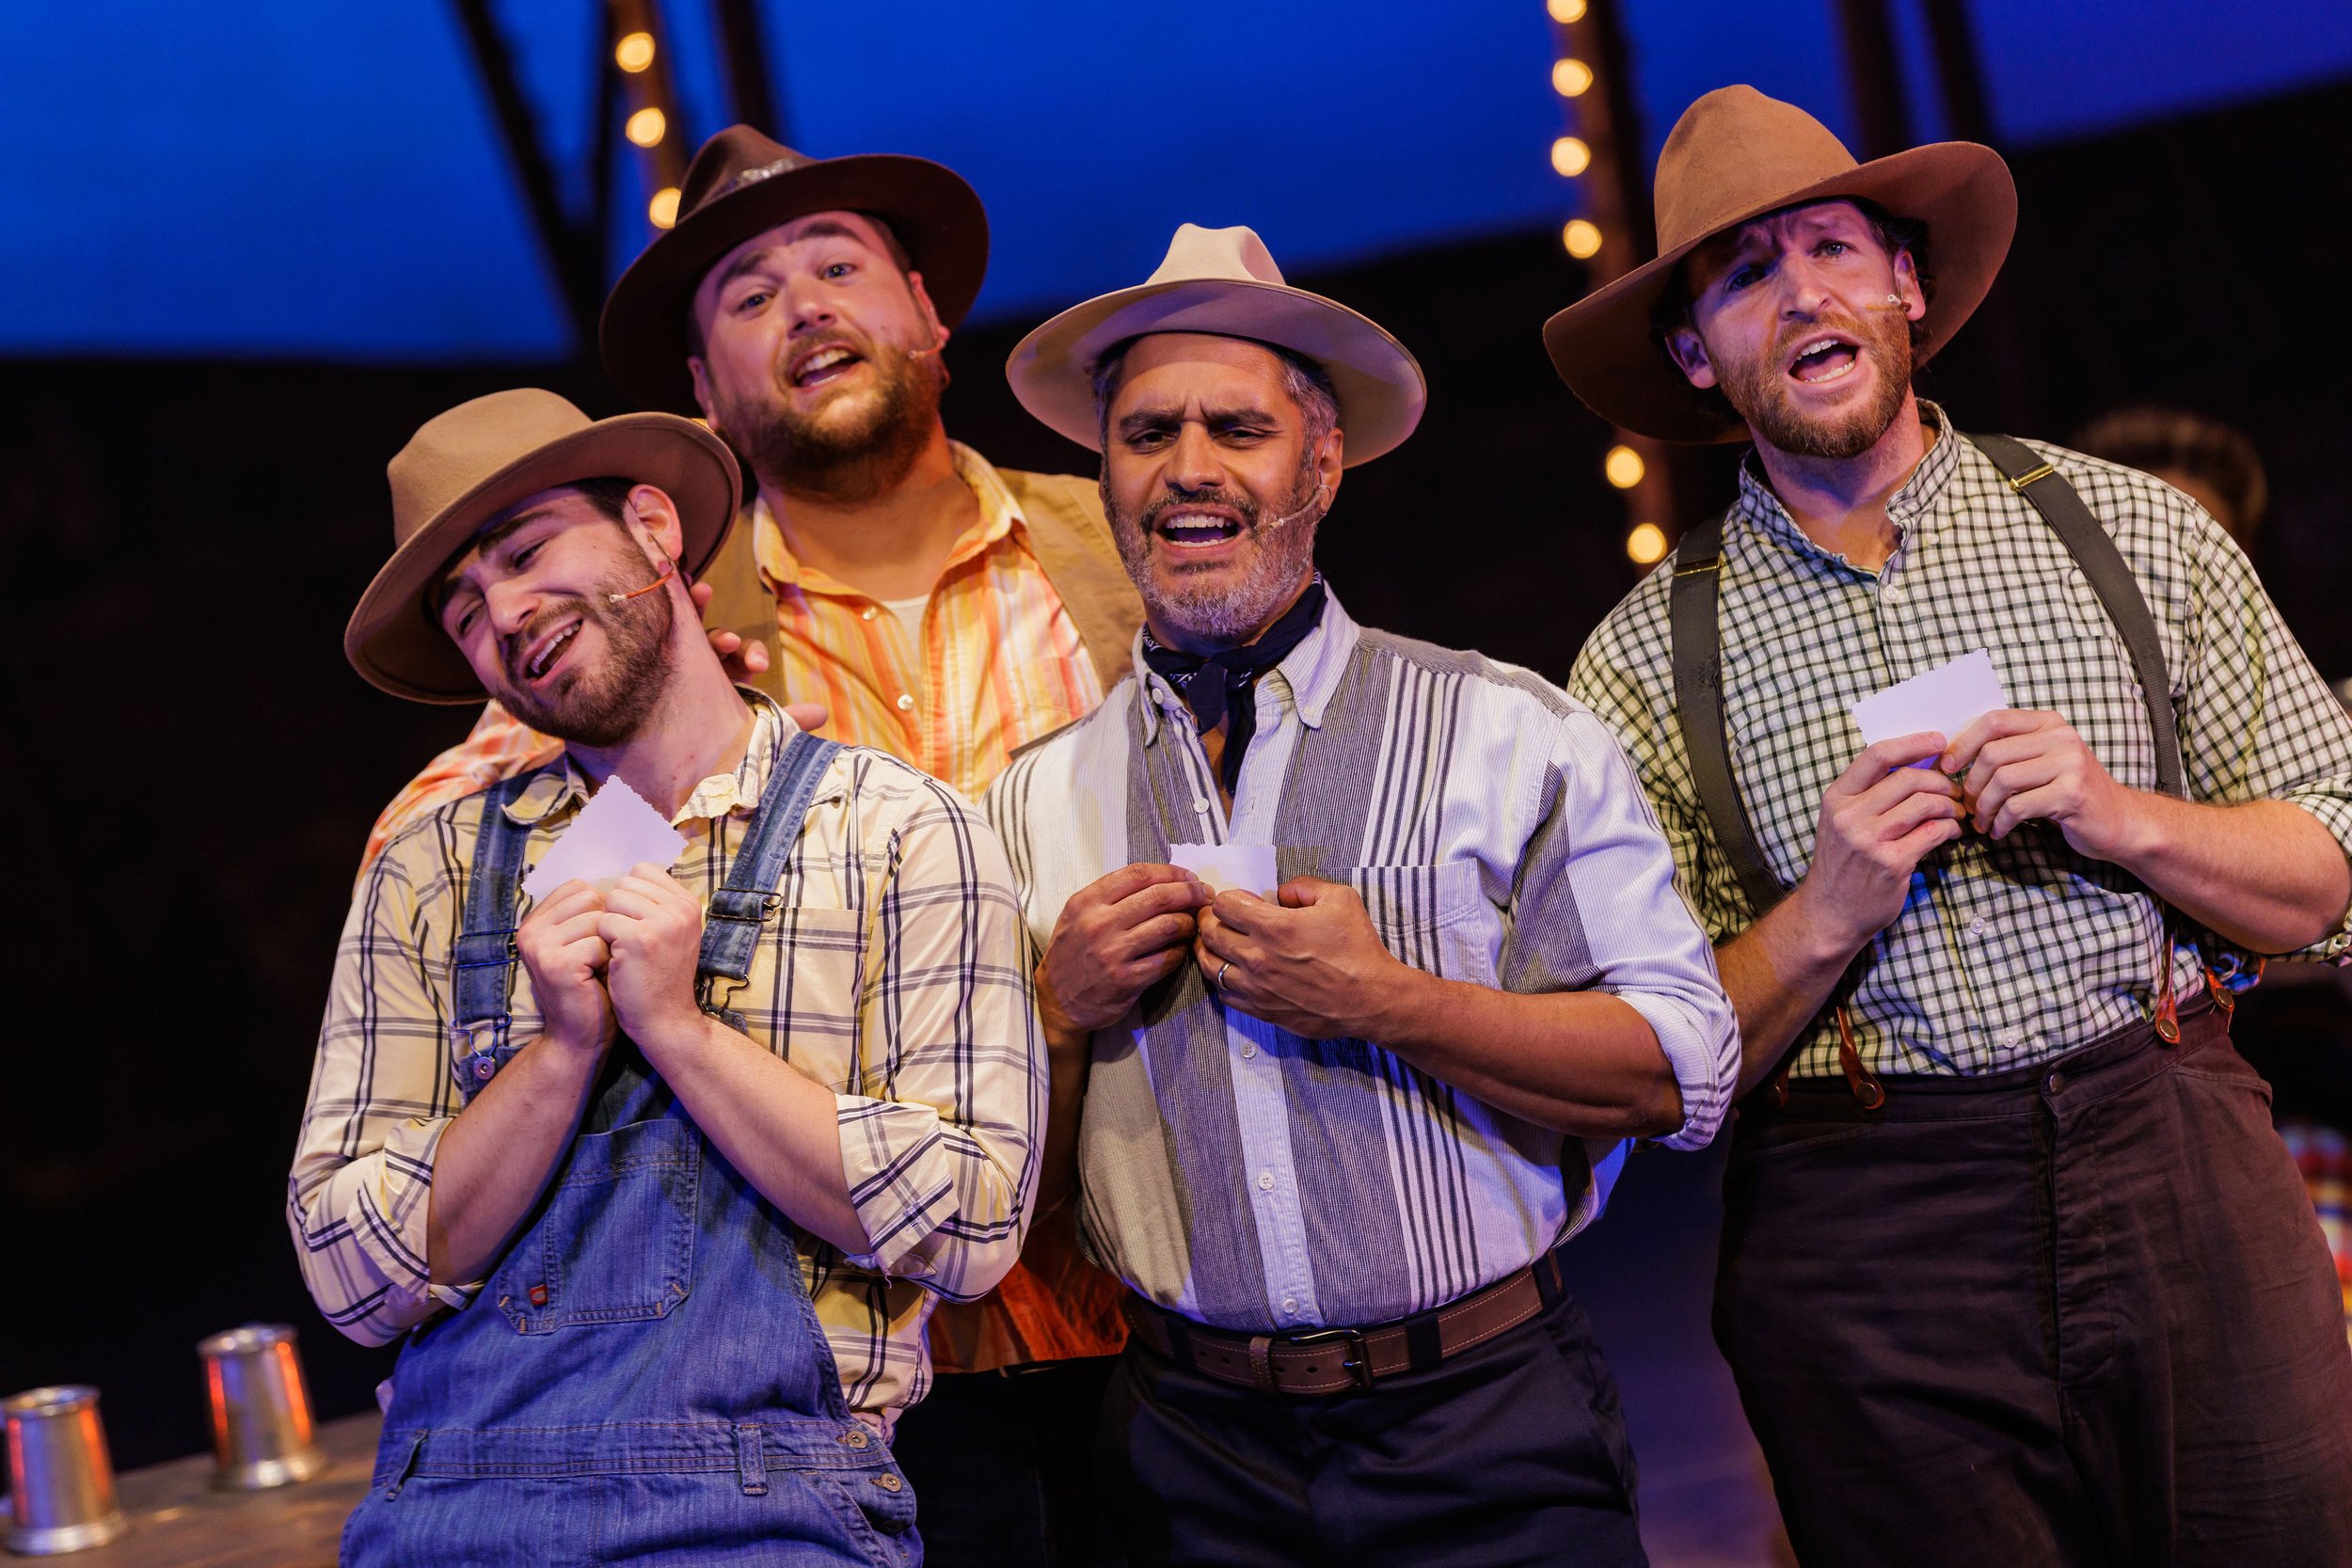
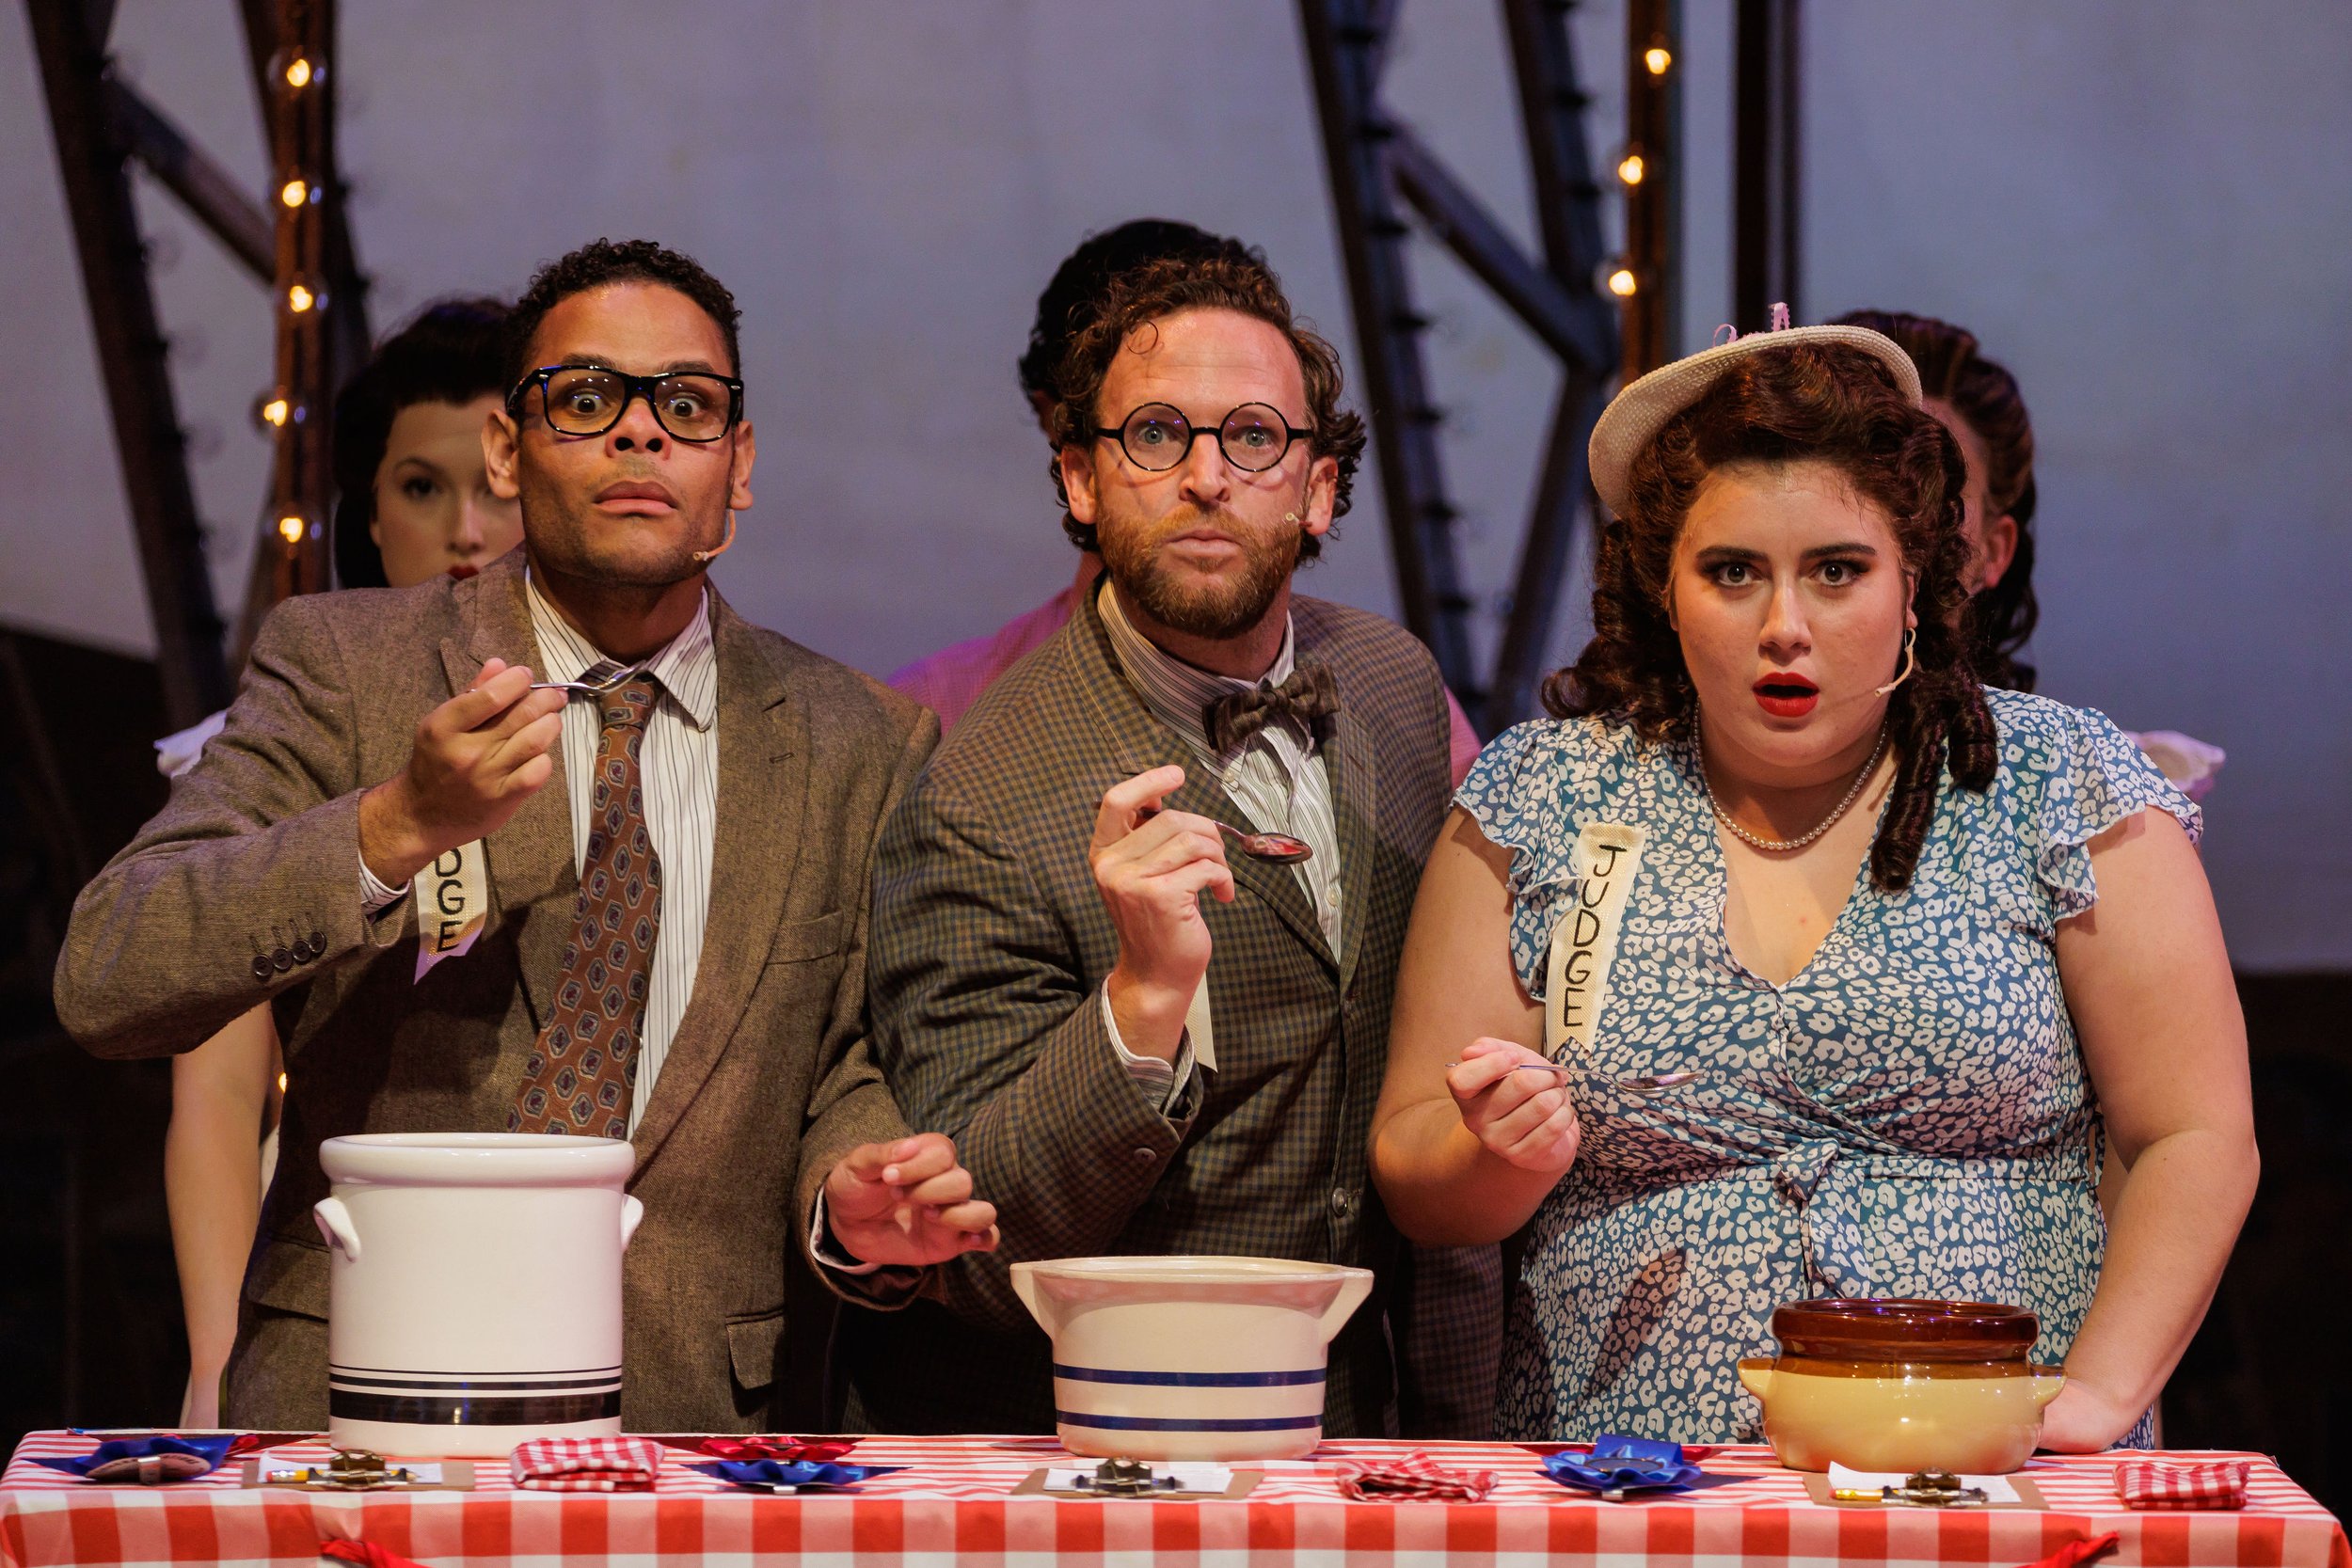
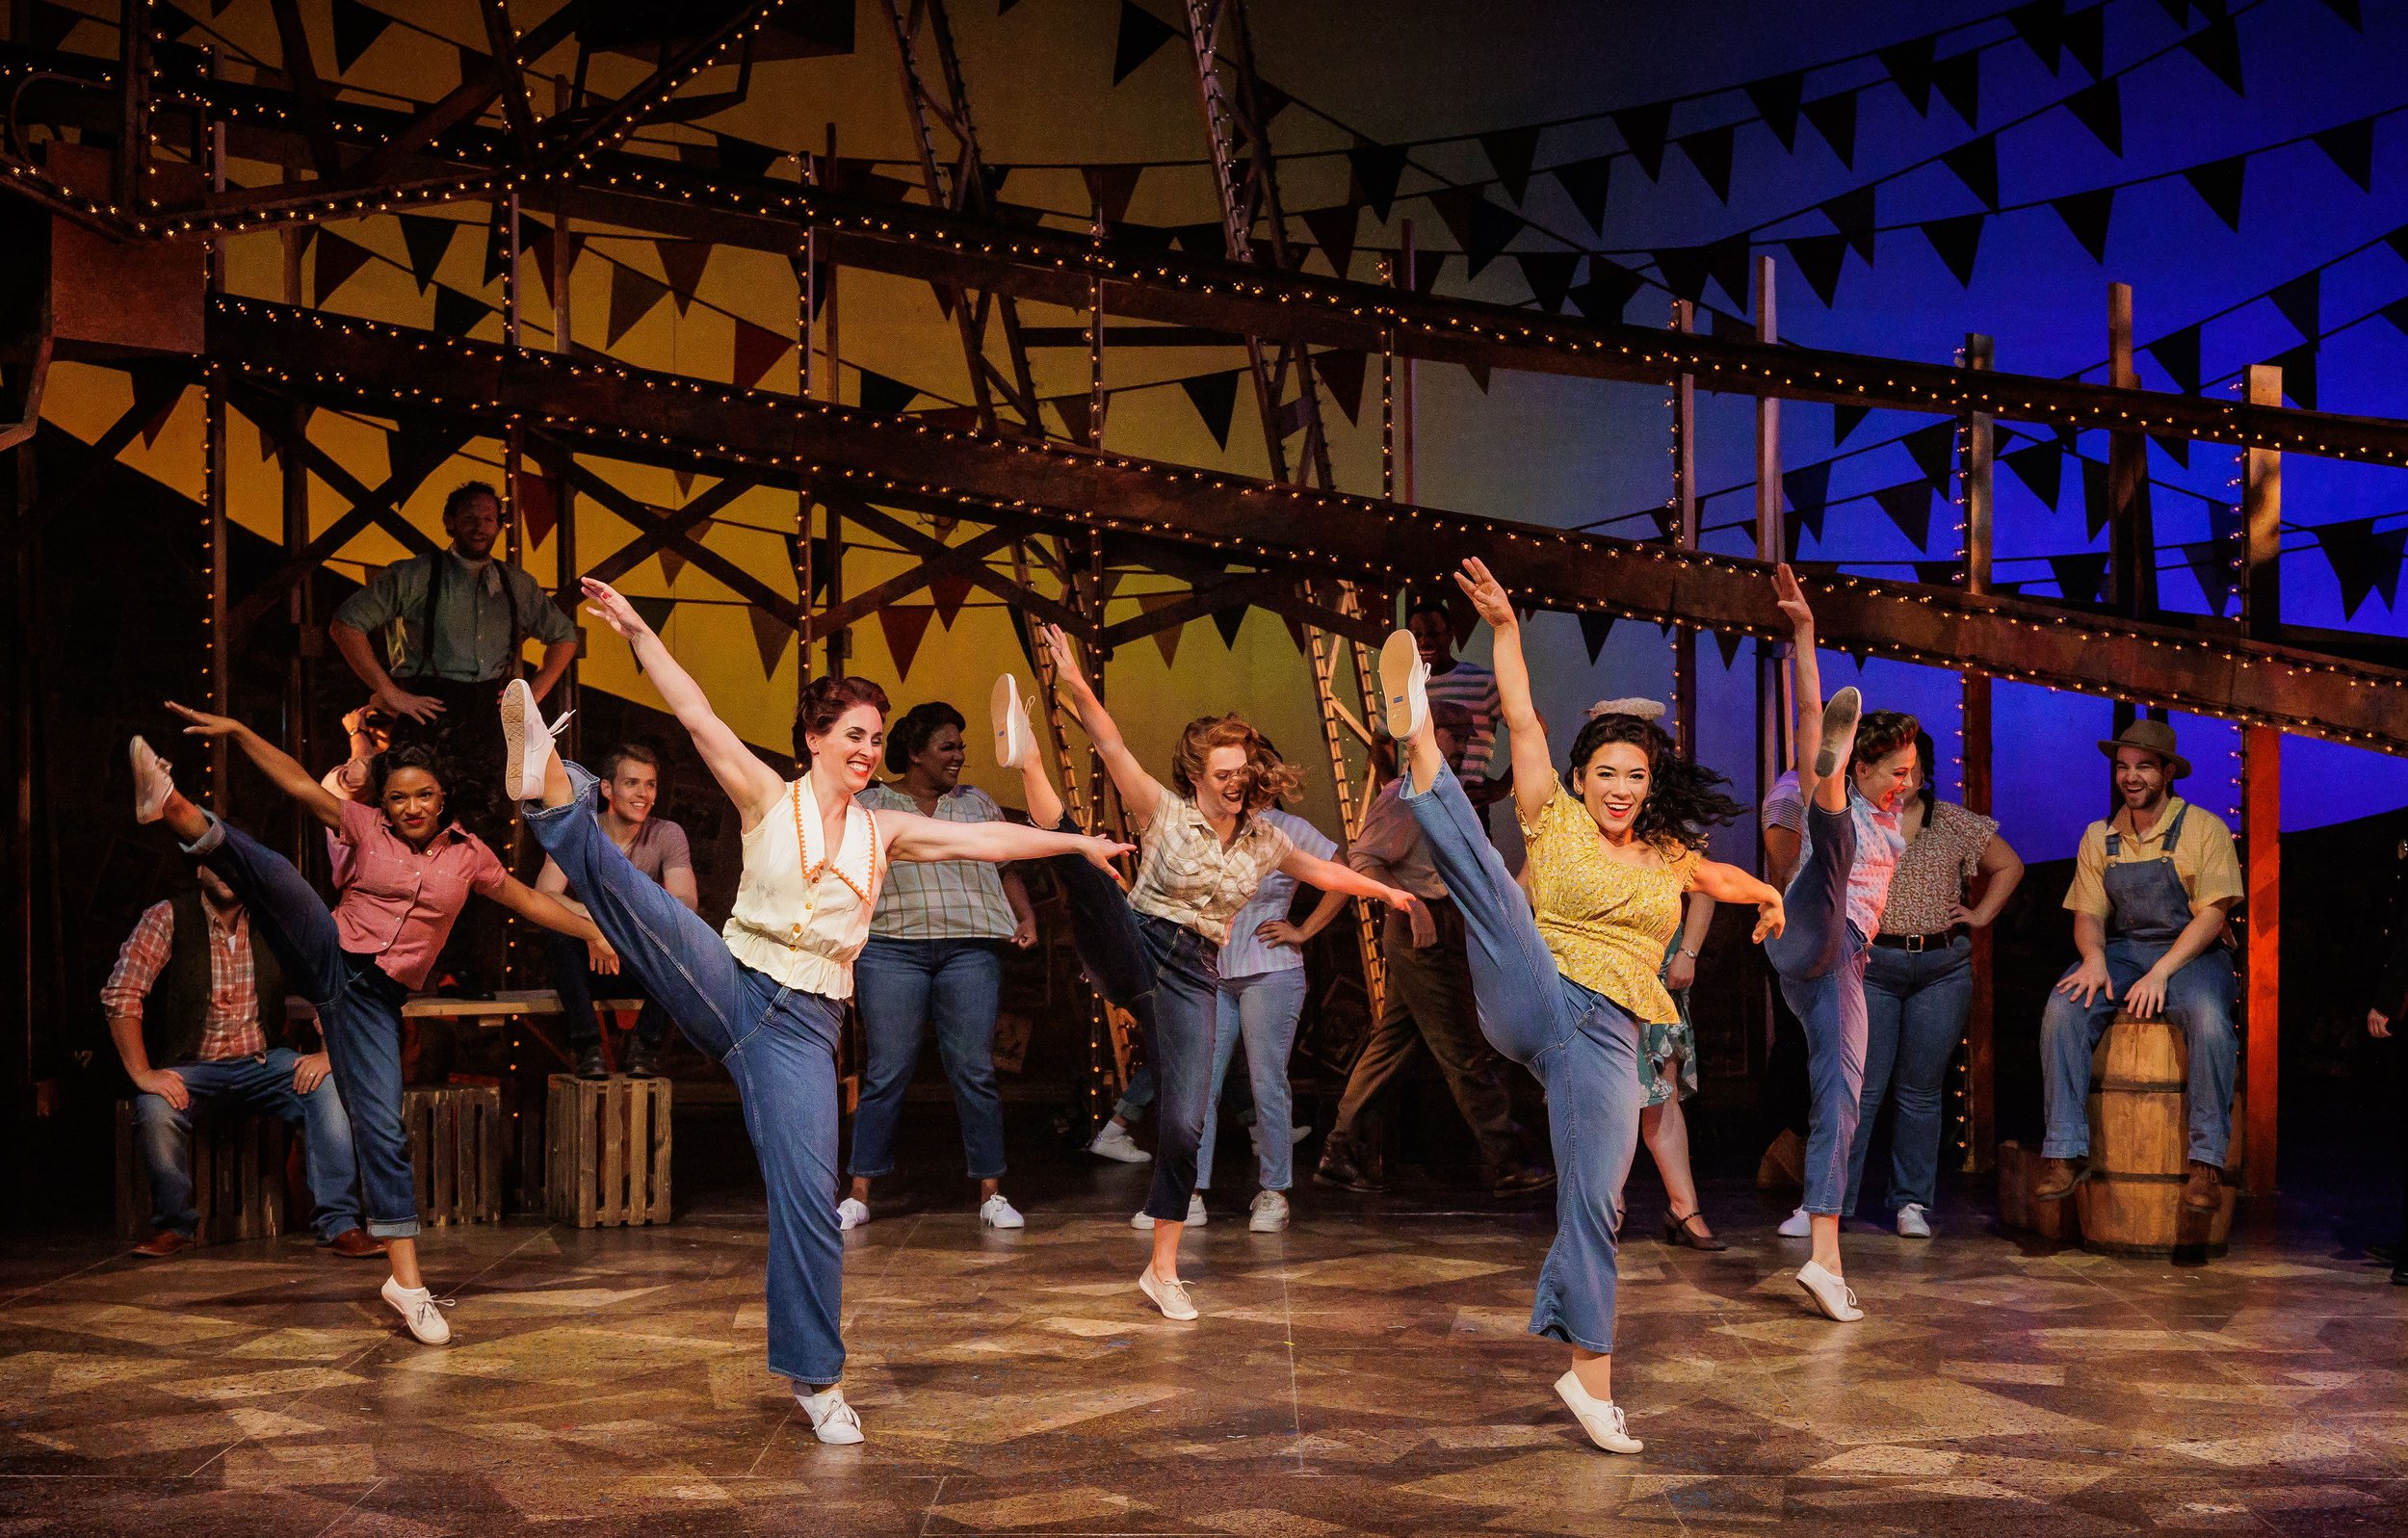
Below is a selection of publicity photos, see credit after the gallery.



Production Photo credits:
Ron Heerkens Jr. / Goat Factory Media Entertainment
FB: @Goat Factory Media Entertainment
Twitter/Instagram: @gfmedia
Website: goatfactorymedia.com/